
Which Starlink Residential Mount Is Best for an Australian Home?
The best Starlink residential dish mount in Australia depends on your roof type, nearby trees, wind exposure, and how comfortable you are with roof access. For most homes, you want the dish mounted high enough for a clear sky view, fixed securely for local weather, and installed without creating future leak problems.
Key Takeaways
- Choose a tin, tile, wall, eave, ridge, or flat-roof Starlink mount based on your roof profile and the clearest view available.
- Use the Starlink app obstruction check before buying or installing a dish mount, especially around gum trees, rooflines, sheds, and neighbouring buildings.
- Match the mount to your Starlink generation, because Gen 2, Gen 3 / V4, and Mini hardware do not all connect the same way.
- Prioritise weather sealing, cable protection, and safe roof access so the install stays reliable through Australian heat, UV, rain, and wind.
- SpaceTek Australia offers Australian-designed Starlink mounts and accessories made for local conditions.
SpaceTek Australia specialises in Australian-designed Starlink accessories, including durable dish mounts made from precision-machined or folded aluminium and reinforced composite components. This guide walks you through the practical mounting options for homes, sheds, cabins, and remote properties, so you can choose a secure setup without unnecessary roof leaks or maintenance headaches.
How Do You Choose the Right Starlink Residential Mount for an Australian Home?
Selecting the correct dish mount starts with your roof material, roof pitch, structural framing, and local climate. Australian homes can have corrugated Colorbond sheeting, terracotta tiles, concrete tiles, flat metal decks, or steep gables, and each one needs a different approach.
To keep the dish stable and performing properly, the mount needs to handle regional wind gusts while protecting the roof underneath. It should also lift the receiver away from hot roof surfaces where possible, helping airflow around the hardware on harsh summer days.
Different roof profiles call for different mounting styles:
- Corrugated metal or tin roofs: A penetrating crest mount with stay bars suits many pitched metal roofs and anchors into structural rafters or battens.
- Terracotta or concrete tile roofs: A tile under-mount secures to the timber structure beneath the tile without drilling through brittle roof tiles.
- Gable apex or ridge lines: A non-penetrating ridge mount uses ballast weight instead of roof penetrations, which is handy when you want to avoid drilling.
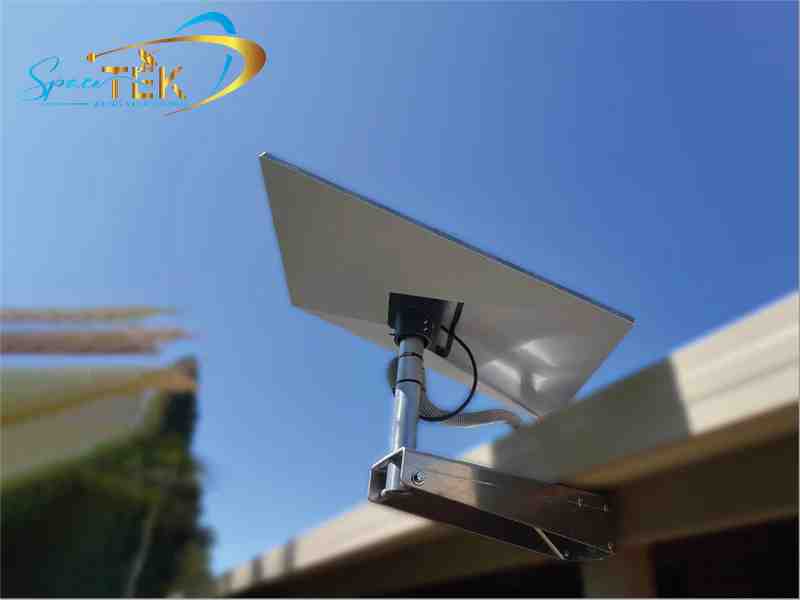
- Exterior walls and fascias: An extended-arm wall or eave mount can clear gutters and overhangs while keeping access simpler.
- Flat roof decks: A ballast tray setup can suit low-pitch roof areas where the structure can safely support the required weight.
What Works Best for Metal or Tile Roofs?
Corrugated iron and custom orb profiles are common across regional Australian homes. Installing a roof mount for Starlink on a metal roof usually means fixing into the structural timber or steel underneath the sheeting. Fasteners should go through the raised crests rather than the valleys, where rainwater naturally runs down the roof.
Weather-resistant fasteners, EPDM sealing washers, and careful sealing help reduce the risk of leaks. Adjustable stay bars add extra support, which is useful where long roof spans can vibrate in wind.
Tiled roofs need a different approach. Drilling directly through terracotta or concrete tiles can crack the tile and create water damage. A tile-friendly Starlink mount uses folded aluminium arms that sit beneath an overlapped tile and fasten into the roof structure below, allowing the tile to sit back in place.
Are Wall and Eave Mounts a Good Option?
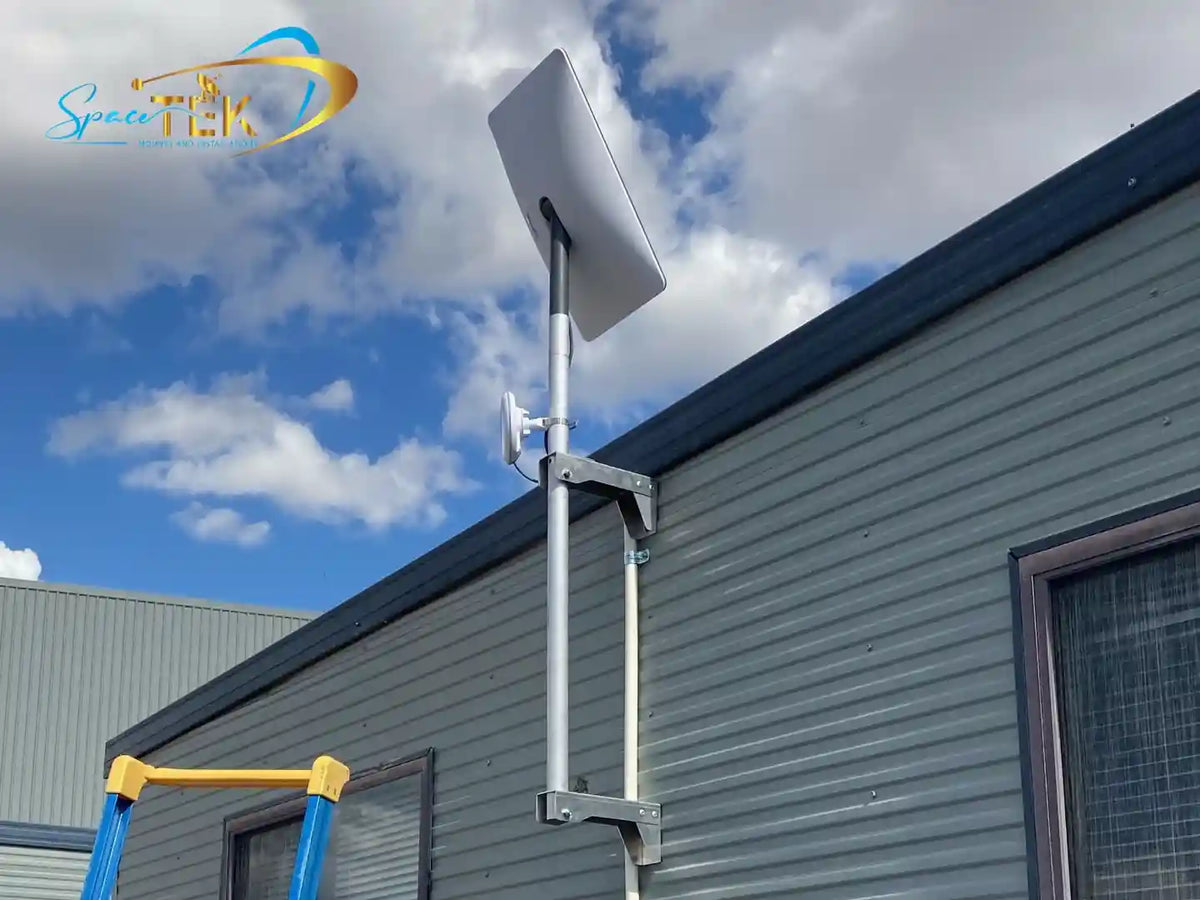
If climbing across roof sheets sounds unsafe or just too much hassle, a wall or eave setup can be a practical alternative. The Starlink mount for homes guide explains how these setups use a sturdy external wall, fascia, or eave area instead of placing the dish directly on the roof surface.
SpaceTek manufactures aluminium arm extensions for different eaves and overhangs:
- 350 mm short arm mount: Suits compact wall or fascia installs where the overhang is minimal and you want a neat finish.
- 750 mm long arm mount: Helps clear wide gutters, deeper eaves, and larger roof overhangs so the dish can sit above the roofline.
This style is worth considering when you want easier access for maintenance, clearer cable routing, or a cleaner-looking install around the edge of the house.
When Does a Non-Penetrating Ridge Mount Make Sense?
For homeowners who want to avoid drilling into roof sheets, and for renters who may need a removable setup, a non-penetrating ridge mount can be a strong option. As covered in Starlink roof mounts, this style sits across the roof apex and relies on ballast rather than screws through the roof.
SpaceTek ridge mounts use folded aluminium ballast trays with protective rubber base pads. Once properly loaded with suitable pavers, the setup can hold the dish securely while reducing the risk of roof leaks and making future relocation easier.
How Does Starlink Generation Compatibility Affect Residential Mounts?
Choosing the right dish mount also means matching it to your Starlink terminal generation. Starlink hardware has changed over time, and the way the dish connects to a mast or adapter is not the same across every model.
Why Does Generation Compatibility Matter?
The Standard Actuated Gen 2 dish uses a motorised mast with a quick-release push-button that locks into a matching receiver socket. The Standard Gen 3 / V4 dish is a non-actuated, manually aligned flat terminal, so it needs different hardware and a suitable adapter.
Gen 3 mounting hardware usually uses precision-machined adapter plates to connect the dish to common roof mast sizes. Lifting the terminal away from hot roof surfaces can also help airflow, which is worth thinking about in Australian summer conditions.
Can You Mix Starlink Mini and Residential Mounts?
The Starlink Mini is built for portable, low-power use and has a smaller footprint than full-size residential terminals. It uses a different compact connection style, so it should not be treated as a direct swap for Gen 2 or Gen 3 residential hardware.
A Mini can be mounted around a home only when you use Mini-specific SpaceTek hardware that suits the load and connection style. Full-size residential terminals should not be installed on lightweight Mini hardware, because larger dishes place different wind and structural loads on the mount.
How Do You Install and Weatherproof a Starlink Mount Safely?
A good install balances clear satellite alignment, roof safety, cable protection, and long-term weather sealing. If anything about the roof access feels risky, bring in a qualified installer rather than trying to push through it yourself.
- Check for obstructions first: Power up the dish temporarily and use the Starlink app obstruction tool at the intended mounting spot.
- Assemble hardware on the ground: Put together the aluminium base plates, stay bars, mast adapters, and fasteners before climbing.
- Fix into the right structure: Locate roof battens, trusses, or other suitable structural fixing points before drilling or fastening anything.
- Seal every roof penetration: Use appropriate exterior-grade sealant and EPDM washers where the selected mount requires fasteners through the roof.
- Lock and align the dish: Seat the dish securely into the adapter, then follow the app guidance for alignment and final checks.
For a deeper practical walkthrough, the Starlink install guide offers extra installation context.
What Is the Best Way to Route and Protect the Cable?
Starlink hardware includes connection cabling that needs careful routing into the home. The aim is simple: keep water out, avoid abrasion, and stop the cable moving around in the wind.
- Use proper drip loops: Form a downward loop before the cable enters a wall fitting or eave so rainwater drops away from the entry point.
- Avoid sharp metal edges: Keep the cable away from raw Colorbond edges, or protect it with conduit or rubber grommets.
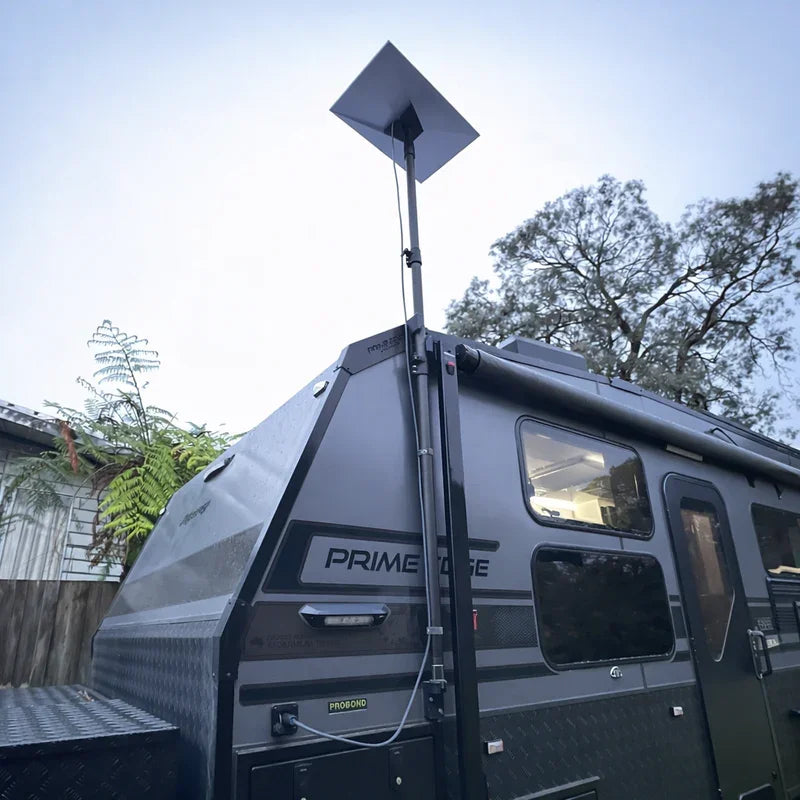
- Support the cable neatly: Secure outdoor runs along the mast and under eaves with UV-resistant clips or stainless ties, without pinching the cable.
When Should You Hire a Professional Installer?
Plenty of regional Australians manage tidy DIY installations, but some roofs are not worth risking. Consider an installer when you are dealing with:
- Multi-storey homes or steep roof pitches where safe access requires professional gear.
- Fragile slate, aged concrete tiles, or complex roof shapes that need careful structural fixing.
- Internal cable runs through multi-level walls, insulation cavities, or finished ceilings.
If you would rather have an expert handle the setup, SpaceTek can help you find a suitable installer through the professional installer network.
What Do Homeowners Often Ask About Starlink Mounts in Australia?
How High Should a Starlink Dish Be Mounted on an Australian Home?
The right mounting height is mostly about avoiding obstructions, not chasing extra speed. Raising the dish a little will not magically change satellite distance, but it can help clear roof ridges, solar panels, gum trees, and nearby structures.
In practice, start with the Starlink app obstruction scan and choose the lowest safe mounting point that still gives the dish a clear view. That keeps the install simpler while still protecting performance.
What Is the Best Way to Mount Starlink on a Tin Roof Without Leaking?
To reduce leak risk on a metal roof:
- Fix through the high crests of the corrugations, not the drainage valleys.
- Fasten into solid structural support such as rafters, battens, or purlins.
- Use suitable sealing washers and exterior-grade sealant around penetrations.
- Add stay bars where the mount design calls for extra support against wind movement.
How Do You Maintain and Inspect a Starlink Roof Mount Over Time?
A quick inspection a couple of times a year, and after major storms, can prevent small issues becoming bigger problems.
- Check the fasteners: Look over mast locking bolts, adapter plate nuts, and stay bar connections.
- Inspect weather seals: Make sure sealant around penetrations is still flexible and intact.
- Check the cable path: Confirm exterior cabling is clipped securely and not rubbing against metal edges.
- Clean the dish face gently: If dust, sea spray, bird droppings, or eucalyptus sap build up, wipe the face with fresh water and a soft microfibre cloth.
Choosing a Secure Starlink Mount for Australian Conditions
A low-Earth-orbit satellite internet connection is only as reliable as the hardware holding the dish in place. The right Starlink mount protects your roof, keeps the receiver clear of obstructions, and gives the setup a better chance of staying steady through heat, rain, UV, and strong wind.
SpaceTek Australia designs premium satellite mounting systems for Australian conditions. Built from folded aluminium, precision-machined adapters, and reinforced composite fittings, SpaceTek dish mounts are made for homeowners who want a neat, secure, long-lasting Starlink setup.

Leave a comment
This site is protected by hCaptcha and the hCaptcha Privacy Policy and Terms of Service apply.