
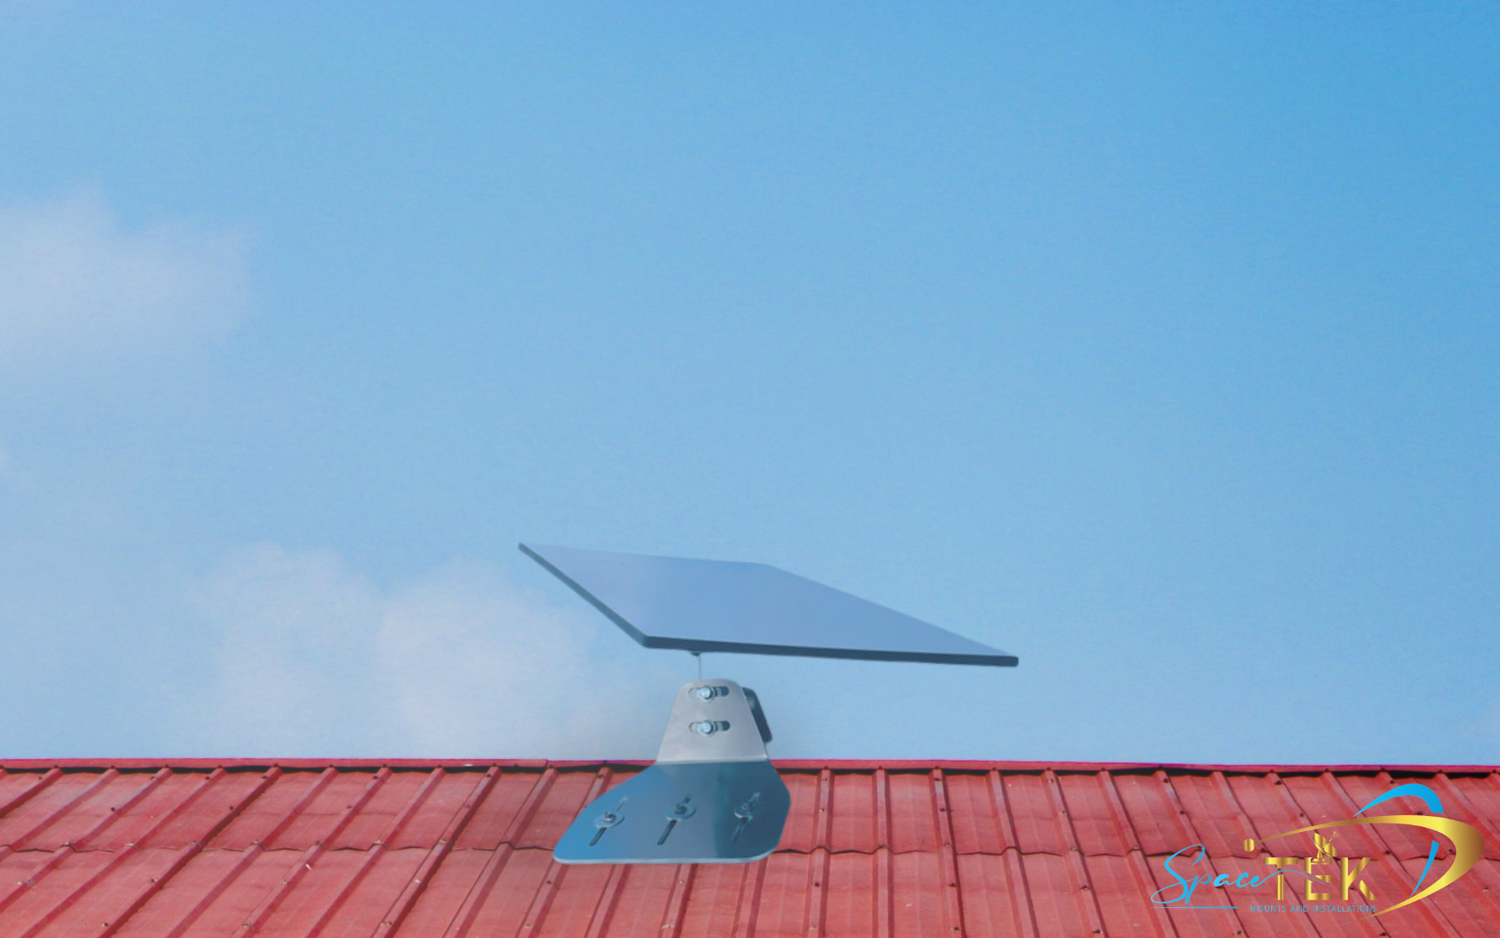
Finding the Perfect Spot for Your Starlink Dish
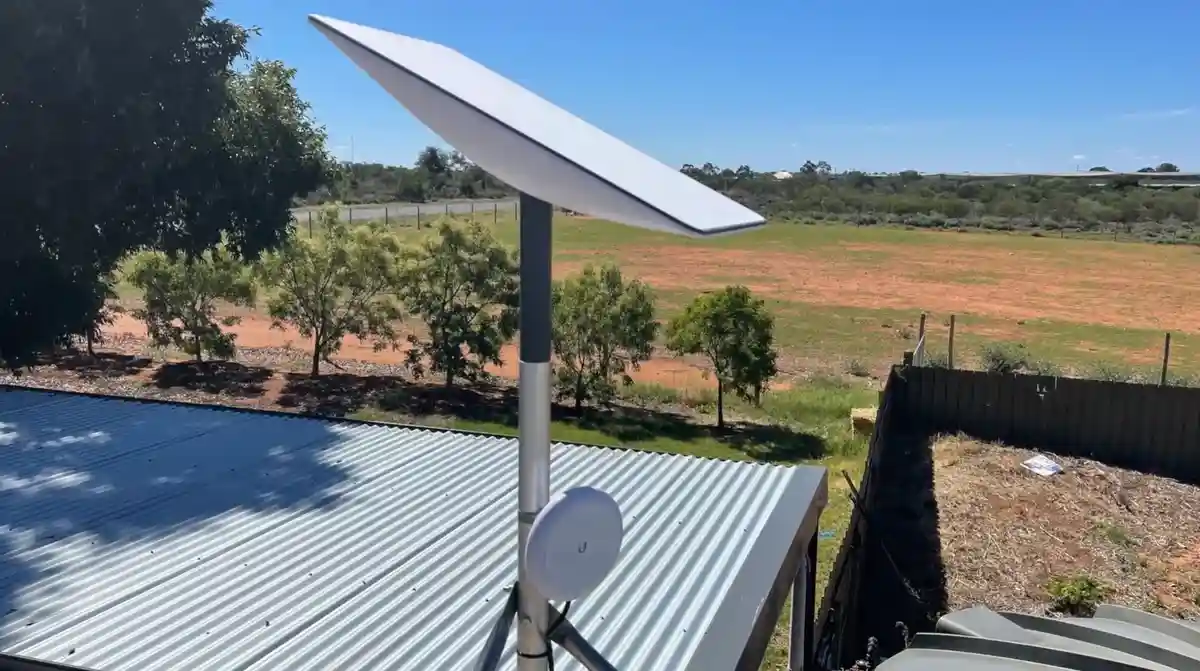
Does Starlink have to be mounted on the roof? No. A roof is only one possible location. Depending on your property and Starlink model, the dish may be placed on the ground or permanently installed on a roof, pole or exterior wall. The most important requirement is a clear view of the sky in the field of view shown by the Starlink app.
Quick answer:
- A roof mount is not mandatory.
- Trees, branches, poles, rooflines and nearby structures within the dish's required field of view can interrupt service.
- Use the Starlink app to check the exact proposed location before drilling or installing hardware.
- An elevated roof, pole or wall location can help when ground-level obstructions cannot be avoided.
- Use a mount made for your Starlink model and the intended mounting surface.
- For a permanent installation, protect the cable and follow the instructions supplied with the Starlink kit and mount.
A temporary ground setup can be useful for testing, and it may remain suitable where the dish has the required clear view and is protected from people, vehicles, pets, yard equipment and other hazards. If the app identifies obstructions at ground level, moving the dish to another part of the property or raising it on an appropriate permanent mount may improve sky visibility.
Check more than one location with the Starlink app. Hold the phone as close as practical to the height and perspective the dish will have, and remember that leaves and branches can change with the seasons.
So, Does Starlink Have to Be Mounted on the Roof?
No. Starlink states that many customers use permanent elevated locations such as roofs, poles or walls, but the best choice depends on which location provides the clearest required field of view. A lower location can work when it is unobstructed; a roof is useful when its added height clears nearby obstacles.
Why a Roof Mount Can Work Well
A roof installation can be a practical choice because it may:
- Improve sky visibility: Added height can place the dish above nearby fences, vehicles, parts of the building or other low obstructions.
- Reduce everyday interference: The dish is less likely to be temporarily blocked or disturbed by normal activity around the property.
- Support a permanent cable route: A planned installation can keep the cable secured and away from foot traffic and snag hazards.
- Keep the dish out of the yard: This can preserve usable ground space and reduce accidental contact.
A roof is not automatically the best location. A roof edge, chimney, tree or neighboring structure can still enter the dish's field of view. Roof work also introduces fall and water-entry risks, so assess the location with the app before choosing hardware or making penetrations. See why a Starlink roof mount kit may be useful for additional planning considerations.

What Are the Alternatives to a Roof Mount?
Several alternatives can work when they are compatible with your dish and provide the sky view required by the app:
- Ground placement: The included stand or kickstand may be suitable for setup and testing on a stable surface. Keep the dish and cable away from standing water, traffic, mowers, pets and other sources of damage.
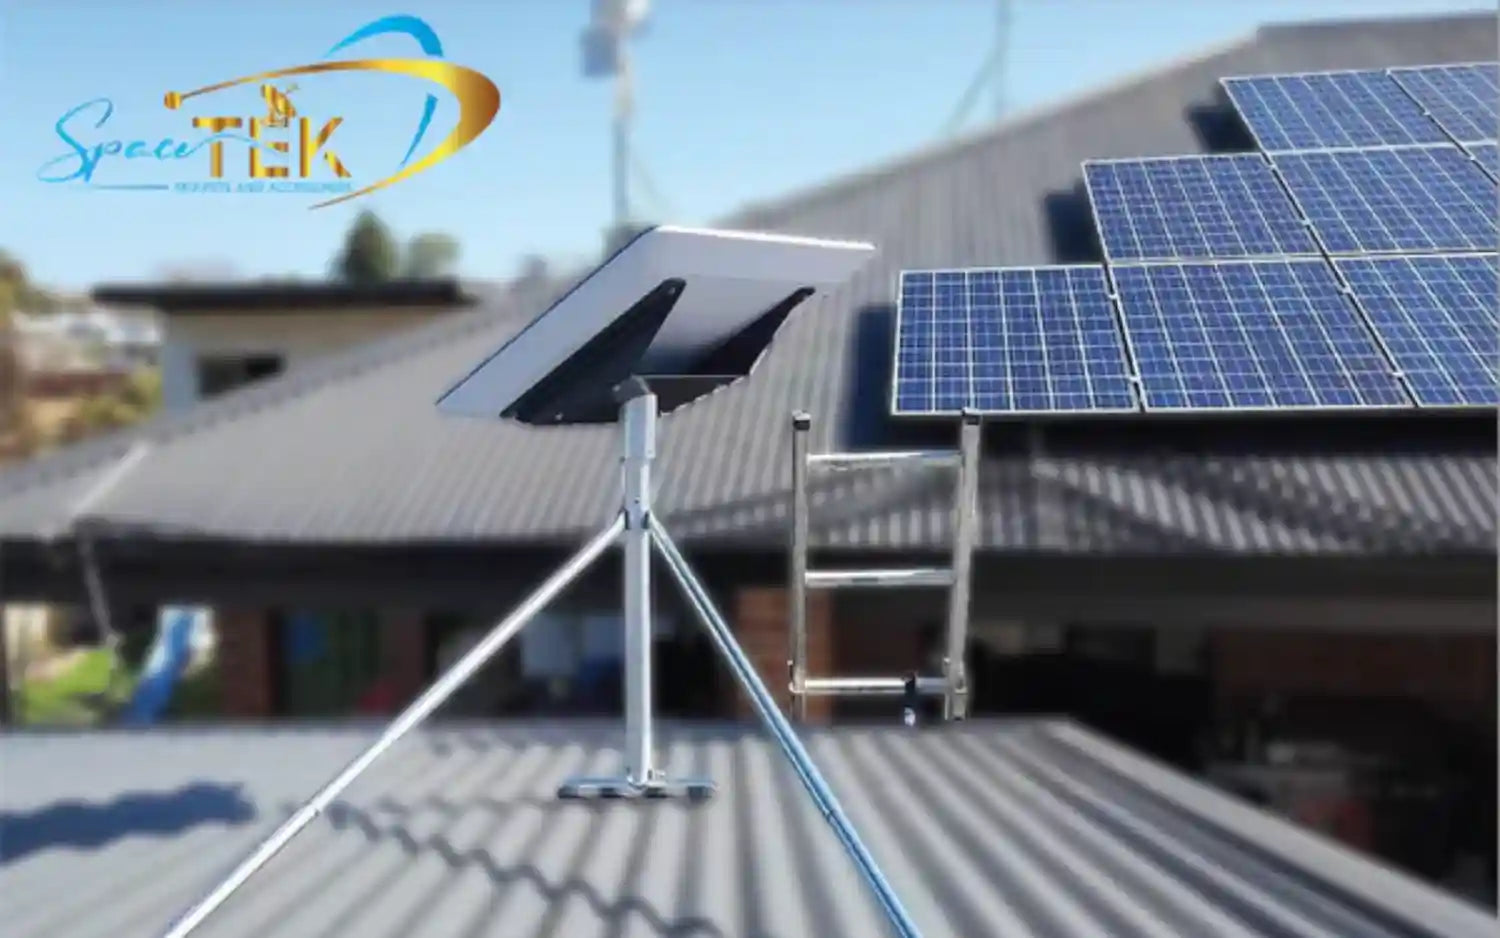
- Pole or elevated post: A pole can move the dish away from the building or raise it above lower obstructions. The pole, foundation, adapter and fasteners must be selected for the actual installation rather than assumed to suit every site. Compare the options in our roof versus pole mount guide.
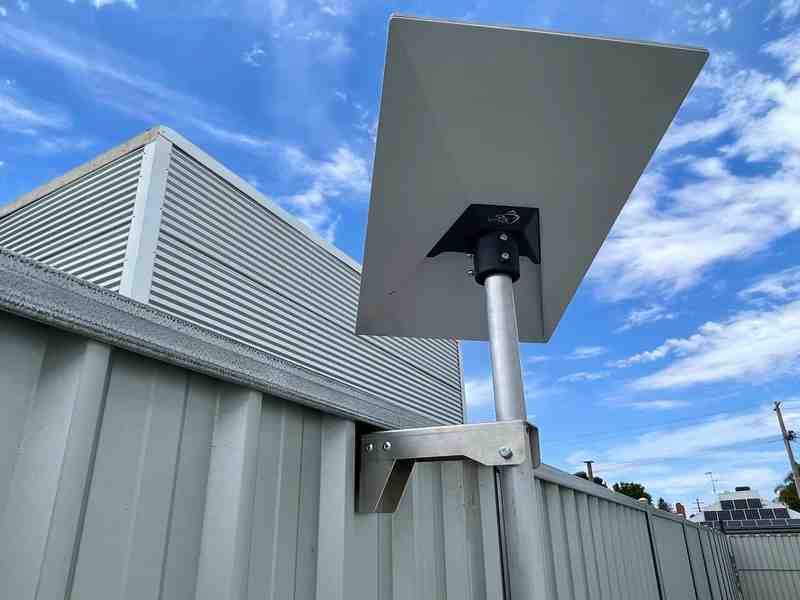
- Exterior wall or fascia: A compatible wall mount can place the dish near the roofline without mounting it on the roof surface. Confirm that the dish clears the eave and that the wall or roofline does not enter the required field of view.
- Railing or similar elevated support: A railing location may provide useful height, but only use hardware intended for that application and confirm that the railing and surrounding location are suitable. Do not assume every railing is an acceptable structural attachment point.
- Existing mast: An existing mast may be usable with a model-compatible adapter after its condition, attachment and capacity for the proposed equipment have been assessed.
Do not select a location only because it is high. Scan it with the Starlink app first. Starlink specifically warns that even nearby parts of a roof, pole, branch or other structure can obstruct the connection. For model-specific mounting options, browse our Starlink parts and accessories.
How Roof Type Changes the Mounting Approach
If you choose a roof installation, match the mounting method to the roof covering, roof structure, Starlink model and mount manufacturer's instructions:
- Asphalt-shingle roofs: Use a mounting and flashing method intended for the roof system. Do not rely on surface sealant alone as a substitute for the specified flashing detail.
- Standing-seam metal roofs: Some systems can use compatible seam clamps, potentially avoiding holes through the roof covering. Clamp selection and installation must match the seam profile and the relevant manufacturers' instructions.
- Other metal roofs: Penetrating or purpose-built bracket systems may be required. Protect the roof's drainage paths and coatings and use the specified flashing and sealing method.
- Tile roofs: Tiles can break and are not generally the structural attachment point. A suitable bracket and flashing arrangement should transfer the mounting load to an appropriate part of the roof structure without preventing tiles from draining correctly. Read our tile-roof mounting guide.
Roof assemblies and mounting products differ. Follow the instructions supplied by Starlink, the mount manufacturer and the roofing manufacturer. If the job requires roof access, structural attachment or a new weather-exposed penetration, consider using a qualified local installer or roofing professional.
Starlink Installation Checklist
- Identify the exact Starlink model and choose compatible mounting hardware.
- Use the Starlink app to scan the proposed location from the dish's expected height and perspective.
- Check for trees, rooflines, poles, walls and other objects in the indicated field of view.
- Plan a cable route that avoids sharp bends, crushing, abrasion, foot traffic and snag points.
- Confirm that the mounting surface and attachment method are suitable for the proposed installation.
- Follow all instructions supplied with the dish, mount, roof system, sealants and flashing components.
- Arrange professional help if the work involves unsafe roof access or tasks outside your experience.
- After setup, use the Starlink app to review obstruction and connection information.
DIY vs. Professional Installation
Starlink kits support customer setup, but that does not make every roof, wall or pole installation a suitable DIY project. Working at height, drilling into a building and attaching equipment to a structure can create fall, electrical, plumbing, structural and water-entry risks.
Do not drill until you have checked what is behind the surface and confirmed the required attachment and weatherproofing method. If you cannot safely access the location, identify concealed services or follow the relevant product instructions, stop and contact an appropriate professional. Our Starlink mount safety checklist provides additional questions to consider before starting.
Cable Routing and Final Checks
Plan the cable path before fixing the mount. Use only routing and protective methods compatible with your Starlink cable and equipment. Support the cable without crushing or sharply bending it, protect it from abrasion and accidental impact, and leave connections accessible for inspection or service.
If a cable must pass through an exterior wall or roof assembly, use a purpose-designed entry and flashing or sealing method appropriate for that assembly. A bead of sealant by itself may not provide a durable flashing system. Avoid improvised routes through doors or windows where the cable could be pinched.
Once installation is complete, connect the system according to the setup guide and review its status in the Starlink app. The app can show whether obstructions are affecting service. Recheck the installation if vegetation grows into the field of view or if the dish, mount or cable is disturbed.
For more planning advice, see our guide to Starlink wall, RV and external cable solutions.
Conclusion: Does Starlink Have to Be Mounted on the Roof?
No. Starlink can work from a suitable ground, roof, pole or wall location. The best location is the one that passes the Starlink app's obstruction check, supports compatible mounting hardware and allows the cable to be routed without avoidable damage.
Focus on:
- The clearest available view of the sky in the field of view identified by the Starlink app
- A mount and attachment method appropriate for your dish and installation surface
- A protected, serviceable cable route
- Safe installation and professional assistance where needed
If you need help comparing compatible mounting options, contact the SpaceTek team.

Leave a comment
This site is protected by hCaptcha and the hCaptcha Privacy Policy and Terms of Service apply.