
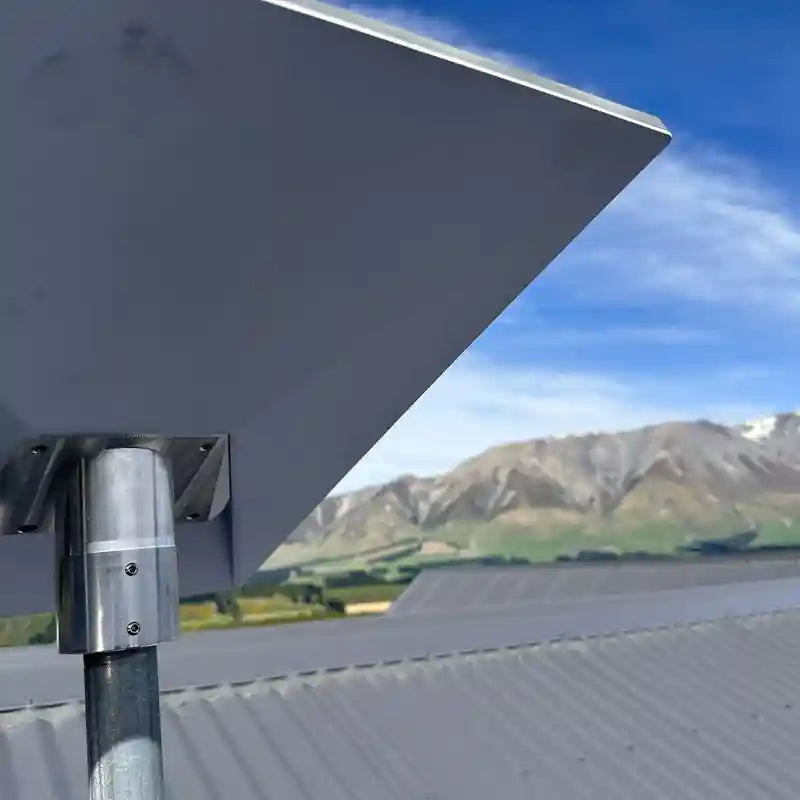
Why your Starlink mount is the foundation of your connection
A durable pole Starlink mount keeps your dish steady, clear of obstructions, and protected from harsh Australian weather. Choose a corrosion-resistant aluminium or galvanised steel setup, match it to your Starlink generation, and secure it to a rigid metal pole so wind and vibration do not interrupt your connection.
Key Takeaways
- Choose precision-machined aluminium or hot-dip galvanised steel for better resistance to corrosion, UV exposure, and coastal salt air.
- Use metal poles only, with a compatible outer diameter between 31 mm and 63.5 mm.
- Match the mount to your Starlink generation, whether you use Gen 2, Gen 3 (V4), or Starlink Mini.
- Keep the dish elevated with a clear sky view to reduce dropouts and improve reliability.
- Avoid cheap plastic or 3D-printed adapters because they can become brittle, warp, or fail in Australian conditions.
Choosing a durable pole Starlink mount is one of the most important decisions you will make after buying your dish, especially if you live somewhere exposed. Outback heat, coastal salt air, strong UV, and sudden storm gusts can punish cheap hardware quickly.
The dish is only part of the setup. Without a solid, well-engineered pole mount holding it steady, even good Starlink hardware can underperform. Small movements from a flimsy mount can cause packet loss, and Starlink's onboard software can only compensate so much before your connection suffers.
At SpaceTek Australia, we design and supply Starlink mounting solutions specifically engineered for Australian conditions. Whether you are setting up permanently on a rural property or heading off-grid for a trip, the right mount helps the whole system work properly.
Why do you need a durable pole Starlink mount in harsh Australian climates?

Australia throws plenty at outdoor gear. When you mount a Starlink dish on a pole, you are putting a flat-panel dish up where it catches wind, heat, salt air, and rain. If the pole bends, sways, or vibrates, your connection can suffer.
Even on clear days, environmental stress is always working away in the background. Coastal salt air speeds up rust on cheap painted steel, while strong UV can make plastics brittle and unreliable.
Thermal expansion is another quiet problem. When temperatures swing from cold nights to hot summer afternoons, materials expand and contract. Poor-quality mounting hardware can loosen over time, which is why it helps to understand the case for a Starlink dish pole mount before choosing your setup.
Which materials are best for a durable Starlink pole mount?
When selecting a durable Starlink pole mount, the material you choose makes a big difference to long-term reliability.
- Anodised aluminium: A strong choice for most installations because it is lightweight, corrosion resistant, and well suited to coastal and inland Australian conditions.
- Carbon fibre: Useful for mobile, caravan, and camping setups where low weight and rigidity matter.
- Hot-dip galvanised steel: A robust option for heavy-duty permanent installations when weight is less of a concern.
- Marine-grade stainless steel fasteners: Ideal for exposed coastal properties because they help prevent screws and fittings from seizing or weakening over time.
Avoid cheap, 3D-printed plastic adapters. They might look tempting online, but they are not the right choice for long-term exposure to heat, UV, and wind.
Why are metal poles non-negotiable for safety?
Always use metal poles for Starlink installations. Some DIY guides suggest PVC or plastic conduit to save money, but that is a risky shortcut.
PVC lacks the rigidity needed to support a Starlink dish properly. Under the Australian sun, it can soften, warp, and degrade. Add a gusty summer storm and a plastic pole can buckle, putting your dish at risk.
When choosing a metal pole, diameter compatibility matters. Most standard Starlink pipe adapters are designed for metal poles with an outer diameter from 31 mm to 63.5 mm. Staying within that range helps the clamping mechanism grip evenly and keep the dish aligned.
How do SpaceTek dish mounts compare with standard mounting options?
Official Starlink utility mounts, such as standard wall, pivot, or pipe adapter options, are made for general use. They can work well in mild conditions, but exposed Australian locations often need something more solid.
SpaceTek's heavy-duty alternatives are built for stability, corrosion resistance, and a stronger mechanical grip. We focus on thicker materials, deeper insertion points, and secure locking hardware to reduce wobble and keep the dish steady. For a broader overview of available options, read our Starlink pole mounts complete guide.
How much do wind ratings, ballast, and mounting angles matter?
A good mount has to handle real-world weather. Starlink dishes can catch strong wind, so the mount, pole, roof fixings, and installation method all need to suit your location.
For non-penetrating setups, such as ballasted roof mounts, make sure there is enough weight to stop the assembly from sliding or tipping. These setups can suit temporary or calmer locations, but they are not always the best choice for cyclone-prone or highly exposed coastal areas.
Mounting angle also affects performance and water run-off. Permanent mounts usually keep the dish facing the sky, while some mobile mounts use a fixed tilt to help shed rain and maintain a reliable alignment. Good installation practice follows basic wind load engineering principles, which helps reduce movement in strong weather.
Which Starlink generation are you mounting?
Different Starlink generations use different mounting interfaces, so it is worth checking before you buy.
- Gen 2 actuated dish: Uses a motorised mast that clicks into compatible mounts.
- Gen 3 (V4) standard dish: Uses a flat-panel design with a kickstand, so pole mounting usually requires removing the kickstand and using a Gen 3-compatible adapter.
- Starlink Mini: Needs a compact, precise mount that suits portable use, vehicle setups, and off-grid travel.
Always choose a mount designed for your exact dish generation so the connection is secure, stable, and weather-ready.
Which durable Starlink mount suits your setup?
The right durable Starlink mount depends on how and where you plan to use your satellite internet. A permanent home installation needs a different approach from a weekend camping setup, a caravan fit-out, or a marine installation.
What works best for permanent home setups?
For a permanent residential setup, your goal is height, strength, and stability. You need to lift the dish above common obstructions such as trees, roof peaks, fences, and nearby structures so it has a clear view of the sky.
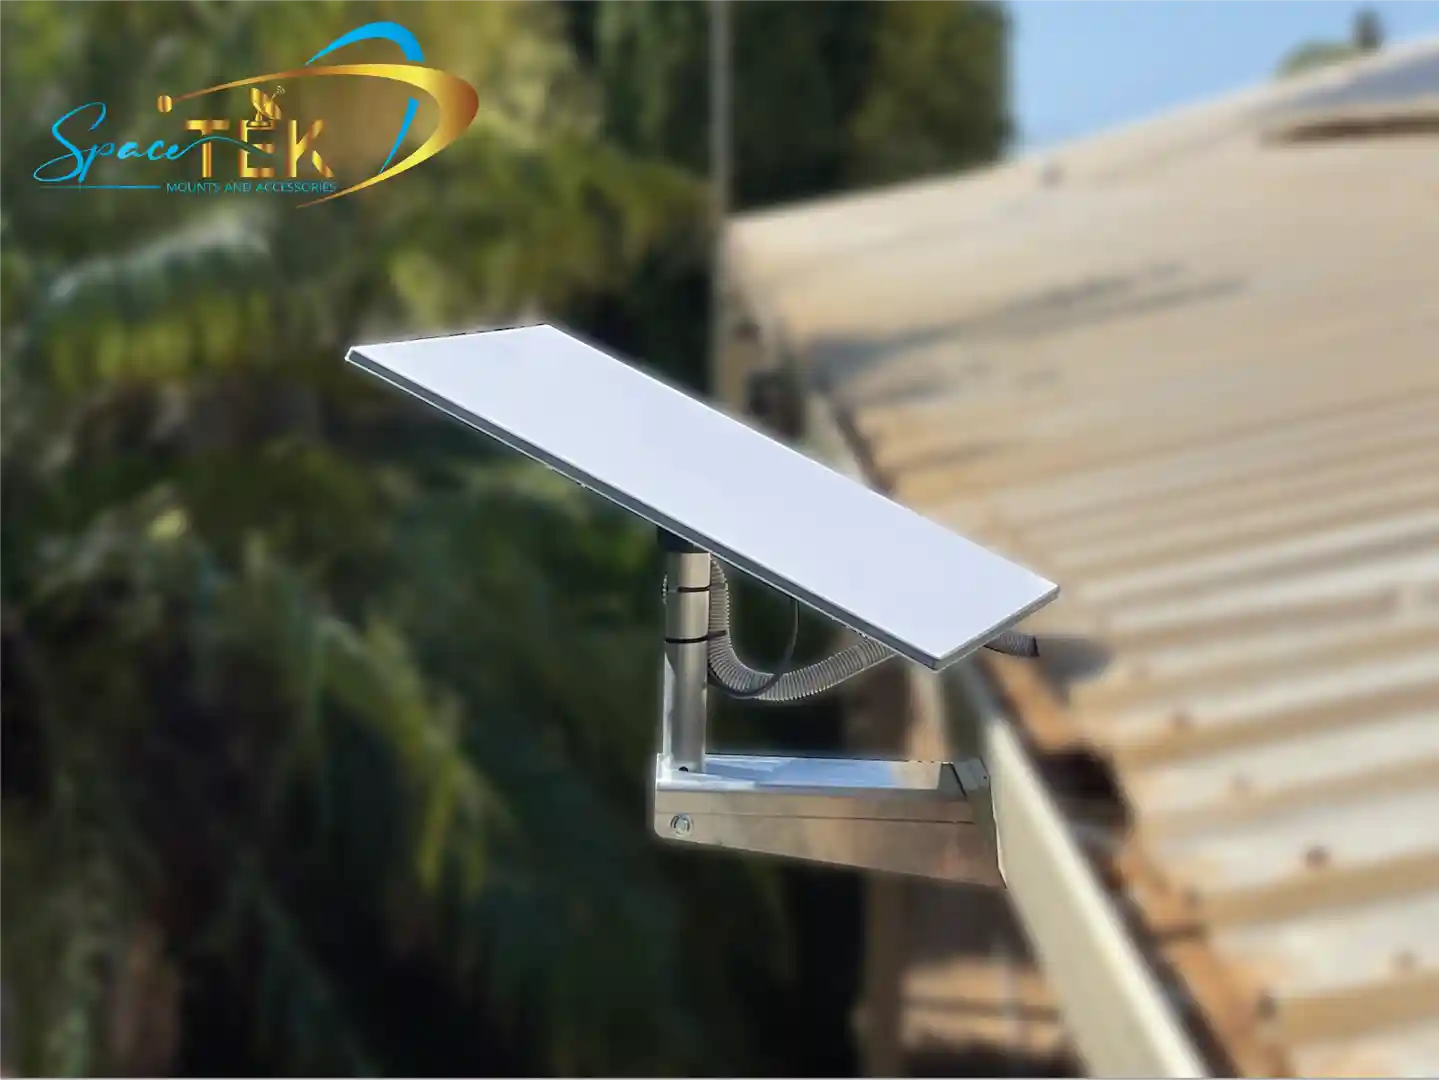
For tin or metal roofs, a quality metal roof mount with a galvanised steel mast is often a strong choice. These setups can include multiple fixing points and weather sealing to help protect the roof.
If you are mounting to a wall, chimney, or timber fascia, choose hardware that can be fixed into solid structural material. For taller masts, stay bars can help reduce vibration and swaying in strong winds.
What works best for caravans, camping, and off-grid trips?
If you are travelling in a caravan, RV, or 4WD, portability matters. Lightweight telescopic carbon fibre poles can help you raise the dish above low scrub or nearby vehicles, then pack it away neatly when you move on. SpaceTek's Starlink Mini collection is built for portable and camping setups.
Power is just as important as the mount when you are off-grid. Running a standard Starlink router through an AC inverter is less efficient because power is converted more than once, which can waste battery capacity.
SpaceTek StarPower V2, V3, and V4 DC power supplies are designed to power Starlink from a 12V or 24V battery system with efficient DC-to-DC conversion. They help reduce power draw and can let you bypass the standard Starlink router when you want to run your own custom 12V Wi-Fi setup.
How should you install a Starlink pole mount properly?
A quality mount still needs a proper installation. If you want the setup to stay safe and reliable, follow the basics in our guide on how to install a Starlink pole mount and take your time with each step.
- Use the right tools: Have a socket wrench, hex keys, a spirit level, and drill bits suited to the mounting surface.
- Tighten evenly: Hand-tighten the clamping bolts first, then secure them evenly. Avoid impact tools for final tightening because they can damage poles, adapters, or threads.
- Anchor into solid structure: Fix the mount into structural timber, metal purlins, masonry, or another suitable load-bearing surface.
- Manage the cable carefully: Secure the Starlink cable along the pole with UV-rated cable ties and avoid sharp bends.
- Create a drip loop: Leave a small downward loop before the cable enters the building, caravan, or vehicle so water drips away instead of tracking inside.
How can you tell if a Starlink mount is genuinely heavy-duty?
With so many third-party options around, it pays to check the construction before trusting your dish to it.
- Precision-machined or folded components: Look for solid aluminium or reinforced composite parts rather than cheap moulded plastic.
- Deep pole insertion: A deeper socket or insertion point helps the pole sit securely before the locking hardware is tightened.
- Multiple locking points: More than one locking screw or clamp point helps distribute pressure and reduce vibration.
- Rust-resistant finishes: Choose anodised aluminium, galvanised steel, powder-coated steel, and marine-grade stainless steel fasteners where appropriate.
Frequently asked questions about Starlink pole mounts
Can I use a PVC pipe for my Starlink pole mount?
No. PVC and plastic pipes are not suitable for a Starlink pole mount. They lack the strength and rigidity needed to handle dish weight, wind load, and Australian heat. Use a suitable metal pole instead.
How do I stop my Starlink pole from vibrating in high winds?
Use a rigid metal pole, tighten the hardware evenly, and make sure the mount is fixed into a solid structure. For taller installations, stay bars can help reduce swaying and vibration.
Does the Gen 3 (V4) dish need a different mount from Gen 2?
Yes. Gen 2 uses an actuated mast, while Gen 3 (V4) has a flat-panel design with a kickstand. To mount Gen 3 on a pole, you need a Gen 3-compatible adapter.
Ready to build a stronger Starlink setup?
Your Starlink dish is only as reliable as the mount holding it up. A durable pole Starlink mount protects your hardware, helps reduce movement, and gives your connection a better chance of staying stable when the weather turns rough.
SpaceTek Australia designs and supplies rugged Starlink mounts and efficient DC power solutions for Australian homes, caravans, and off-grid setups. If you need help choosing the right gear, contact SpaceTek and we will point you in the right direction.

Leave a comment
This site is protected by hCaptcha and the hCaptcha Privacy Policy and Terms of Service apply.