
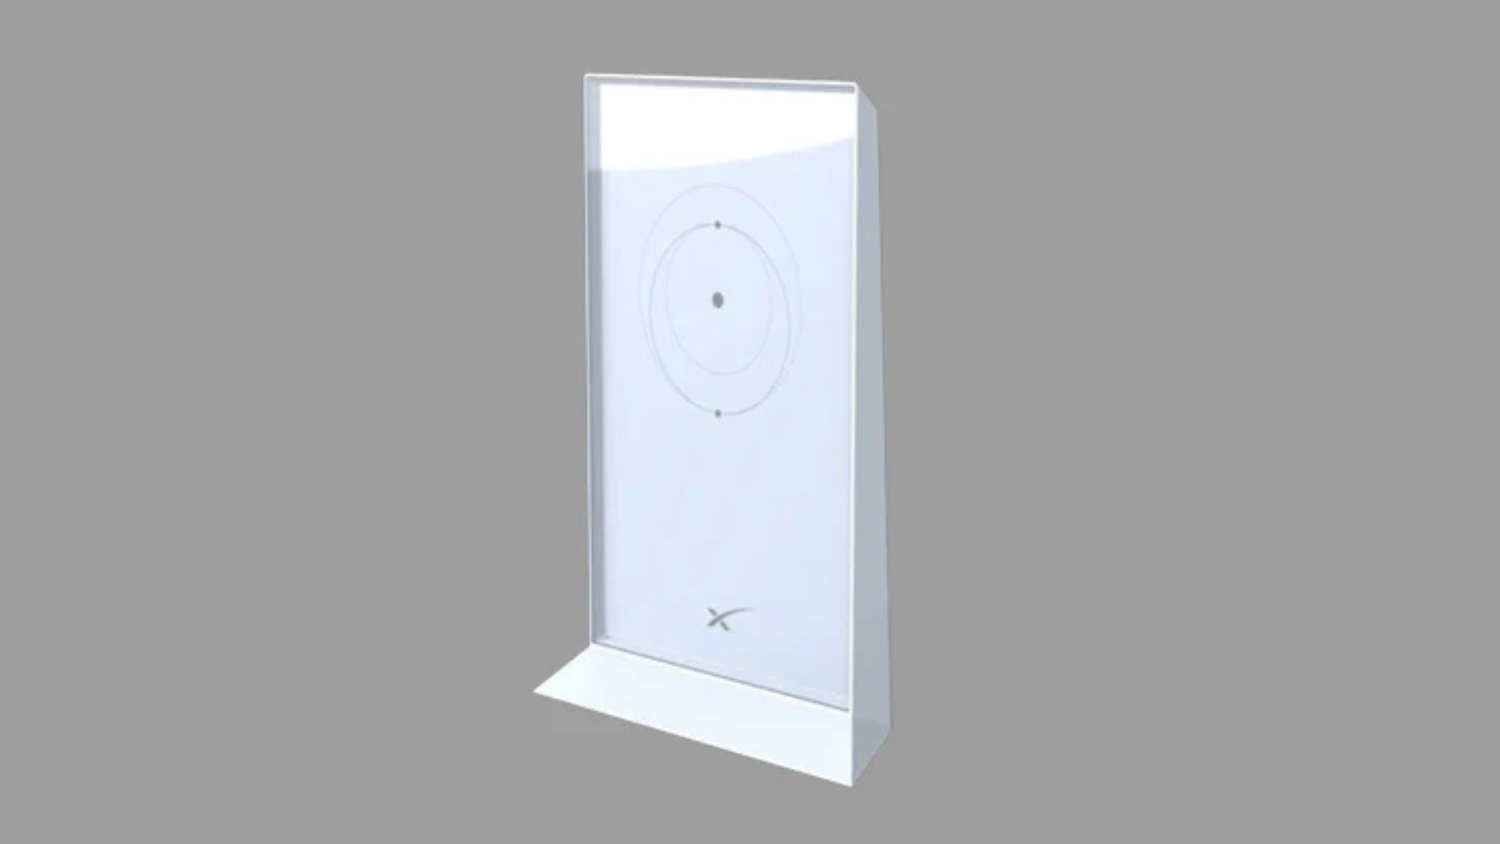
Why Your Starlink WiFi Signal Needs a Boost
Battling Wi-Fi dead zones in your home, garage, workshop, or across your property? A single Starlink router may not cover every area, especially in larger or multilevel homes or where walls, metal, concrete, brick, appliances, and other obstacles weaken the signal.
To extend your Starlink WiFi signal, consider these options:
- Starlink Mesh or a Third-Party Mesh System – Add coverage in nearby rooms and other weak-signal areas.
- Wired Access Points – Provide a stable connection in areas that can be reached with Ethernet.
- Point-to-Point Bridges – Create a dedicated wireless link to a detached building when ordinary indoor Wi-Fi is not suitable.
- Optimize Router Placement – Improve coverage before buying additional hardware.
First Steps: Map and Optimize Your Coverage
Before buying hardware, check your current coverage in the Starlink app. From the Network tab, select Check WiFi Range and walk through the areas you want to test. The tool creates a visualization of Wi-Fi signal strength. The Network screen can also show the connection quality of devices on your network. See Starlink's Check WiFi Range guidance for current instructions.
Next, optimize the router's position. Router placement can have a major effect on coverage.
- Choose a Central Location: Place the router near the center of the area where you use Wi-Fi most often rather than in a corner, cabinet, or enclosed space.
- Keep It Open and Elevated: Put the router upright on a hard, flat surface such as a table, countertop, or shelf. A position at least halfway up the room is generally preferable to the floor.
- Reduce Obstructions and Interference: Minimize the number of walls between the router and connected devices. Avoid placing it close to metal, concrete, brick, major appliances, or other objects that can block or interfere with Wi-Fi.
For more tips, see our guide on Boosting Starlink Wi-Fi: Simple Steps for Better Connectivity. If placement changes do not resolve the weak areas, consider extension hardware.
How to Extend Starlink WiFi Signal: Key Methods and Best Practices
The right extension method depends on your Starlink kit, building layout, construction materials, required coverage, and whether Ethernet cabling is practical. Check the compatibility and connection requirements for your exact Starlink router before ordering networking equipment. You can also explore our Gen 3/V4 mounts and accessories and Starlink Mini accessories.
Using Starlink Mesh
A compatible Starlink mesh router can extend coverage into nearby weak-signal areas while remaining manageable through the Starlink app. Place a wireless mesh node between the primary router and the dead zone—not inside an area where it can no longer receive a strong connection. Starlink generally recommends placing wireless mesh routers one or two rooms apart. Compatibility varies by router generation, and Starlink does not recommend using more than three Starlink mesh routers. In larger or obstruction-heavy buildings, a wired connection may provide better results than adding more wireless nodes.
Going Third-Party: Using Other Mesh Systems, Extenders, or Access Points
Third-party mesh systems, Wi-Fi extenders, routers, and wired access points can provide additional configuration options. A wired connection is usually preferable when available because it avoids relying on a weak wireless link for backhaul. The required Starlink connection varies by kit: some systems have a built-in Ethernet connection, while certain kits require a compatible Starlink Ethernet adapter. If a third-party router will manage the network, you may also need to enable bypass mode. Check Starlink's instructions for your exact hardware before purchasing an adapter or changing router settings. Starlink does not guarantee the performance or compatibility of third-party networking equipment, and some Starlink app features may not work as expected. For additional options, see our guide to the best mesh systems for Starlink users.
| Feature | Wireless Extenders or Mesh | Wired Access Points (APs) |
|---|---|---|
| Setup | Varies by product and app | Requires Ethernet and configuration |
| Performance | Depends on node placement, interference, and backhaul quality | Typically more consistent because backhaul is wired |
| Cabling | Not always required | Required |
| Starlink App Integration | Available with compatible Starlink Mesh; limited with third-party systems | Limited with third-party equipment |
| Starlink Ethernet Adapter | Depends on the kit and connection method | Depends on the kit; some Starlink hardware has built-in Ethernet |
Advanced Solutions: Reaching Outbuildings and Mobile Setups
For a detached garage, workshop, guesthouse, or other outbuilding, ordinary indoor mesh may not provide a dependable link. A properly selected point-to-point (P2P) wireless bridge can carry the network between buildings using directional radios. Performance depends on distance, alignment, obstructions, interference, and the specifications of the equipment. A clear line of sight is normally important, and all exposed radios, enclosures, cabling, connectors, and mounting hardware should be rated for their installation environment. Follow the bridge manufacturer's grounding, surge-protection, mounting, and installation instructions. For mobile setups in vans or RVs, explore our Starlink RV and portability mounts.

Troubleshooting Your Extended Network
If the extended network is not performing as expected, work through these checks before replacing equipment.
- Identify the Slow Link: Compare performance close to the primary router with performance near the mesh node, extender, access point, or bridge. This can help separate a Starlink connection issue from a local Wi-Fi or backhaul issue.
- Restart the Equipment: Restart the affected Starlink and networking devices using their app controls or manufacturer instructions. Allow each device to reconnect fully before testing again.
- Check Software and Firmware: Keep the Starlink app and third-party networking equipment up to date. Starlink router software is normally updated automatically.
- Review Placement: Use Check WiFi Range and the Network screen in the Starlink app. Move a wireless mesh node closer to the primary router if its backhaul connection is weak, and check a P2P bridge for alignment or new line-of-sight obstructions.
- Reduce Interference: Keep routers and wireless nodes in open locations away from major appliances, metal objects, concrete, brick, and other likely sources of obstruction or interference.
- Check Configuration: If you use a third-party router, confirm that cables are connected to the correct WAN and LAN ports and that bypass mode, DHCP, and access-point settings match the equipment manufacturer's instructions.
Your Next Steps for Better Starlink Coverage
Extending Wi-Fi improves only the local network between your devices and router. It cannot correct an obstructed Starlink antenna, a service outage, congestion, or another problem affecting the connection between the antenna and the Starlink network. If performance is poor even near the primary router, check the Starlink app for alerts, obstructions, and speed-test results before adding more Wi-Fi hardware.
A secure and correctly installed antenna mount also helps keep the Starlink antenna in its intended position. SpaceTek offers Gen 3/V4 mounts, Starlink Mini accessories, and RV and portability mounts. Confirm compatibility with your exact Starlink model, installation surface, and intended use before ordering or installing a mount.
For more tips, explore our guide with expert tricks to upgrade your Starlink experience.
Every property is different. If you need help selecting compatible SpaceTek products for your setup, contact us.

Leave a comment
This site is protected by hCaptcha and the hCaptcha Privacy Policy and Terms of Service apply.