
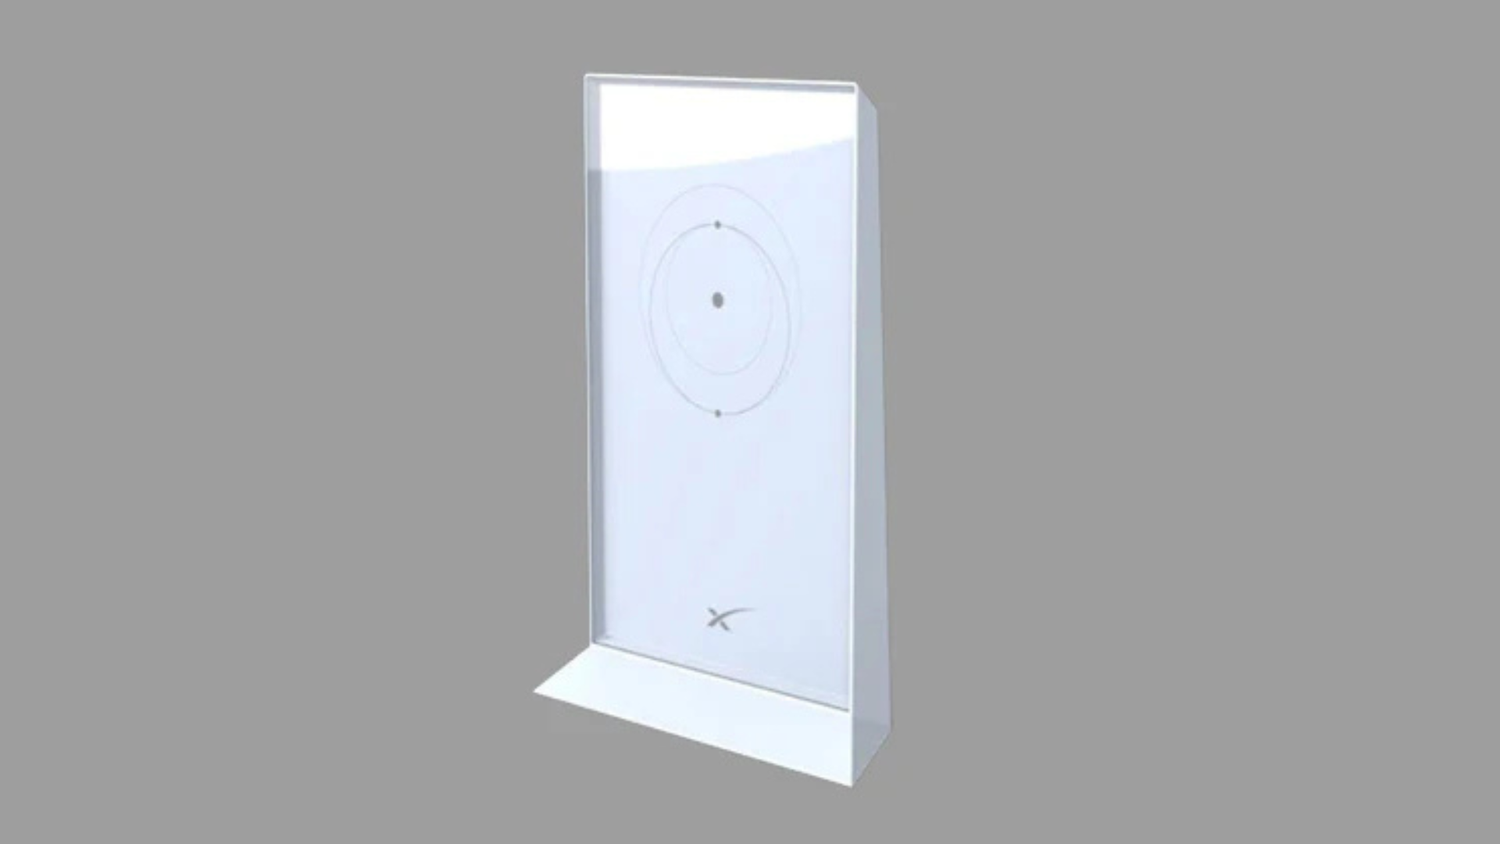
Starlink mesh router distance is not a single fixed number. The useful distance between a Starlink router and a mesh node depends on the hardware model, walls, floors, building materials, interference and where each unit is placed.
- Use distance as a starting point, not a guarantee.
- Place each wireless node where it still receives a good connection from the router or another supported node.
- Test the actual rooms and devices that matter before adding more hardware.
A mesh network can extend Wi-Fi into areas that one router does not serve well, such as a back bedroom, basement office or attached garage. It cannot improve the satellite link itself, and it cannot guarantee the same speed in every room. Dish obstructions, Starlink service conditions and Wi-Fi conditions inside the building can each affect the result.
The practical goal is therefore not to reach a published maximum distance. It is to create a reliable path between the main router, each mesh node and the devices using the network.

Understanding Starlink Mesh Systems
A mesh Wi-Fi system uses a main router and one or more compatible nodes to provide a shared network across a home. Devices can move between access points, although roaming behavior is determined by the mesh system and the client device. A phone or laptop may sometimes remain connected to a more distant node rather than switching immediately.
Mesh can be useful in larger or multistory homes and in layouts where a central router cannot provide adequate coverage. Results vary substantially. Drywall usually weakens Wi-Fi less than masonry, concrete, foil-backed insulation, metal siding, mirrors, appliances and multiple floors.
Coverage Is Not a Guaranteed Radius
Router coverage figures are often based on open or favorable test conditions. A real home is different: every wall, floor and source of radio interference changes the usable signal. The receiving device matters too; a phone with a small antenna may lose a usable connection before another device does.
For that reason, do not assume that a quoted square-foot rating or maximum open-air distance will apply to your house. Treat any such figure as an estimate and verify performance in place.
What Mesh Can and Cannot Improve
A well-positioned mesh node may improve the Wi-Fi connection in a weak area. It does not increase the bandwidth available from Starlink, remove dish obstructions or guarantee uninterrupted service. If performance is poor beside the main router, diagnose the Starlink connection and router first; adding a distant node is unlikely to solve the underlying issue.

How Far Apart Should Starlink Mesh Routers Be?
There is no universal spacing that works in every home. A useful starting principle is to put a wireless mesh node between the main router and the weak-coverage area—not at the far edge of the dead zone. The node needs a usable upstream connection before it can provide a useful downstream connection.
In an open-plan home, the units may work adequately across a longer distance. In a home with masonry walls, concrete floors or metal barriers, a shorter separation may be necessary. One or two rooms can be a reasonable initial placement test in many homes, but it is not a maximum, minimum or performance guarantee.
A Practical Placement Process
- Test near the main router. Confirm that the Starlink connection and local Wi-Fi perform acceptably before extending the network.
- Identify the weak area. Test with the device and application you actually use rather than relying only on the number of Wi-Fi bars.
- Place the first node partway toward that area. Choose an open, elevated location with access to power.
- Avoid major barriers. Do not hide the node inside a cabinet or place it directly behind a television, large appliance, aquarium or metal object.
- Allow the system to settle. After setup or repositioning, give the network time to reconnect and then repeat tests in several nearby locations.
- Move before adding. If performance is weak, try relocating the node closer to the upstream router or changing its height before purchasing another node.
When available for your hardware and app version, use the Starlink app's network or Wi-Fi diagnostic tools to help evaluate placement. App features and labels can change, so follow the instructions shown for your installed equipment.
Multistory Homes, Basements and Garages
Floors can weaken Wi-Fi as much as, or more than, walls. In a multistory home, placing nodes near a stairwell or other relatively open path may work better than positioning them directly above or below one another through dense flooring.
A basement with concrete walls, a detached garage or an outbuilding can be especially difficult to serve with indoor wireless mesh. Do not assume that adding more indoor nodes will bridge a long outdoor gap. A wired connection or purpose-designed network link may be more appropriate, subject to equipment compatibility, building conditions and applicable installation requirements.
Router Generation and Hardware Compatibility
Starlink has supplied different router generations and kit configurations. Their Wi-Fi standards, connectors, Ethernet options and compatibility are not identical. Confirm the exact router, dish kit and mesh-node model in your Starlink account, app or hardware documentation before buying equipment.
Newer Wi-Fi standards can improve capacity or efficiency when compatible devices and favorable conditions are present, but they do not create a guaranteed coverage distance. A newer router can still struggle through concrete, masonry or metal barriers.
Ethernet and Wired Backhaul
A wired Ethernet connection can avoid some of the signal loss and contention associated with a wireless link between access points. However, Ethernet availability is model-dependent. Some Starlink hardware has Ethernet ports, while other configurations may require a compatible adapter or third-party networking equipment.
Do not assume that every official Starlink mesh node supports Ethernet backhaul, or that every generation can be combined in the same way. Verify the supported topology for your exact hardware before routing cable or purchasing adapters.
If you use a third-party mesh system, router mode, access-point mode and Starlink Bypass Mode can affect how the network behaves. The correct configuration depends on which device will perform routing. Avoid running two routers in a way that unintentionally creates double NAT unless you understand and accept the tradeoffs.
Wireless Backhaul and Speed
When a mesh node communicates wirelessly with its upstream router or node, that backhaul shares radio resources with connected devices on many systems. Actual throughput can therefore be lower at a wireless node than beside the main router. The amount of reduction varies with hardware, signal quality, channel conditions, network load and topology.
Adding nodes does not automatically add speed. More nodes can improve coverage, but unnecessary nodes may increase contention or make roaming less predictable. Use the smallest number that provides acceptable coverage after placement testing; there is no universal node count for every home.
Dish Placement and Indoor Wi-Fi Are Separate
The Starlink dish needs the sky visibility specified for the installed hardware and location. Trees, buildings and other obstructions can interrupt the satellite connection. Mesh nodes only distribute the connection inside and around the home; they cannot compensate for an obstructed dish.
Use the Starlink app's obstruction tool from the proposed dish location and follow the current Starlink installation instructions. If the dish needs to be raised or moved, choose a mount suited to the structure and local conditions. Have roof, structural or electrical work completed or checked by an appropriately qualified professional where required.

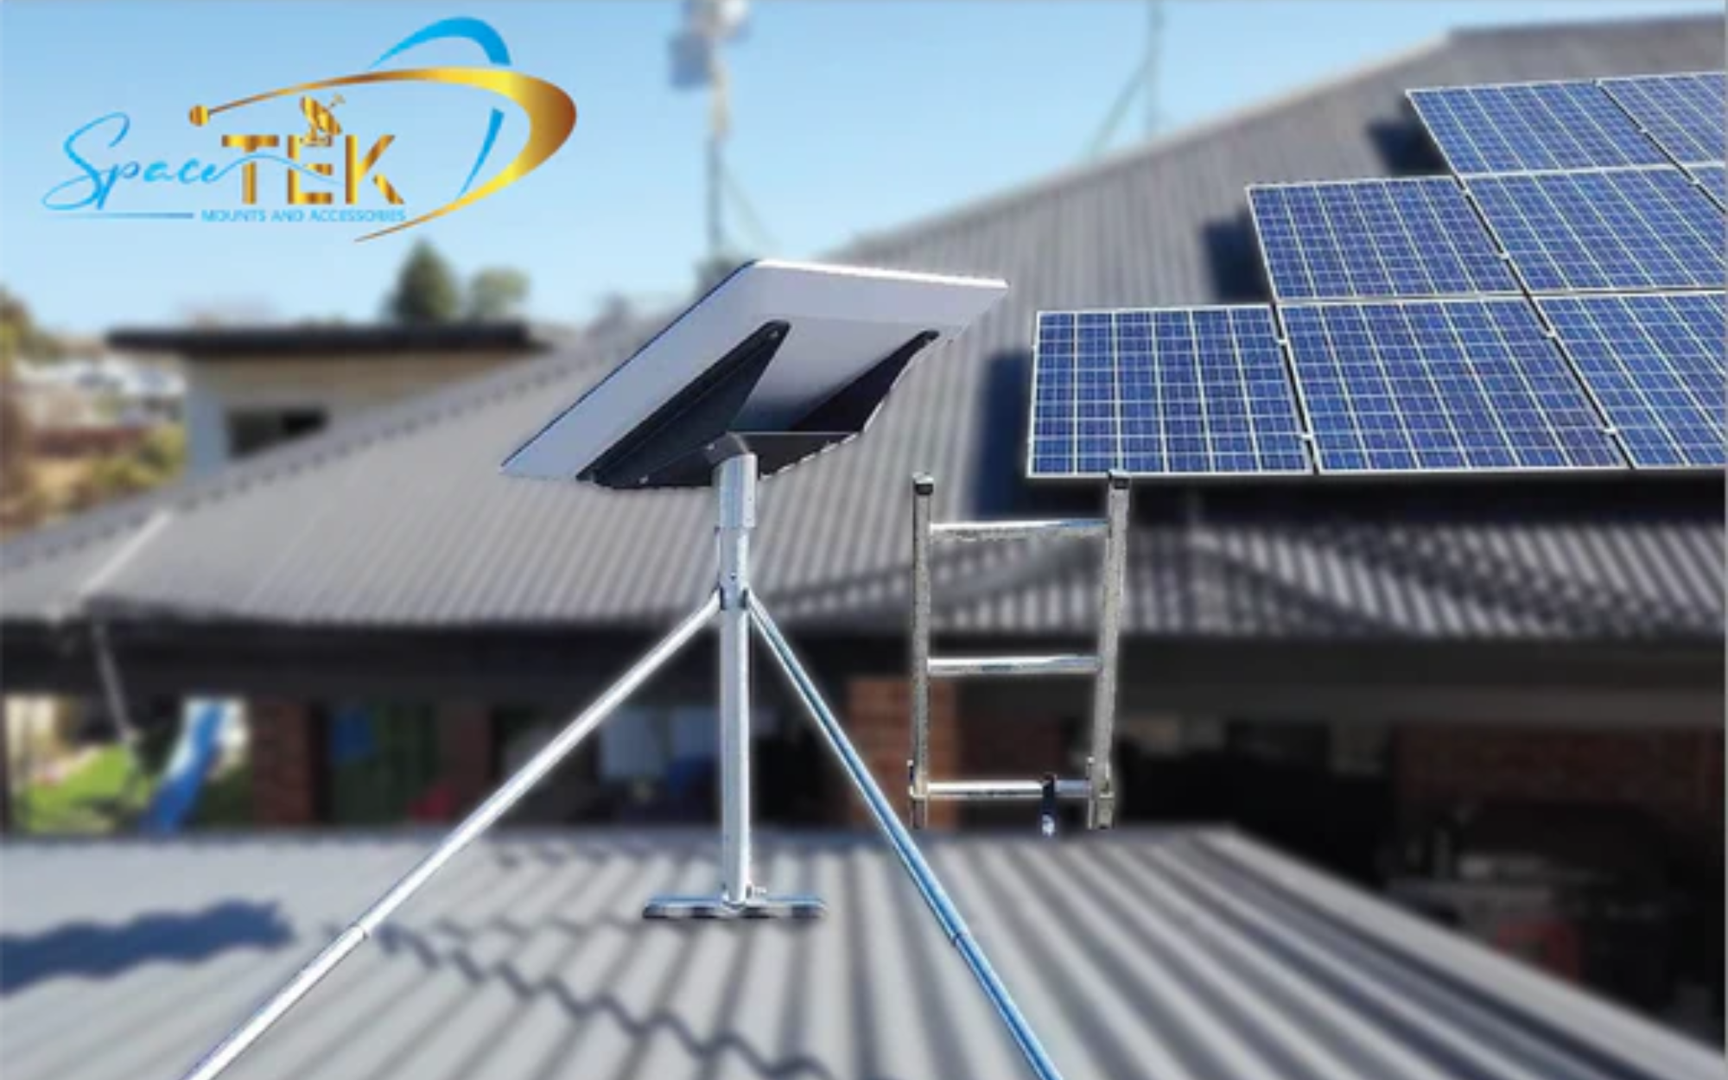
SpaceTek supplies Starlink-compatible mounting and cable-management accessories. These products can help position and organize compatible installation hardware, but a mount or cable sleeve does not by itself increase Wi-Fi range or guarantee Starlink performance. Check product compatibility and installation requirements before ordering.
Frequently Asked Questions About Starlink Mesh Range
How far can a Starlink mesh router reach?
There is no fact-safe distance that applies to every installation. Open space, walls, floors, interference, router model and client device all affect the result. Test coverage in the actual building rather than planning around a theoretical maximum.
How far apart can you put mesh routers?
Place them close enough to maintain a good upstream connection. A node installed inside the area with little or no signal is usually too far away. Start partway between the router and the weak area, test, and adjust. One or two rooms may be a useful first trial in some homes, but construction materials can require closer placement.
Will more mesh nodes make Starlink faster?
Not necessarily. A node may improve the local Wi-Fi link in a weak room, but it does not increase the capacity of the Starlink service. Additional wireless hops and radio contention can also reduce throughput. Add a node only when testing shows that coverage—not the satellite connection—is the bottleneck.
Does Starlink mesh use Ethernet?
Ethernet ports, adapters and backhaul support depend on the Starlink hardware generation and the mesh equipment being used. Check the current documentation for the exact router and node models. Do not assume that an Ethernet port or adapter makes every official mesh topology possible.
Can mesh Wi-Fi reach a detached building?
It may in favorable conditions, but ordinary indoor mesh hardware is not a guaranteed building-to-building link. Distance, exterior walls, windows, weather exposure and interference can make the connection unreliable. For a detached garage, workshop or barn, consider a properly designed wired or wireless link and confirm electrical, grounding, surge-protection and installation requirements with qualified professionals.
Where should the main Starlink router go?
Where the cable and installation permit, a relatively central, open and elevated indoor position generally gives Wi-Fi a better starting point than a floor-level corner, enclosed cabinet or location beside large metal objects. Keep the router in an environment allowed by its documentation and do not block ventilation.
Starlink Mesh Placement Checklist
- Confirm the exact Starlink router and mesh-node models.
- Verify that the main connection works well near the router.
- Place wireless nodes where they still receive a good upstream signal.
- Keep nodes out of cabinets and away from major metal or masonry barriers where practical.
- Test each floor and the rooms where reliable service matters.
- Relocate a weak node before adding another one.
- Verify Ethernet, adapter, backhaul and Bypass Mode compatibility before changing the network design.
- Treat detached buildings and outdoor coverage as separate design problems when ordinary indoor mesh is not adequate.
The Bottom Line
The right Starlink mesh-router distance is the spacing that preserves a good connection between nodes in your real home. No single footage or square-foot figure can account for every wall, floor, device and source of interference.
Start with the main router in a practical open location, place one node partway toward the weak area, and test. Add hardware only when the results show it is needed. For more setup context, see our guides to Starlink mesh Wi-Fi extension and Starlink accessories.

Leave a comment
This site is protected by hCaptcha and the hCaptcha Privacy Policy and Terms of Service apply.