
Why a Starlink Mini 12V Adapter Is the Key to Reliable Off-Grid Internet in Australia
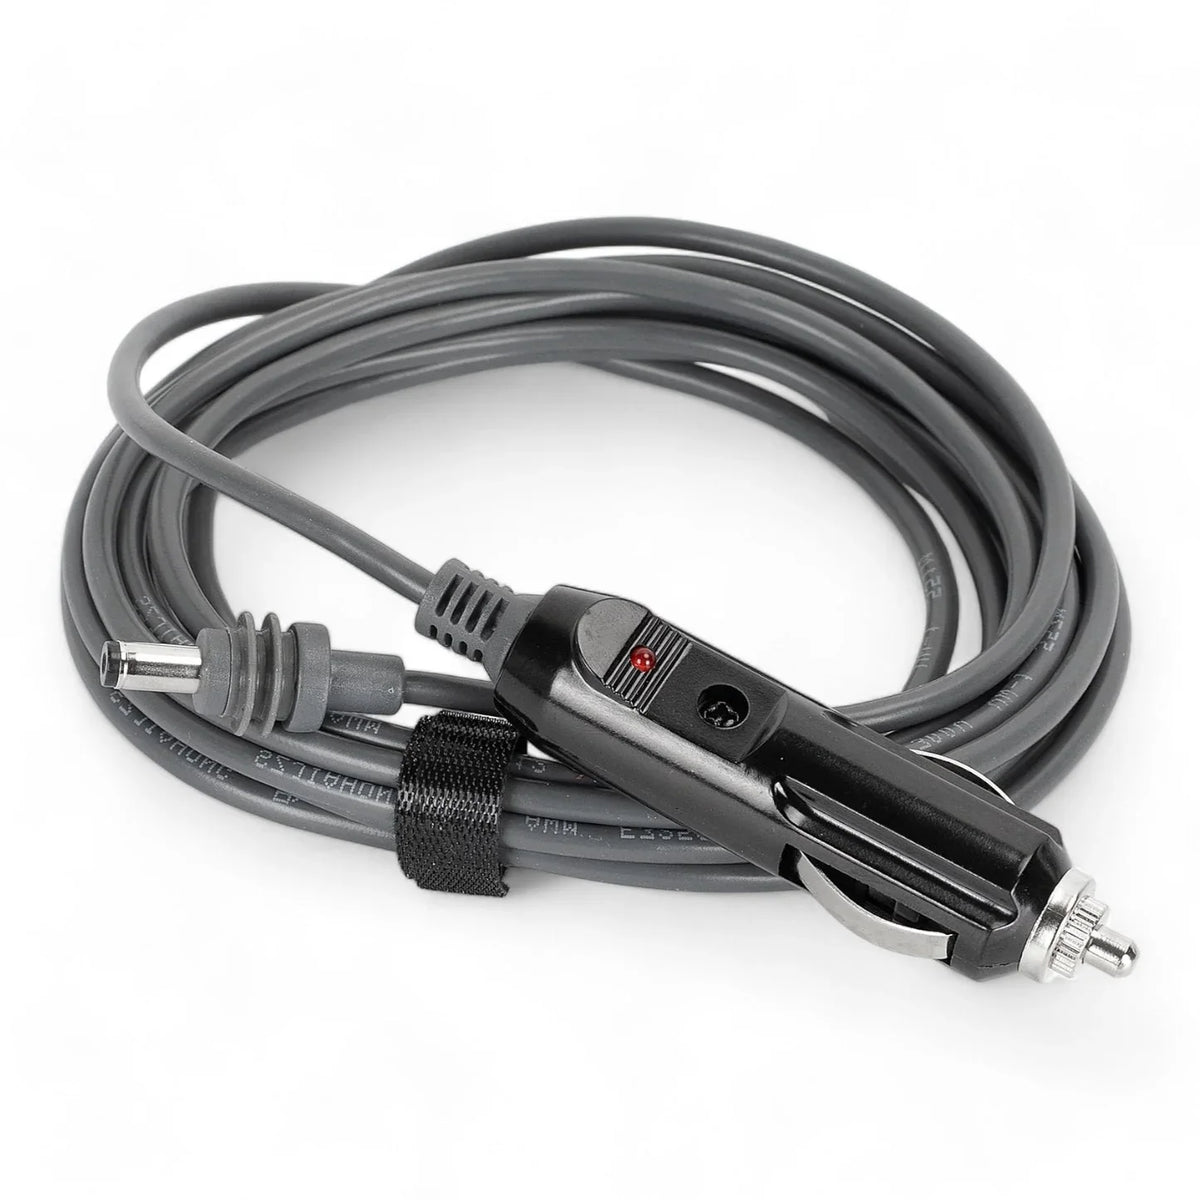
A Starlink Mini 12V adapter connects your Starlink Mini dish directly to your vehicle's or caravan's 12V DC power source, allowing you to run satellite internet off-grid without needing a 240V mains connection or an inefficient AC inverter. By converting your vehicle's native battery power into a stable voltage, this adapter helps maintain reliable, continuous internet coverage wherever you travel in Australia. For official product details, you can also refer to the Starlink Mini information from Starlink.
If you're trying to power your Starlink Mini from a 12V source, here's what you need to know upfront:
- What it does: Converts your 12V vehicle or battery supply into the stable voltage your Starlink Mini needs to operate, typically within the Mini's supported DC input range.
- Why you need one: The Starlink Mini ships with an AC power brick, which is not ideal in a caravan, 4WD, or off-grid setup without a mains outlet.
- How it works: A DC-to-DC adapter, often with a built-in boost converter, steps your 12V supply up to a clean, stable output for the dish.
- What to look for: Cable gauge, weather-resistant connectors, built-in protections, and a boost converter rated with enough headroom for startup draw.
- Best for: Caravanners, remote workers, off-grid homesteads, boats, and anyone in rural Australia who needs reliable satellite internet without a generator.
For most Aussie users, whether you're parked up at a remote campsite or working from the back of a 4WD, the Starlink Mini is a game-changer. It's compact, capable, and purpose-built for mobility. But out of the box, it still expects a power point.
That's the problem a 12V adapter solves. Your vehicle's auxiliary battery or caravan's 12V system already holds the power you need. The right adapter simply makes the Starlink Mini work with it reliably, efficiently, and without burning through your battery faster than necessary.
In this guide, we'll walk you through everything: how the Mini's power requirements work, the different types of 12V adapters available, how to install them properly, and how to avoid the most common pitfalls like voltage sag and boot failures.
Understanding Starlink Mini Power Requirements and DC Efficiency

To set up a reliable off-grid system, you first need to understand the electrical appetites of your gear. The Starlink Mini is incredibly efficient compared to its older, larger siblings, but it still has a few power quirks that can catch you off guard if you aren't prepared.
When you first turn the Starlink Mini on, it boots its internal computer, powers up its phased-array transmitters, and scans the skies for satellites. During this initial startup and satellite acquisition phase, the power draw experiences a temporary peak. Once the dish establishes a stable connection, the power requirement drops significantly to a highly efficient baseline during normal operation, though it may fluctuate slightly during heavy data usage or in poor weather conditions.
The good news is that the Starlink Mini features a highly versatile design. It accepts a wide DC input voltage range, making it natively compatible with most vehicle, marine, and off-grid battery systems, provided you have the right cabling and hardware to deliver that power safely. For a deeper dive into how this all fits together, check out our Powering Starlink directly from DC guide.
What Is a Starlink Mini 12V Adapter and Why Do You Need One?
A Starlink Mini 12V adapter is a specialised power accessory designed to connect the DC input port of your Starlink Mini directly to a DC power source, such as a cigarette lighter socket, an Anderson plug, or a hardwired auxiliary battery system.
When you purchase the Starlink Mini, the package includes a standard AC-to-DC power brick. This brick is designed to plug into a standard 240V wall outlet in your home. If you want to use this standard power supply in your caravan or 4WD, you are forced to run an AC inverter.
Running an inverter just to power a DC-native device like the Starlink Mini is highly inefficient. An inverter must take the DC power from your batteries, convert it up to AC, and then the Starlink power brick converts it back down to DC. A quality 12V adapter bypasses this entire mess, delivering direct, clean DC power straight to your dish. To understand more about the standard power configurations, read our Starlink Mini power supply guide.
Why Choose a Direct DC Setup Over an AC Inverter?
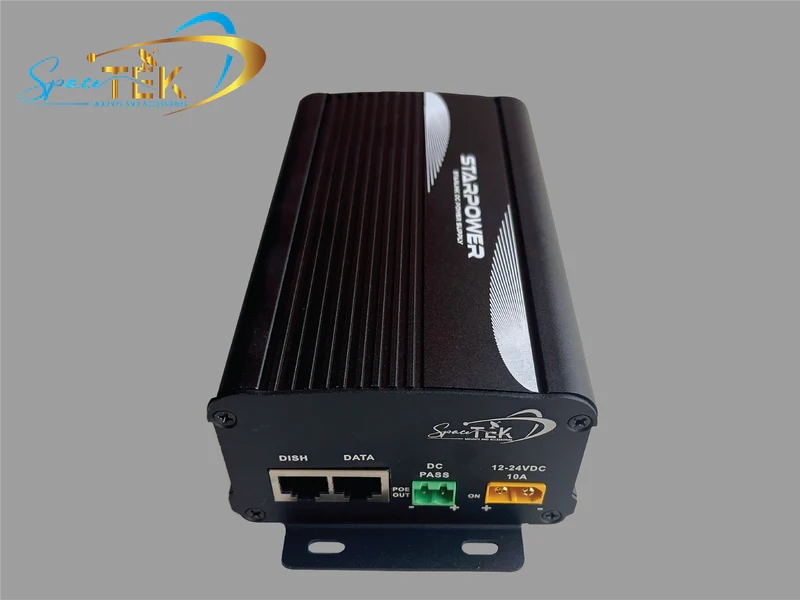
Choosing direct DC-to-DC power over an AC inverter is one of the smartest upgrades you can make for your off-grid electrical system. By using premium solutions like the StarPower V2 and V3 DC power supplies, you gain massive DC-to-DC efficiency advantages over traditional AC inverters. Here is why:
- Eliminate inverter losses: Standard AC inverters are notorious for wasting energy, often losing a significant portion of their power as heat during the conversion process. Direct DC-to-DC systems eliminate these conversion losses entirely.
- Extend your battery runtime: Because you aren't wasting power on double-conversion, your auxiliary battery bank or portable power station will last significantly longer. This is crucial when you are parked up at a remote campsite for a week with limited solar replenishment.
- Lower standby power draw: Inverters draw a baseline idle current just by being turned on, even if nothing is plugged into them. Running a direct DC adapter means you only draw power when the Starlink Mini is actually running.
- Simplify custom router setups: If you want to bypass the built-in Starlink router and run your own highly efficient off-grid 12V router, a direct DC power supply makes integrating your network hardware incredibly straightforward.
How Do You Choose the Right Starlink Mini 12V Adapter?
When shopping for a Starlink Mini 12V adapter, it is easy to get overwhelmed by the sheer number of cheap cables and generic adapters online. However, cutting corners on your power supply is a quick way to end up with dropouts, boot loops, or even damaged hardware.
The first thing to look at is the cable gauge. Because the Starlink Mini experiences a higher power draw during its startup phase, cheap, thin wires will cause a massive drop in voltage over the length of the cable. We recommend using a minimum of 18AWG copper wire for short cable runs. For longer runs, stepping up to a thicker 16AWG or even 14AWG cable is essential to ensure the voltage arriving at the dish remains stable.
You also need to pay close attention to the connectors. The Starlink Mini uses a standard DC5521 barrel connector. Because your dish is designed to sit outside in the wind, dust, and rain, your DC connector must maintain the dish's IP67 waterproof rating. Look for premium adapters that feature reinforced rubber sealing rings and threaded locking collars, as well as protective dust caps for when the cable is disconnected.
At SpaceTek Australia, we design and source premium, heavy-duty DC power solutions specifically engineered to withstand the brutal Australian climate. Our cables feature thick, UV-stabilised shielding and robust, waterproof connections that won't degrade under the blazing outback sun or during sudden tropical downpours.
The Role of Step-Up Boost Converters in 12V Setups
A common point of confusion for off-grid travellers is whether they can run a simple, direct "dummy" cable from their 12V battery straight to the Starlink Mini. While the Mini can accept a range of DC inputs, a standard vehicle battery system rarely sits at a perfectly stable voltage.
When your vehicle is parked and the engine is off, a healthy lithium battery sits at a higher voltage than a standard AGM battery. However, as your fridge, lights, and water pumps turn on and off, the system voltage fluctuates. Under heavy load, your battery voltage can easily sag.
If your battery voltage sags during the Starlink Mini's high-draw startup phase, the dish can suffer from voltage drop, causing it to brown out, fail to boot, or constantly restart.
This is where a step-up (or boost) converter becomes your best friend. A boost converter takes your fluctuating input and steps it up to a rock-solid, regulated output. This provides ample voltage headroom, ensuring your Starlink Mini boots reliably every single time, regardless of how hard your 12V fridge is cycling or how low your battery charge gets.
Our premium StarPower V2 and StarPower V3 DC power supplies utilise highly efficient, synchronous rectification boost technology to deliver a stable, regulated output. These heavy-duty power supplies are housed in rugged, anodised aluminium casings, never cheap, fragile 3D-printed plastic, to dissipate heat efficiently and survive the roughest corrugated outback roads.
Official Starlink Mini Car Adapters vs. Premium DC Power Solutions
When building your mobile setup, you will likely compare the official Starlink Mini Car Adapter against premium aftermarket DC power kits.
The official Starlink Mini Car Adapter is a compact option that plugs into a standard cigarette lighter socket and outputs power via a USB-C port. While it is a convenient, plug-and-play solution for quick road trips, it does have some notable limitations. The official adapter relies on USB-C Power Delivery (PD) negotiation to supply power. If your USB-C cable is slightly damaged, or if you try to use a standard third-party USB-C cable that doesn't support the specific profile, the system will refuse to deliver the required power, and the cable LED will glow red to indicate a fault.
For those looking at other options on the market, you can find various configurations:
- Simple, budget-friendly 3-in-1 cigarette lighter chargers, which often feature integrated digital voltage displays and extra USB ports for charging devices.
- Basic conversion dongles that allow you to adapt standard USB-C cables to the Mini's barrel input.
- Rugged, all-in-one waterproof units designed for harsh outdoor environments.
- Dedicated raw component converters, such as step-up converters, which are excellent for custom, hardwired canopy builds.
For permanent installations in caravans, camper trailers, and canopy builds, we highly recommend moving away from cigarette lighter plugs entirely. Cigarette sockets are notorious for vibrating loose on rough roads, causing instant connection dropouts. Instead, integrating a professional DC-to-DC system like the SpaceTek StarPower V2 or V3 using heavy-duty Anderson plugs provides a locking, vibration-proof connection that is built to handle the roughest tracks in Australia.
How Do You Install and Set Up Your 12V Starlink Mini System?
Setting up your Starlink Mini on 12V DC power is a straightforward process, but taking the time to do a clean, professional installation will save you countless headaches down the road. Whether you are setting up a temporary system for weekend camping or hardwiring a permanent setup into your touring rig, following the correct steps is vital. For a complete look at mounting options, check out our Starlink Mini mount complete guide.
How to Install and Set Up Your Starlink Mini 12V Adapter
If you are using a plug-and-play setup, follow these simple steps to get online:
- Position your dish: Place your Starlink Mini in an open area with a clear view of the sky. For the best results on a vehicle or caravan, secure the dish using a premium SpaceTek aluminium dish mount. Our mounts are precision-engineered and folded from high-quality aluminium to ensure your dish stays locked in place, even when driving at highway speeds.
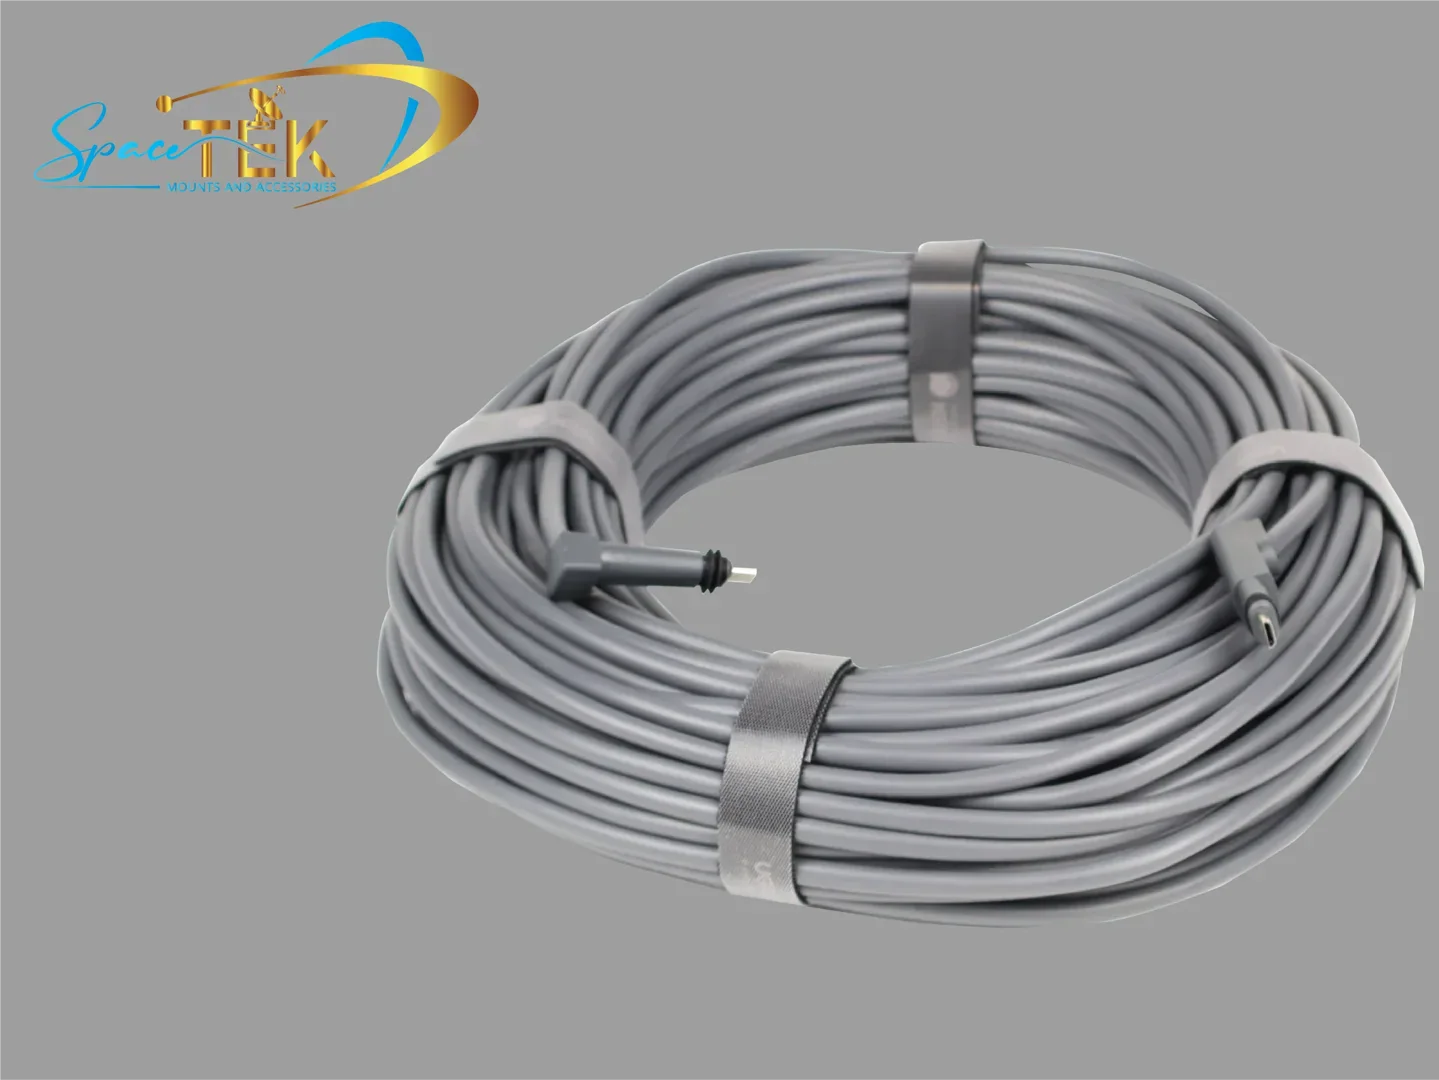
- Route the cable: Run your heavy-duty DC power cable from the dish to your vehicle's interior or battery box. Avoid running the cable over sharp metal edges, and ensure it isn't pinched by doors or window seals.
- Connect to power: Plug your 12V adapter into your power source, such as an Anderson plug or a cigarette lighter socket.
- Plug into the dish: Firmly insert the waterproof DC5521 barrel connector into the power port on the back of the Starlink Mini. Ensure the rubber sealing ring is fully seated to maintain the IP67 weather protection.
- Wait for boot: The Starlink Mini will take a few minutes to power up, align its internal software, and connect to the satellite constellation. You can monitor the connection status directly through the official Starlink app on your phone.
For permanent installations, we always recommend hardwiring your DC-to-DC converter directly to your auxiliary fuse block. Always install an appropriate inline fuse on the positive wire as close to the battery or fuse block as possible. This protects your expensive Starlink hardware and your vehicle's electrical system from short circuits.
Best 12V Power Solutions for Every Off-Grid Adventure
Depending on how you travel, your ideal 12V power setup will vary:
- The highway tourer: If you primarily want internet while driving or during quick roadside lunch stops, a high-quality cigarette lighter adapter with a built-in boost converter is perfect. Because your engine is running, your alternator will keep the vehicle's system voltage at an optimal level, making startup a breeze.
- The stationary camper: If you love parking up off-grid for days at a time, you want the absolute highest efficiency. A hardwired DC-to-DC converter, like our StarPower V2, wired directly to your lithium house battery bank via an Anderson plug will minimise power draw and keep your dish running 24/7 without draining your system.
- The ultra-portable adventurer: For those who need internet away from their vehicle, such as on a remote work site, a jetty, or deep in the bush, you can run your Starlink Mini using a power tool battery adapter. These adapters slide onto standard power tool batteries and output a stable DC voltage, giving you hours of high-speed internet in a completely self-contained, portable package.
How Do You Troubleshoot Common Starlink Mini 12V Issues?
Even with the best gear, off-grid environments can be tough on electronics. If your Starlink Mini isn't behaving, don't panic. Most issues boil down to simple power delivery problems that are easy to diagnose and fix. If you run into trouble, our comprehensive Starlink Mini troubleshooting guide is always available to help you get back online.
How to Prevent Voltage Sag and Boot Failures
The single most common issue Aussie travellers face with 12V Starlink setups is the dreaded "boot loop." This is where the dish starts to turn on, the lights flash, but then it suddenly shuts down and restarts, repeating the cycle indefinitely.
This is almost always caused by voltage sag. While the Mini has a low average power draw during normal operation, it requires a higher peak wattage to boot. If your wiring is too thin, your cable run is too long, or your battery is slightly low, the voltage will drop below the Mini's minimum threshold the exact moment the dish tries to draw its startup current.
To prevent voltage sag and boot failures, implement these best practices:
- Keep cable runs short: Only use the length of cable you actually need. If your power source is a few metres away, don't use an excessively long, coiled-up cable.
- Use heavy-gauge wire: If you must run a long cable, ensure you are using high-quality 16AWG or 14AWG copper wire to minimise resistance.
- Mount your converter close to the battery: If you are using a step-up converter, mount the converter as close as possible to your auxiliary battery. It is much better to have a short 12V input run to the converter, and a longer, higher-voltage run from the converter to the dish, as higher voltage is far less susceptible to line loss.
- Check your connections: Corroded cigarette sockets, loose terminal screws, or poorly crimped connectors create electrical resistance, which causes massive voltage drops under load. Ensure all connections are clean, tight, and protected from dust.
Frequently Asked Questions About Starlink Mini 12V Power
Can I Run the Starlink Mini Directly From a 12V Battery Without an Adapter?
Technically, yes, because the Starlink Mini's input range starts at 12V DC. However, we highly advise against running a direct, unregulated cable from a standard 12V lead-acid or AGM battery.
A standard 12V battery's voltage drops as it discharges. Once your battery drops below its optimal level under load, the Starlink Mini will struggle to boot or will drop its connection frequently. To ensure reliable operation, you need a quality cable combined with a step-up boost converter to maintain a stable, regulated voltage at the dish.
Will Running My Starlink Mini on 12V DC Power Void the Warranty?
No, running your Starlink Mini on 12V DC power will not void your warranty, provided you operate within the official electrical specifications. The Starlink Mini is explicitly designed by SpaceX to accept DC input voltages within a wide range.
Using high-quality, professionally manufactured DC cables, adapters, and step-up converters that deliver clean, regulated power within this specified voltage range is a fully supported use case. However, using poorly made, un-fused DIY cables that cause a short circuit or supply incorrect polarity could potentially damage your dish and void your coverage.
How Much Battery Capacity Do I Need to Run the Starlink Mini Overnight?
Because the Starlink Mini is highly efficient, it is incredibly easy to run overnight without flattening your auxiliary battery.
Based on typical off-grid setups, running the Starlink Mini overnight consumes only a small fraction of a standard auxiliary battery's capacity. Because of its highly efficient design, a typical overnight run of about ten hours will only draw a minimal amount of Amp-hours from your system. This means even a modest lithium battery setup can easily power your Starlink Mini, your 12V fridge, and your camp lights overnight with plenty of capacity to spare.
Powering Your Starlink Mini Reliably Off-Grid
Transitioning your Starlink Mini to a dedicated 12V DC power setup is hands-down one of the best upgrades you can make for off-grid travel. By bypassing inefficient AC inverters, you save precious battery capacity, simplify your wiring, and ensure you have a rock-solid, high-speed internet connection no matter how far off the beaten track you venture.
At SpaceTek Australia, we are proud to be the leading specialists in Australian-designed Starlink mounting and power solutions. We don't deal in cheap, fragile 3D-printed plastic parts that warp and crack under the harsh Australian sun. Instead, our premium range of dish mounts and accessories are precision-engineered and folded from heavy-duty, rust-resistant aluminium to survive the absolute toughest outback conditions.
Whether you are looking for the ultimate in-motion roof mount for your 4WD, a secure pole mount for your caravan, or our high-efficiency StarPower V2 and V3 DC-to-DC power supplies, we have you covered.
Ready to customise your ultimate mobile internet rig? Head over to our SpaceTek contact page to chat with our expert team, or browse our complete collection of premium off-grid accessories today!

Leave a comment
This site is protected by hCaptcha and the hCaptcha Privacy Policy and Terms of Service apply.