
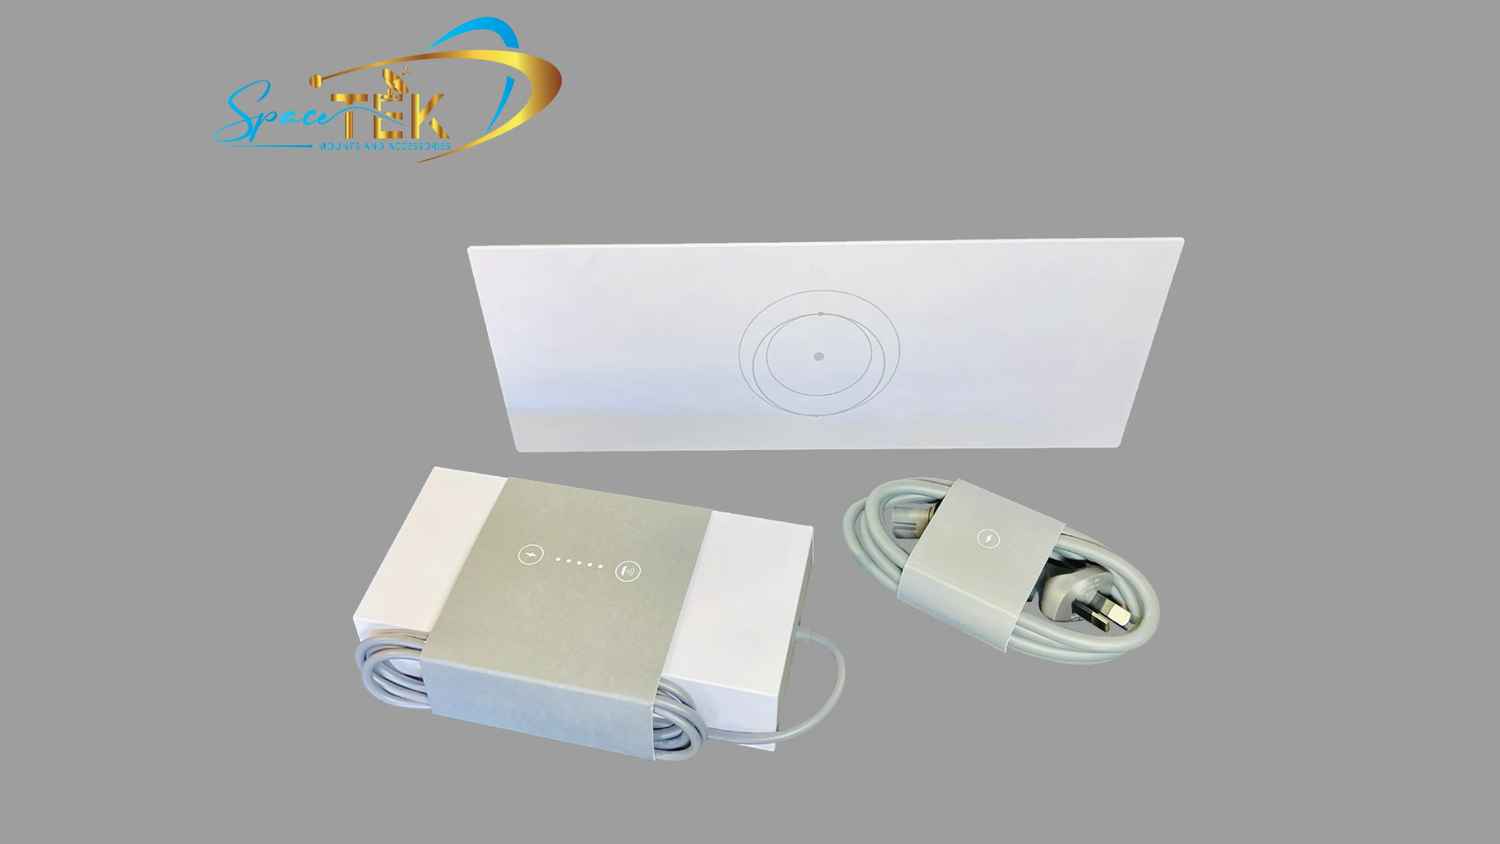
What Is the Starlink Router Gen 3 and Is It Worth It?
The Starlink Gen 3 router is the latest Wi-Fi router included with the Starlink Standard V4 kit, and it represents a significant step up from its predecessor in almost every measurable way.
If you're trying to decide whether to upgrade or just want to know what this hardware is capable of, here's the short answer:
Starlink Gen 3 Router: Key Facts at a Glance
- Wi-Fi standard: Wi-Fi 6 (802.11ax), tri-band, 4x4 MU-MIMO
- Coverage area: Up to 297 m² (3,200 sq ft), 60% more than Gen 2
- Connected devices: Up to 235 simultaneous connections
- Ethernet ports: Two latching LAN ports with removable cover
- Weather rating: IP56 water resistance, outdoor-capable
- Operating temperature: -30°C to 50°C
- Real-world download speeds: 180–220 Mbps, up from 50–75 Mbps on Gen 2
- Latency: Averages 35–45ms, improved from 50–65ms on Gen 2
For most Australians in rural or remote areas, this upgrade is a genuine game-changer, not just a spec-sheet refresh.
The jump from Wi-Fi 5 to Wi-Fi 6, combined with a tri-band radio configuration and proper Ethernet ports for the first time, makes the Gen 3 router a fundamentally more capable piece of hardware.
Whether you're a remote worker dealing with unreliable connectivity, a homeowner with a house full of smart devices, or someone running Starlink off a caravan battery system, this guide covers everything you need to know.
We'll walk through specifications, real-world performance, installation, compatibility, and how to get the absolute most out of this router in tough Australian conditions.
Starlink Gen 3 router glossary:
Choosing the Right Starlink Mount and Accessories for Your Setup
The Starlink Gen 3 router is the heart of the V4 Standard kit, designed to deliver high-speed Wi-Fi 6 connectivity across 297 square metres. To get the most out of this hardware, you need to customise your installation based on whether you are setting up a permanent home base or a mobile off-grid rig. Do it properly the first time by selecting infrastructure that handles the unique challenges of the Australian landscape.
Residential vs Commercial
For residential users, the primary goal is often whole-home coverage. The Gen 3 router's Wi-Fi 6 technology and 235-device capacity make it a powerhouse for modern smart homes. However, a router is only as good as the signal it receives from the dish. If you are mounting your dish on a standard Australian tile or tin roof, you need a mount that ensures zero movement. For those looking for a sleek, permanent installation, the Starlink Gen 3 Wall Mount provides a secure foundation that keeps your hardware safe from high winds while maintaining a clean aesthetic.
Permanent vs Portable
The V4 Standard kit includes a basic kickstand for quick setups, which is great for a weekend camping trip but less than ideal for permanent Australian installations. The dish itself features an IP67 rating, meaning it is incredibly durable, but it needs to be positioned correctly to maintain that 110-degree field of view. For those who frequently move between locations or want a low-profile roof mount for a vehicle, our Starlink Gen 3 Flat Mount Complete Guide explores how to secure your hardware without sacrificing performance.
Why Quality Starlink Infrastructure Matters in Australian Conditions
Australia’s extreme heat, high UV levels, and salt air can degrade standard plastic mounts and cause thermal throttling in your hardware. The Starlink Gen 3 router is rated IP56 for water resistance and operates between -30°C and 50°C, but the surrounding infrastructure must be equally robust to prevent signal dropouts. High-quality aluminium and rust-resistant steel mounts ensure your dish stays aligned even during heavy winds or corrugated road travel.
Standard mounts often fail when exposed to the relentless Australian sun or the salty air of our coastal towns. We have seen many "DIY" setups succumb to rust or vibration, leading to intermittent connectivity. To maintain the 180-220 Mbps speeds the Gen 3 system is capable of, your hardware must remain perfectly still. This is why we recommend Gen 3 Starlink Mounts Built for Australian Winds, which are specifically designed to withstand the gusts that would rattle a standard kit.
Furthermore, the Gen 3 Router Specifications highlight a device that is more environmentally capable than previous versions, but it still requires a stable physical environment. Using precision-engineered mounts prevents the micro-movements that cause the dish to constantly re-align, which can increase power consumption and reduce the lifespan of the internal motors.
Our Range: SpaceTek Starlink Solutions for Every Setup
Integrating the Starlink Gen 3 router into your vehicle or home requires more than just plugging it in; it requires a stable environment and regulated power. Whether you are running a fleet of commercial vehicles or a single caravan, our mounting solutions are engineered for vibration resistance and thermal efficiency. We focus on providing the structural backbone that allows your Wi-Fi 6 system to reach its full potential without interruption.
Starlink Mini and Gen 3 Integration
The latest hardware ecosystem allows for impressive flexibility, including using the Gen 3 router as a mesh node to extend the range of a Starlink Mini. This tri-band compatibility ensures that even in large facilities or multi-structure properties, you maintain a seamless handoff between nodes. When integrating these systems into a mobile setup, our Starlink Gen 3 V4 Standard Mobility Mount ensures that your hardware remains secure while you're on the move, protecting the delicate internal components from the shocks of the road.
RV and Caravan Mobility
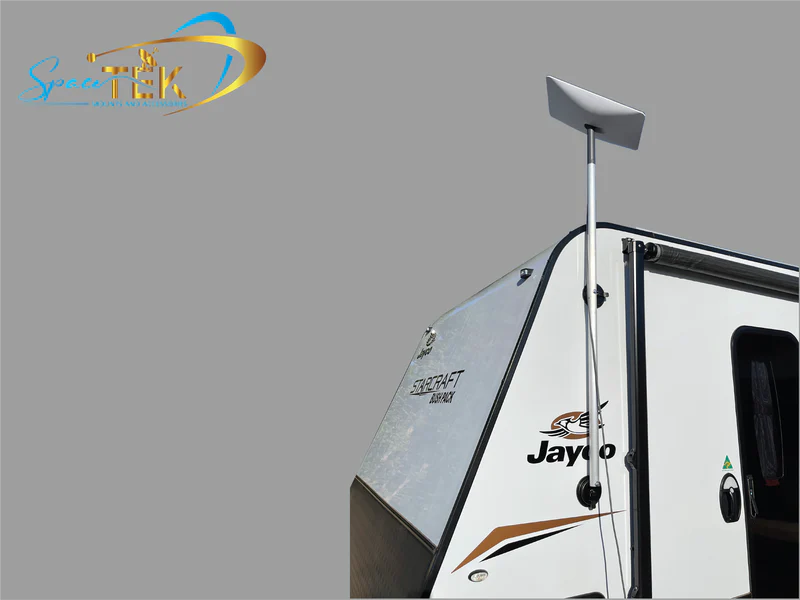
For the touring community, the Gen 3 system's latching Ethernet ports are a major upgrade, providing a secure physical connection that won't vibrate loose on corrugated tracks. We often see travellers mounting their dishes to roof racks or telescopic poles. Our Starlink Gen 3 Pole Mount Kit Guide provides a step-by-step approach to securing your dish at height, ensuring you clear any local obstructions like trees or other vehicles at a campsite.
StarPower and Advanced DC Power Solutions
For those living off-grid or touring, the Starlink Gen 3 router requires a stable regulated DC input to function reliably. Standard 12V battery fluctuations in a caravan can lead to hardware resets or permanent damage to the internal power supply. Using a dedicated DC-to-DC power solution ensures your router receives a clean, consistent voltage, which is essential for maintaining the low 35ms latency required for video calls and gaming.

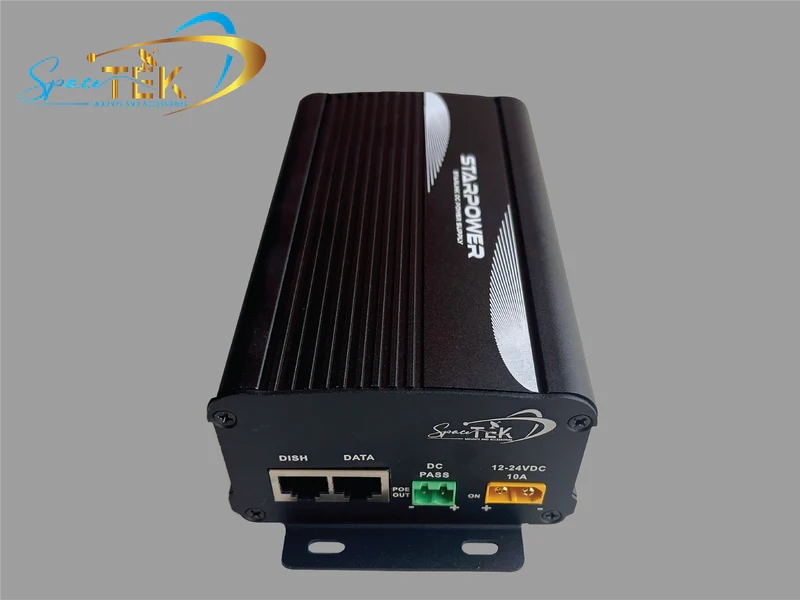
Many users make the mistake of running their Starlink through a cheap inverter, which is inefficient and can introduce electrical noise into the system. Our StarPower V4 Ultimate Power Solution provides a 54V regulated output, specifically designed to meet the high-demand peaks of the Gen 3 hardware. This is particularly important when the dish's snow-melt or heating functions engage, as power draw can spike significantly.
If you are looking for a more compact setup for a 12V or 24V system, the StarPower V3 12V-24V Starlink DC Power Supply offers a streamlined way to power your Gen 3 router directly from your house batteries. For those who still require AC power but want a more reliable backup than the standard unit, our Universal Replacement 110-240V AC Power Supply provides the stability needed to prevent the common power-related dropouts reported in the Starlink Gen 3 Router Review 2026.
Essential Features of the Starlink Router Gen 3
The Starlink Gen 3 router represents a massive leap forward, offering a 60% increase in coverage area compared to the previous generation. With two integrated Ethernet ports hidden behind a removable rear cover, users no longer need to purchase separate adapters to connect wired devices like desktop PCs or third-party mesh nodes. This hardware is designed for high-density environments, comfortably managing up to 235 simultaneous connections without the lag associated with older Wi-Fi 5 systems.
One of the most praised physical updates is the move to standard RJ45 connectors for the LAN ports. Understanding the Decoding Starlink Gen 3: Cable and Connector Type guide is vital for anyone planning to run their own network cabling through walls or across a vehicle. This standardisation makes the system much more "installer-friendly" than the proprietary plugs used in Gen 2.
If you ever find yourself needing a Starlink Gen 3 Router Replacement, it is worth noting that the router itself is a distinct unit from the power supply. This modular design means that if a power surge occurs, you may only need to replace the PSU rather than the entire routing unit. The Wi-Fi 6 tri-band 4x4 MU-MIMO configuration ensures that even with dozens of devices connected, the router can intelligently manage bandwidth to prevent any single device from "hogging" the connection.
Common Starlink Mounting and Power Mistakes to Avoid
One of the most frequent errors is failing to account for voltage instability in mobile setups, which can cause the Gen 3 router to reboot during peak power draw. Additionally, poor cable routing can lead to moisture ingress, even with the router's IP56 rating. Always ensure your cables are secured with drip loops and that your mounting location provides a 110-degree unobstructed view of the sky to prevent the dish from constantly searching for satellites.
Other common mistakes include:
- Ignoring Vibration: On corrugated roads, a loose mount will eventually cause internal hardware failure. Do it properly the first time with a vibration-dampened mount.
- Poor Cable Management: Using the wrong Starlink Gen 3 Cable Adapter or forcing cables into tight bends can damage the internal shielding, leading to slow speeds and high latency.
- Underpowering the System: Trying to run the system on a generic 240V AC to 24V DC 7 Amp Power Supply that isn't rated for the specific peaks of Starlink can cause mysterious reboots.
- Obstructions: Even a single tree branch can cause a significant drop in performance. Users often report 4x Faster Wi-Fi Speed? Starlink Gen 3 Review metrics only after they have cleared all obstructions and performed a proper manual alignment.
Frequently Asked Questions About Starlink Router Gen 3
Is the Starlink Gen 3 router compatible with older dishes?
Yes, the Gen 3 router is backwards compatible with Gen 1 and Gen 2 dishes. While the Gen 1 (Round) dish uses a standard Ethernet connection, the Gen 2 (Rectangular) dish requires the Starlink Ethernet Adapter to bridge into the Gen 3 router. Once connected, you can enjoy the improved Wi-Fi 6 range and device capacity of the newer hardware. It can also function as a high-performance mesh node when paired with a Starlink Mini or an existing Gen 2 setup.
How does the Gen 3 router compare to third-party mesh systems?
While the Gen 3 router offers excellent tri-band Wi-Fi 6 performance, users with very large properties (over 300 square metres) may still prefer a third-party mesh system in bypass mode. However, for most Australian homes, the 3,200 square foot range of the Gen 3 is more than sufficient. The main advantage of the Gen 3 router is the seamless integration with the Starlink app for diagnostics and dish alignment.
What are the real-world speed improvements of the Starlink Gen 3 router?
Users typically report download speeds jumping from 50-75 Mbps on Gen 2 hardware to 180-220 Mbps on Gen 3. This is largely due to the improved Wi-Fi 6 efficiency and the router's ability to better handle the increased capacity of the newer V2 satellite constellation. Upload speeds also see a bump, typically averaging 20-25 Mbps, while latency is much more stable, hovering between 35-45ms.
Building a Reliable Starlink Gen 3 Setup
Upgrading to the latest hardware is only half the battle; ensuring it has the right power and physical protection is what guarantees a seamless experience. The Starlink Gen 3 router is a formidable piece of technology, but it requires a stable, regulated environment to truly shine in the harsh Australian climate.
By using Australian-engineered solutions from SpaceTek Australia, you protect your investment against the elements and power inconsistencies. Whether you're mounting to a farmhouse roof or a 4WD canopy, our gear provides the infrastructure independence needed for reliable connectivity. Invest once, install right, and enjoy the full potential of your satellite internet. Explore our full range of SpaceTek Australia Solutions to ensure your setup is ready for anything the outback throws at it.

Leave a comment
This site is protected by hCaptcha and the hCaptcha Privacy Policy and Terms of Service apply.