
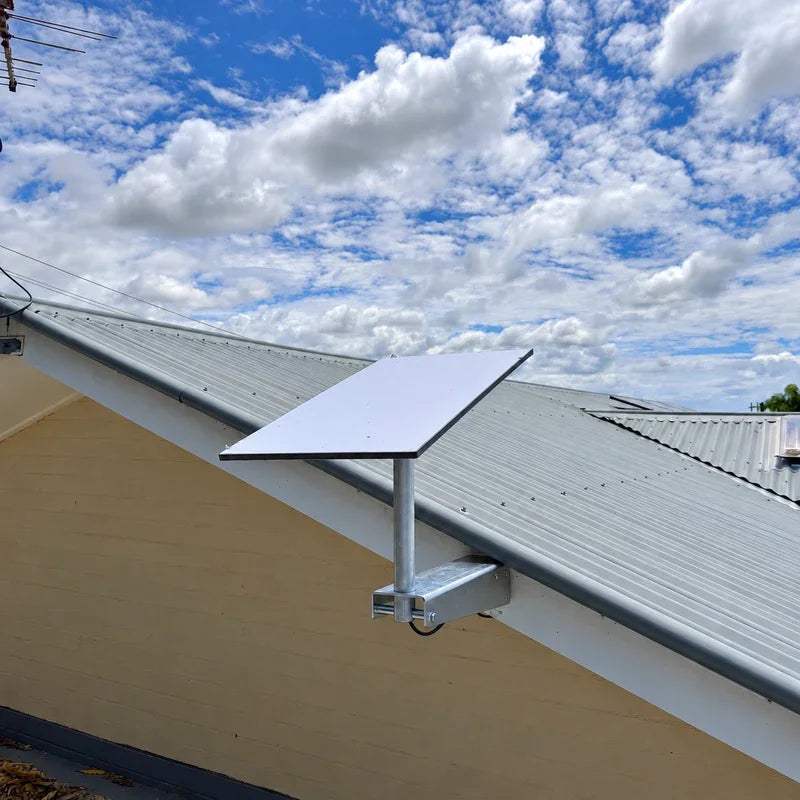
Which Starlink mount solution suits your installation?
The best Starlink mount solution depends on your installation location and hardware generation: ridge cap and roof apex mounts deliver the highest unobstructed 360-degree sky clearance for residential buildings, wall and eave dish mounts clear gutter overhangs when roof access is limited, and vehicle rack mounts provide secure, low-profile stability for mobile travel. Matching your dish mount to your structural surface ensures an unobstructed satellite view while protecting property integrity against high winds.
The included base is useful for temporary positioning, but a permanent dish mount improves sky clearance and protects the terminal from ground-level hazards. SpaceTek Australia designs Starlink mounts specifically for harsh Australian conditions, using precision-machined aluminium, folded aluminium, and reinforced composite components across Standard, Mini, and mobile setups.
Hi, I'm Andrew Ziogas, managing director at SpaceTek Australia, and my background in technology consulting has taught me to focus on what works in real installations. I'll help you compare Starlink mount solutions by dish compatibility, installation surface, and durability.
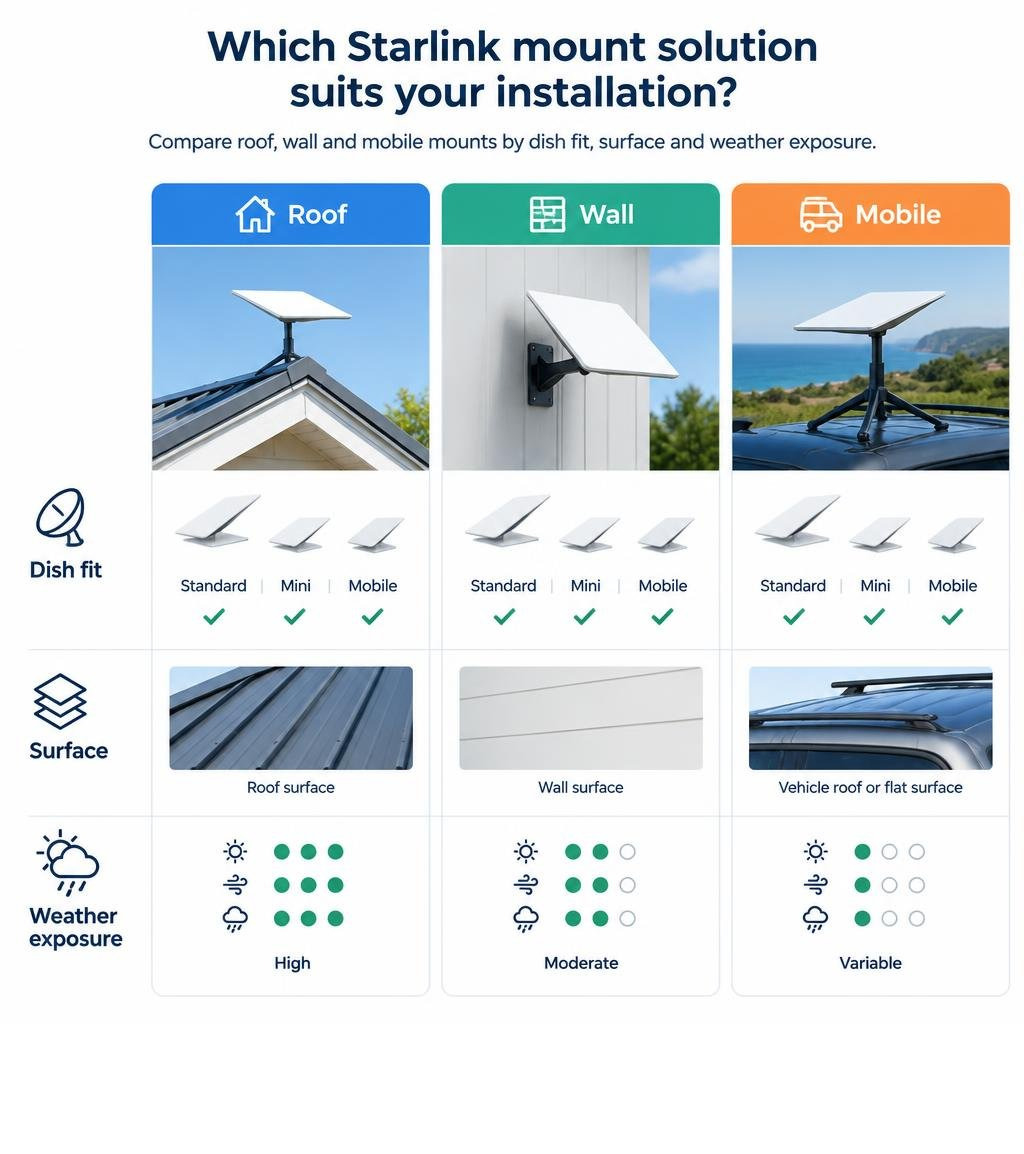
Comparing the Primary Starlink Mount Solutions by Installation Type
The right installation type is determined by your property's roof structure, wall clearance, and surrounding tree cover. Selecting the correct setup ensures an unobstructed view of the sky while maintaining structural integrity against harsh weather.
Whether you are fixing a dish to a tin roof, navigating wide eaves on brick veneer, or fitting out a caravan, choosing high-grade Starlink Mounts & Mounting Accessories engineered from precision-machined or folded aluminium delivers the strength needed to prevent dish movement and dropouts.
| Mounting Solution | Ideal Installation Surface | Sky Clearance Capability | Roof Penetration Required | Primary Benefit |
|---|---|---|---|---|
| Ridge Cap Mount | Roof apex / Metal ridge capping | Highest residential elevation | Minimal (Uses existing roof screws) | Direct 360-degree southern/northern sky view |
| Wall / Eave Mount | Exterior brick, timber, or fascia | Clears standard side overhangs | Yes (Wall fixing into solid framing) | Accessible maintenance and clean cabling |
| Pivot Roof Mount | Sloped metal or tile surfaces | Medium to high elevation | Yes (Secured into rafters/battens) | Adjustable angle to balance dish pitch |
| Vehicle / Rack Mount | Roof racks, crossbars, flat roofs | Mobile / Nomad travel height | Non-penetrating clamping options | Built for in-motion stability and vibration resistance |
Choosing a Mount for Ridge and Roof Installations
For most homes, the apex of the roof provides the cleanest line of sight. Securing your dish at the highest structural point eliminates interference from nearby fences, neighbour structures, and lower tree lines.
When fitting hardware to metal profiles like corrugated iron or standing seam profiles, preserving the waterproof membrane of the roof is vital. Dedicated ridge cap dish mounts attach directly to structural roof battens using high-tensile fasteners paired with weatherproof sealing washers. This approach gives your dish rock-solid stability in high winds without damaging metal sheeting.
Before securing any hardware, review the official aftermarket mounting guidelines to confirm your setup supports your hardware properly and maintains operational safety.
Wall and Eave Installation Considerations
Wall and eave mounts work best when roof access is restricted, or when you want to run cabling directly down an external wall cavity.
When planning a wall installation, assess these structural factors:
- Eave Overhang Depth: Ensure the dish mount standoff arm extends far enough past the gutter line so the dish is not shaded by the roof edge.
- Structural Substrate: Fixings must anchor into solid structural timber studs or solid masonry, not just thin cladding or fascia board.
- Mount Standoff Angle: Maintaining vertical alignment ensures the dish can articulate and track satellites across its optimal path.
- Cable Ingress Protection: Always include a downward drip loop in the cable before it enters the external wall grommet to stop water entry.
Assessing Existing Mounting Structures for Elevated Clearance
If your property already has a sturdy antenna mast or unused satellite pole in an unobstructed location, you can adapt that structure. Utilising an existing mast saves installation time and allows you to position the dish well above roof clutter.
When selecting Gen 3 V4 Mounts designed with integrated adaptors, measure the outer diameter of your existing mast to ensure a snug fit. SpaceTek adaptors clamp tightly around standard pipe diameters, locking the hardware firmly to prevent rotation during strong wind gusts.
Dedicated Mounts for Starlink Standard vs Starlink Mini Hardware
Different Starlink generations require dedicated mounting systems. The Standard Gen 3 terminal has a larger surface area that needs robust structural support, while the lightweight Starlink Mini is designed for portability and flexible positioning. Earlier Gen 2 hardware and the newer V5 terminal should also be matched only with hardware listed for that specific generation.
To help determine what you need, read our guide on determining what Starlink mount you need, then start with the catalogue for your exact terminal: Standard Gen 3 / V4 mounts and accessories, Starlink Mini mounts and accessories, Starlink Gen 2 mounts and accessories, or Starlink V5 mounts and accessories.
Standard Gen 3 Dish Mounting Hardware
The Standard Gen 3 dish drops the motorised mast found on earlier iterations in favour of an integrated kickstand for basic flat positioning. Because this dish relies on a fixed tilt angle, securing it on a permanent residential surface requires hardware that can lock the dish at the correct orientation while handling elevated wind loads.
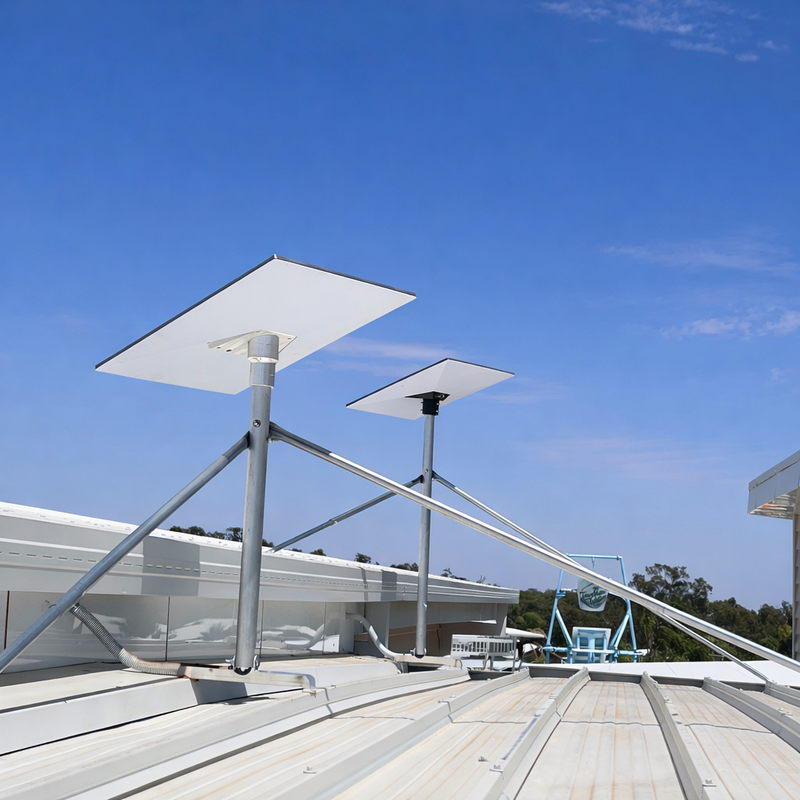
Key hardware requirements for Standard Gen 3 installations include:
- Heavy-duty baseplates made from folded aluminium or reinforced composite that resist twisting under high wind loads.
- Positive-locking mechanical latches or precision-milled clamping plates that prevent the dish from sliding out of the housing.
- Integrated channel routing to protect the delicate Ethernet connection from UV exposure and rain.
Starlink Mini Mounting Options for Compact Setups
The Starlink Mini integrates the router and dish into a single, compact unit. Because the hardware is engineered for rapid deployment, its dish mounts focus on versatility, fast release, and ultra-compact profiles.
Reviewing a satellite mount versatility guide highlights how mobile setups benefit from streamlined hardware. For portable Mini deployments, precision-machined mobility dish mounts allow users to shift the dish between roof racks, vehicle bonnets, and temporary setups in seconds.
Mobile and Off-Grid Satellite Mount Configurations
Mobile satellite setups require mounting hardware built to withstand constant vibration, rough corrugated tracks, and dynamic highway winds.
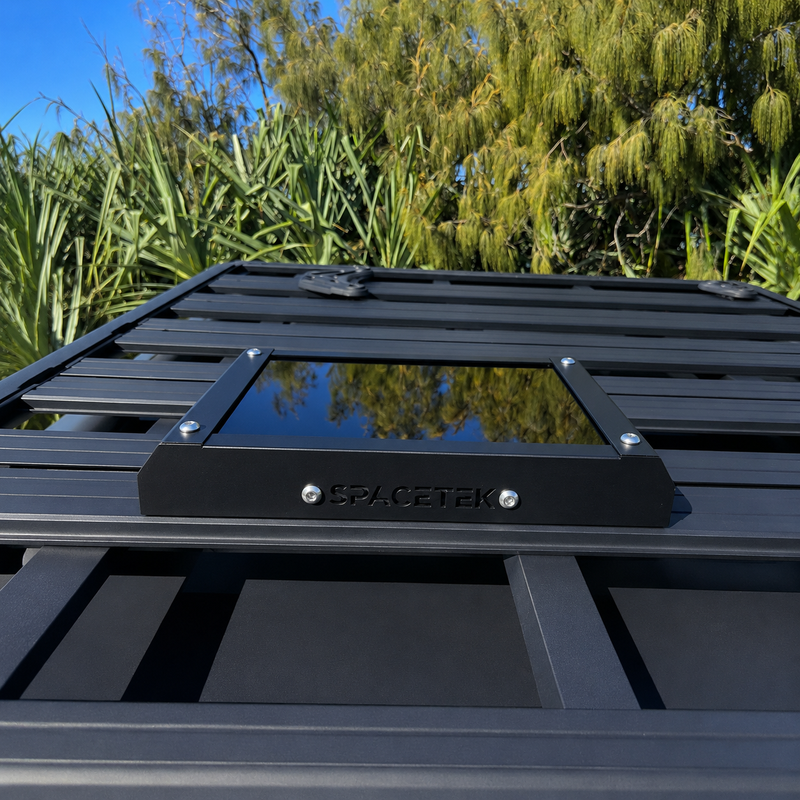
When outfitting an off-road vehicle, van, or caravan, direct DC-to-DC power is the ultimate companion to a secure dish mount. Integrating a SpaceTek StarPower V2 or StarPower V3 DC power supply delivers significant advantages over standard AC inverters, including higher electrical efficiency, lower overall power draw, and reduced heat generation. Operating a dedicated StarPower DC-to-DC setup also allows you to bypass the standard Starlink router completely, enabling streamlined, energy-efficient custom networking both while parked and on the move.
Mobile Starlink Mount Solutions for Travel
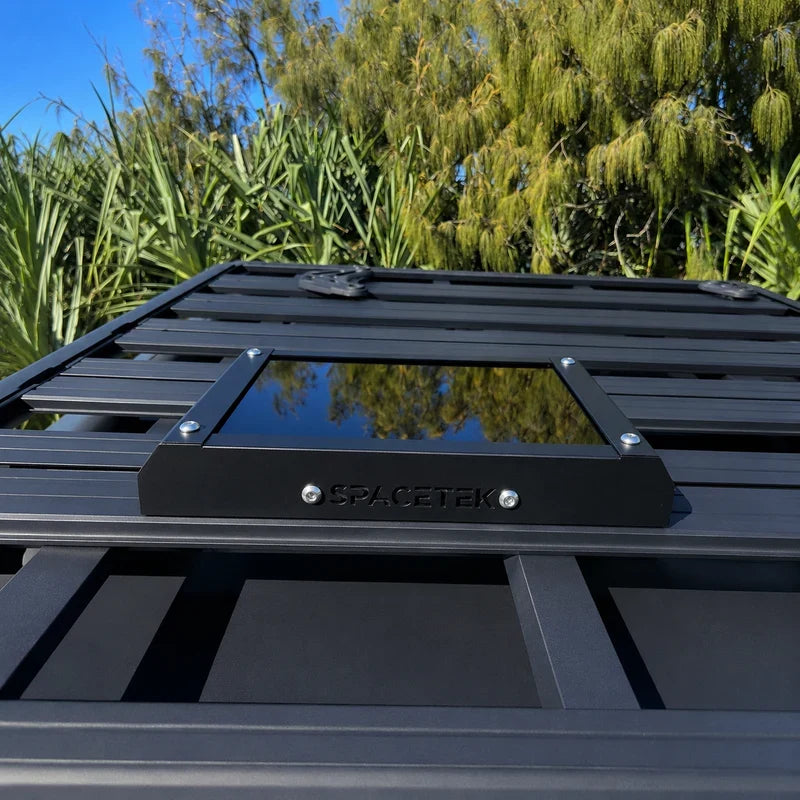
For touring setups, attaching your dish directly to roof platforms, crossbars, or unistrut systems keeps the dish secure without requiring permanent holes in your vehicle's roof.
When choosing a custom Starlink mount for van installations, look for the following features:
- Low-Profile Housing: Sits flush beneath or level with roof racks to clear low tree branches and reduce wind drag.
- Anti-Vibration Hardware: Heavy-duty stainless steel fasteners with nylon-locking nuts that will not rattle loose on corrugated roads.
- Thermal and UV Stability: Materials that withstand continuous sun exposure in extreme Australian outback heat.
Portable and Elevated Installation Considerations
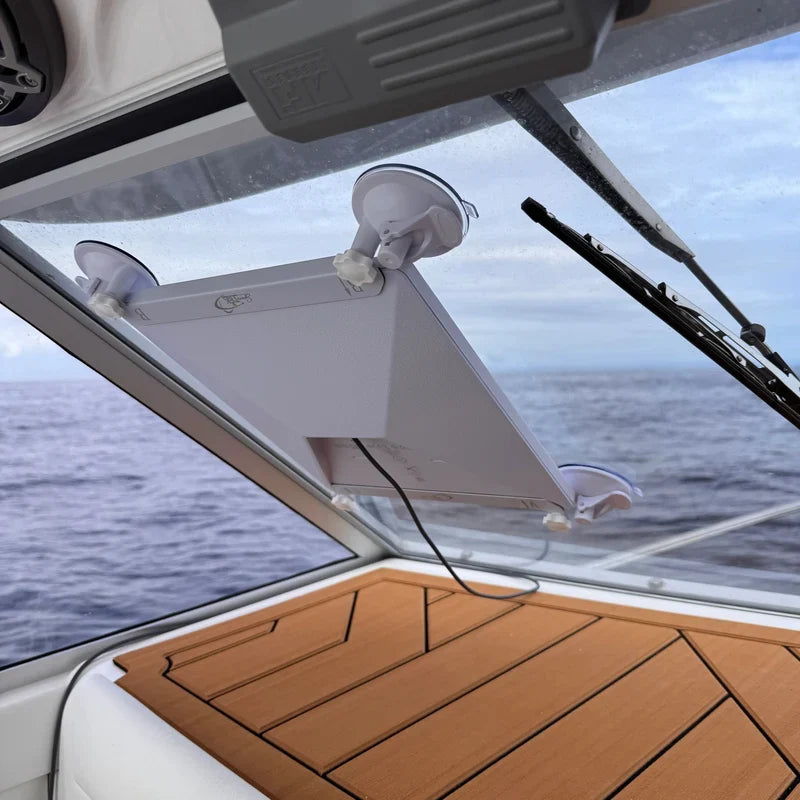
When camping under dense eucalyptus canopies or parked next to tall structures, a roof-mounted dish may encounter signal blockages. Having a portable, elevated mounting option solves this problem.
Telescopic carbon fibre and aluminium mast setups allow you to raise your dish high into clear air above your vehicle or camper. These setups can be clamped to an RV ladder or jockey wheel when stationary, giving you the flexibility to chase clear sky without moving your vehicle out of the shade.
Key Factors to Consider Before Choosing a Dish Mount
Choosing the right dish mount requires assessing your installation location, roof materials, wind exposure, and environmental conditions.

SpaceTek dish mounts are built exclusively from folded aluminium, precision-machined aluminium, and reinforced composites. Using high-grade materials guarantees that your mount will not rust, warp, or crack, even when exposed to severe coastal salt spray and harsh outback sun.
Roof Material and Eave Clearance Requirements
Every roof presents unique architectural challenges:
- Corrugated Metal and Trimdeck: Requires dish mounts that align with the crests of the iron, ensuring fixings anchor directly into roof purlins with watertight rubber seals.
- Concrete and Terracotta Tiles: Best served by mounts that slide neatly under the tile profile to clamp directly onto timber rafters without cracking delicate clay tiles.
- Wide Overhanging Eaves: Demands an extended standoff arm to ensure the dish face clears the guttering and retains full line of sight to the horizon.
Corrosion Resistance and Climate Durability
Australia features some of the harshest UV levels and most corrosive coastal environments in the world. Standard painted mild steel components quickly rust, creating unsightly streaks down your walls and compromising structural integrity.
Investing in precision-machined aluminium hardware ensures:
- Complete immunity to structural rust and red corrosion.
- Exceptional strength-to-weight ratios that place less stress on your roof framing.
- Superior durability against extreme thermal expansion and contraction cycles.
Frequently Asked Questions about Starlink Mounting Systems
Can I use third-party dish mounts with my Starlink hardware?
Yes, provided the dish mounts are engineered specifically for the dimensions and weight profile of your hardware. Quality aftermarket dish mounts machined from aluminium or reinforced composite often provide superior durability and mounting flexibility compared to basic factory alternatives. Ensure the mount locks the dish firmly in place to prevent high winds from loosening the connection.
How can I assess whether a roof mount will stay secure in high winds?
To evaluate roof mount security, follow these essential checks:
- Verify that all baseplate fixing points anchor directly into solid structural timber rafters or steel purlins, rather than sheet metal alone.
- Ensure the dish mount is constructed from rigid folded aluminium or reinforced composite that does not flex under moderate hand pressure.
- Check that the dish connection point features a positive mechanical lock to prevent the dish from separating from the mast during severe storms.
What should I consider when mounting Starlink on a moving vehicle?
When travelling with an active satellite setup, aerodynamic drag and vibration resistance are critical. Choose a low-profile, flat-mount configuration constructed from precision-machined aluminium or reinforced composite. Pair the mechanical mount with a direct DC-to-DC power setup to achieve maximum electrical efficiency and eliminate the high power draw and heat generation of an AC inverter.
Conclusion

Choosing the right Starlink mount comes down to matching the dish model, installation surface, and expected weather exposure. A secure roof, wall, or vehicle setup helps maintain clear sky access while giving the dish a stable, durable base for Australian conditions.
For personalised help choosing a suitable setup, contact our expert team or explore these product ranges:
- Browse Starlink mounts and mounting accessories for compatible mounting options across residential and mobile installations.
- Explore house Starlink mounts and accessories for roof, wall, and eave installations.
- Shop 4WD and mobile Starlink mounting solutions for touring, caravan, and off-grid setups.

Leave a comment
This site is protected by hCaptcha and the hCaptcha Privacy Policy and Terms of Service apply.