
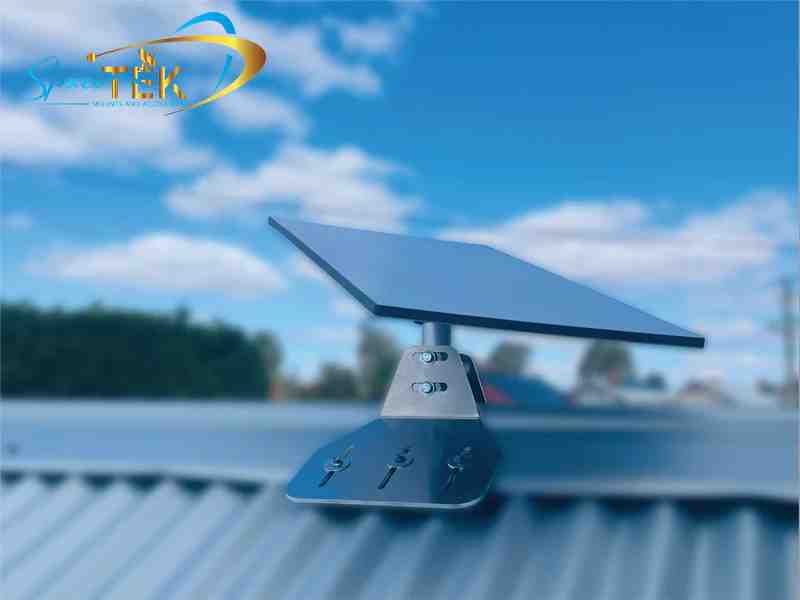
Why Starlink Dish Angles Matter for Your Connection
Dish alignment and sky visibility can affect how consistently Starlink communicates with its satellite network. An obstructed or misaligned installation may experience interruptions, although actual performance also depends on the Starlink hardware, service plan, network conditions, weather, and location.
Quick Answer: How to Find the Right Starlink Dish Angle
- Direction: Do not rely on a universal compass direction. The appropriate orientation depends on your location and Starlink model.
- Alignment: Follow the alignment instructions shown in the Starlink app for your specific hardware and installation location.
- Sky visibility: Choose a location with the clearest practical view of the sky and as few trees, buildings, rooflines, or other obstructions as possible.
- Mounting: Install the dish and mast within the limits specified for your model, using a secure structure and compatible mounting hardware.
- Key tool: Use the Starlink app's obstruction and alignment tools before finalizing the installation.
Starlink uses satellites in low Earth orbit rather than relying on a single geostationary satellite. Because satellites move through the dish's usable field of view, the system generally needs a broad, unobstructed area of sky rather than a narrow view toward one fixed point.
Starlink antennas use phased-array technology to steer their communications electronically. Some models can also orient themselves mechanically, while newer non-actuated models require the installer to adjust their alignment. The setup process therefore varies by hardware generation.
Local conditions should also influence the installation. Trees, nearby structures, seasonal vegetation, snow or ice accumulation, coastal exposure, and strong winds may all affect site selection or mounting requirements. No mount should be assumed suitable for every environment; check the product specifications, the Starlink instructions, and applicable building requirements before installation.
SpaceTek draws on experience in satellite communications when developing mounting accessories. Compatibility and suitability depend on the Starlink model, mounting surface, site exposure, and installation method, so review the relevant product information before choosing a mount.
Optimizing Angles for Your Starlink Model
The basic goal is a clear view of the required sky area, but the correct setup procedure depends on your Starlink model. Identify your hardware before selecting a mount or attempting to align the dish.
Why Correct Alignment Is Important
A Starlink dish communicates with satellites moving through low Earth orbit. For background, see Low Earth orbit. Its electronic steering operates within the antenna's available field of view, so physical placement and alignment still matter. Obstructions or incorrect alignment may contribute to interruptions, reduced performance, or an alignment warning in the app. You can learn more about the system in our Starlink Explained for First-Timers guide.
There is no single compass direction or elevation angle that is correct for every Starlink installation in the United States. Appropriate orientation can vary with latitude, local network geometry, hardware, and Starlink's current guidance. Use the Starlink app at the intended installation point and follow the directions it provides instead of manually aiming the dish toward a presumed direction.
Alignment for Actuated Dishes
Actuated models, such as certain earlier Standard dishes, are designed to orient themselves after they are powered on. Install the mast and mount according to the limits in the instructions supplied for that model, then allow the dish to complete its startup and positioning process. A loose, unsuitable, or excessively tilted mount may interfere with operation or allow the dish to move after setup.
Alignment for Manual Dishes
Non-actuated models require manual alignment during installation. The Starlink app provides location- and hardware-specific feedback while you rotate or tilt the dish. Follow the on-screen indicator rather than using a generic compass bearing, and tighten the compatible mount only after the app shows acceptable alignment.
Alignment for Mobile and Portable Use
Portable placement still requires a suitable view of the sky. Trees, buildings, vehicles, and terrain may obstruct part of the required field of view and can affect service. Recheck obstructions and alignment whenever you move the equipment to a new site.
Only use a dish in motion if the hardware, installation method, and service plan are specifically approved for that use. Some performance-oriented hardware is designed for a flat installation, while other Starlink models have different mounting and alignment requirements. Consult the current instructions for your exact model rather than assuming that any dish can be mounted flat. For additional setup considerations, see our guide to optimizing Starlink performance.
Your Digital Compass: Using the Starlink App
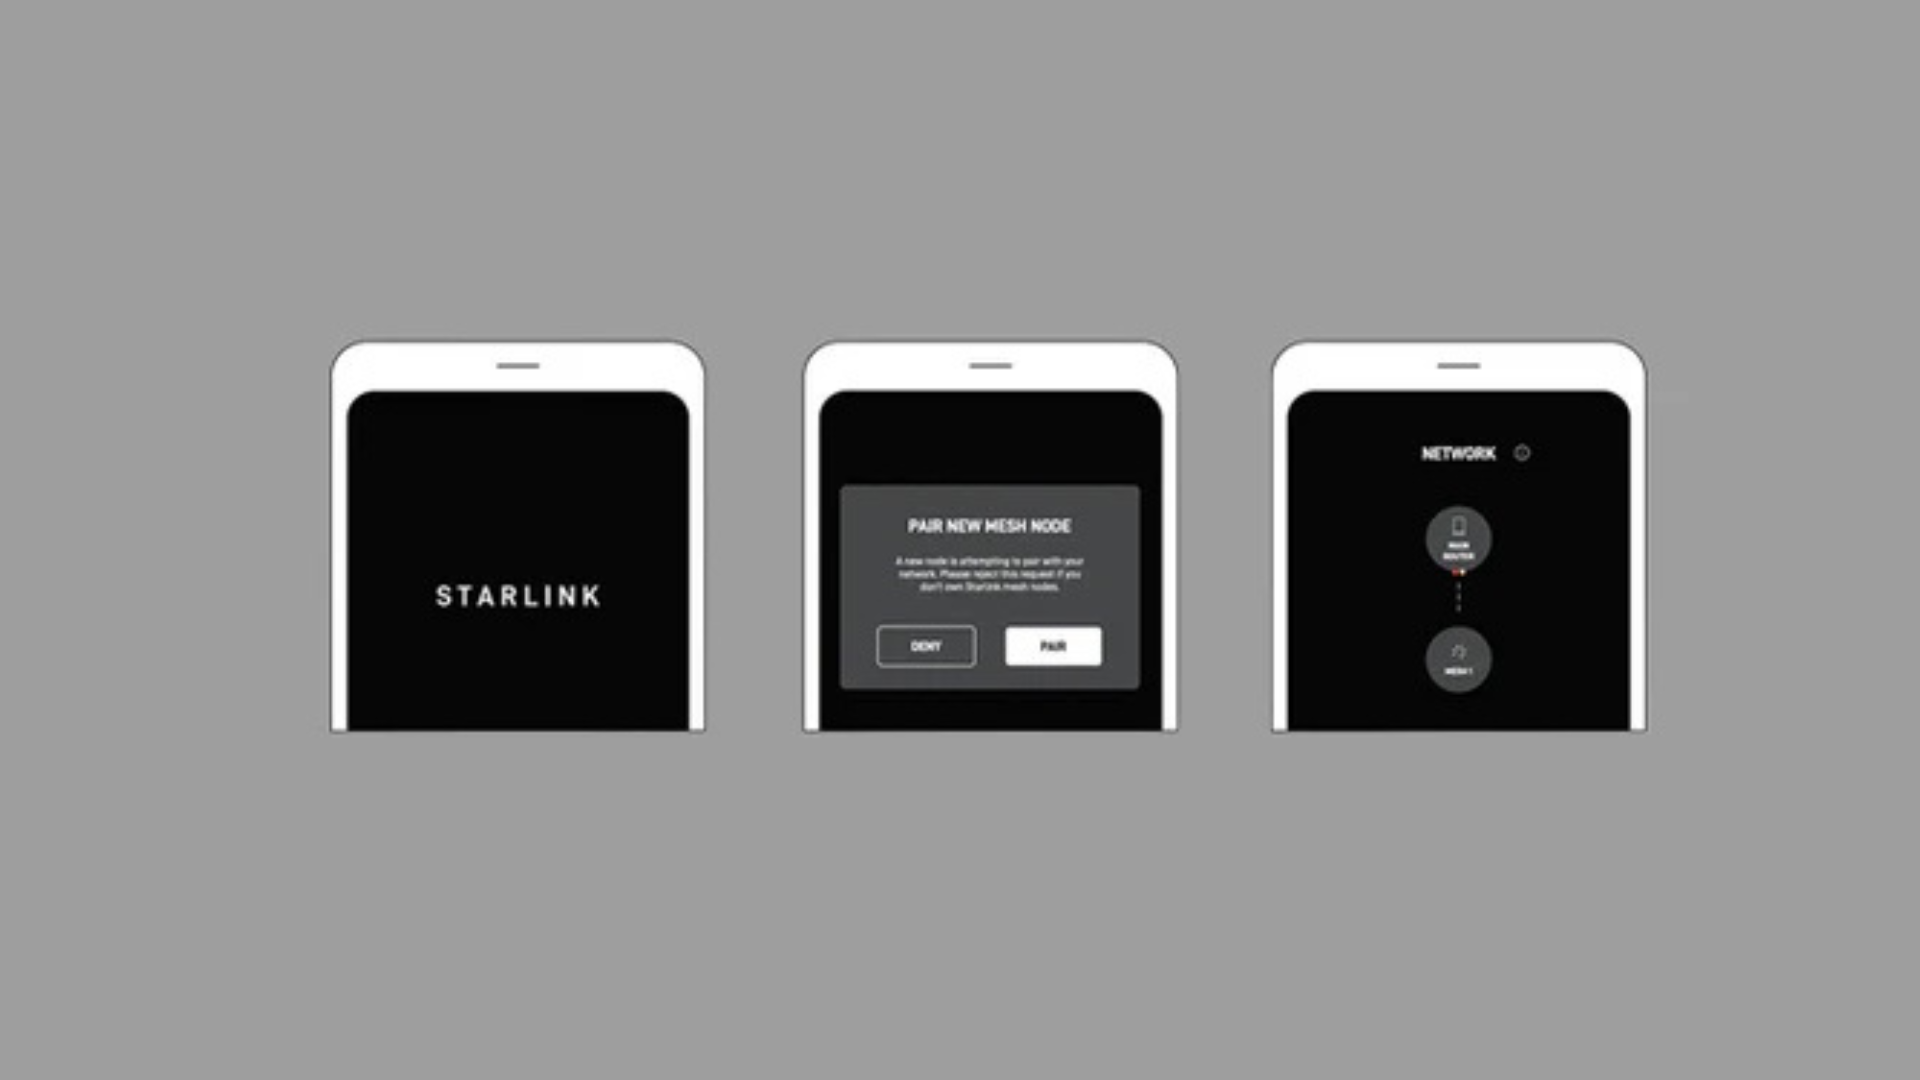
The Starlink app is the primary tool for evaluating a proposed installation location and aligning compatible hardware. Its obstruction feature uses your phone to scan the relevant portion of the sky and identify potential blockers.
- Open the app: Install or update the Starlink app on a compatible phone.
- Check for obstructions: Select the obstruction-checking option available in the app.
- Scan from the installation point: Stand as close as safely possible to the exact position and height where the dish will be mounted, then follow the on-screen scanning instructions.
- Review the result: Compare potential locations and favor the one with the fewest obstructions in the app's required sky area.
- Complete alignment: After installing the dish, follow any model-specific alignment feedback shown by the app.
Even a modest change in position or height can alter what the dish can see. If a ground-level location is obstructed, an appropriately installed roof, wall, or pole mount may improve sky visibility. See our guide to navigating around dish obstructions. For current official guidance, see Starlink's obstruction support information.
Use the Starlink app's obstruction and alignment tools at the intended mounting location before finalizing the installation.
Securing Your Signal for Long-Term Stability
A secure mount helps the dish retain its installed position, but mounting requirements vary by hardware, structure, and local exposure. Wind, vibration, corrosion, snow or ice, and movement of the supporting surface may affect an installation over time. Select hardware rated for the intended application and local conditions, and follow the mount manufacturer's instructions.
Common problems include loose fasteners, an unstable mounting surface, damaged components, and new obstructions caused by seasonal tree growth. Do not assume that flat mounting is suitable for a standard dish unless Starlink's instructions for that exact model allow it. Route cables carefully, preserve any required drip loops or weather seals, and avoid modifications that could damage the equipment.
Our complete guide to installation and alignment provides more detail, and you can review our guide to Starlink mounting solutions. Confirm compatibility with your dish generation and installation surface before ordering or installing any accessory.

A compatible, properly installed mount can help the dish retain the alignment established during setup.
Support Reliable Performance with a Secure Setup
A clear view of the required sky area, app-guided alignment, and secure mounting provide a sound foundation for a Starlink installation.
There is no universal best Starlink dish angle. Use the Starlink app to evaluate the exact location, follow the instructions for your hardware, and recheck the setup if the app reports obstructions or misalignment. Service quality cannot be guaranteed by mounting or alignment alone and may vary with network availability, plan, hardware, weather, and other factors.
SpaceTek offers rust-resistant, user-installable mounting options for selected Starlink models and applications. Product compatibility, environmental suitability, and structural requirements vary, so check the specifications and seek qualified installation advice where appropriate.
For help identifying a compatible mounting option, contact our team.

Leave a comment
This site is protected by hCaptcha and the hCaptcha Privacy Policy and Terms of Service apply.