
Why Understanding Your Starlink Gen 3 Cable Matters
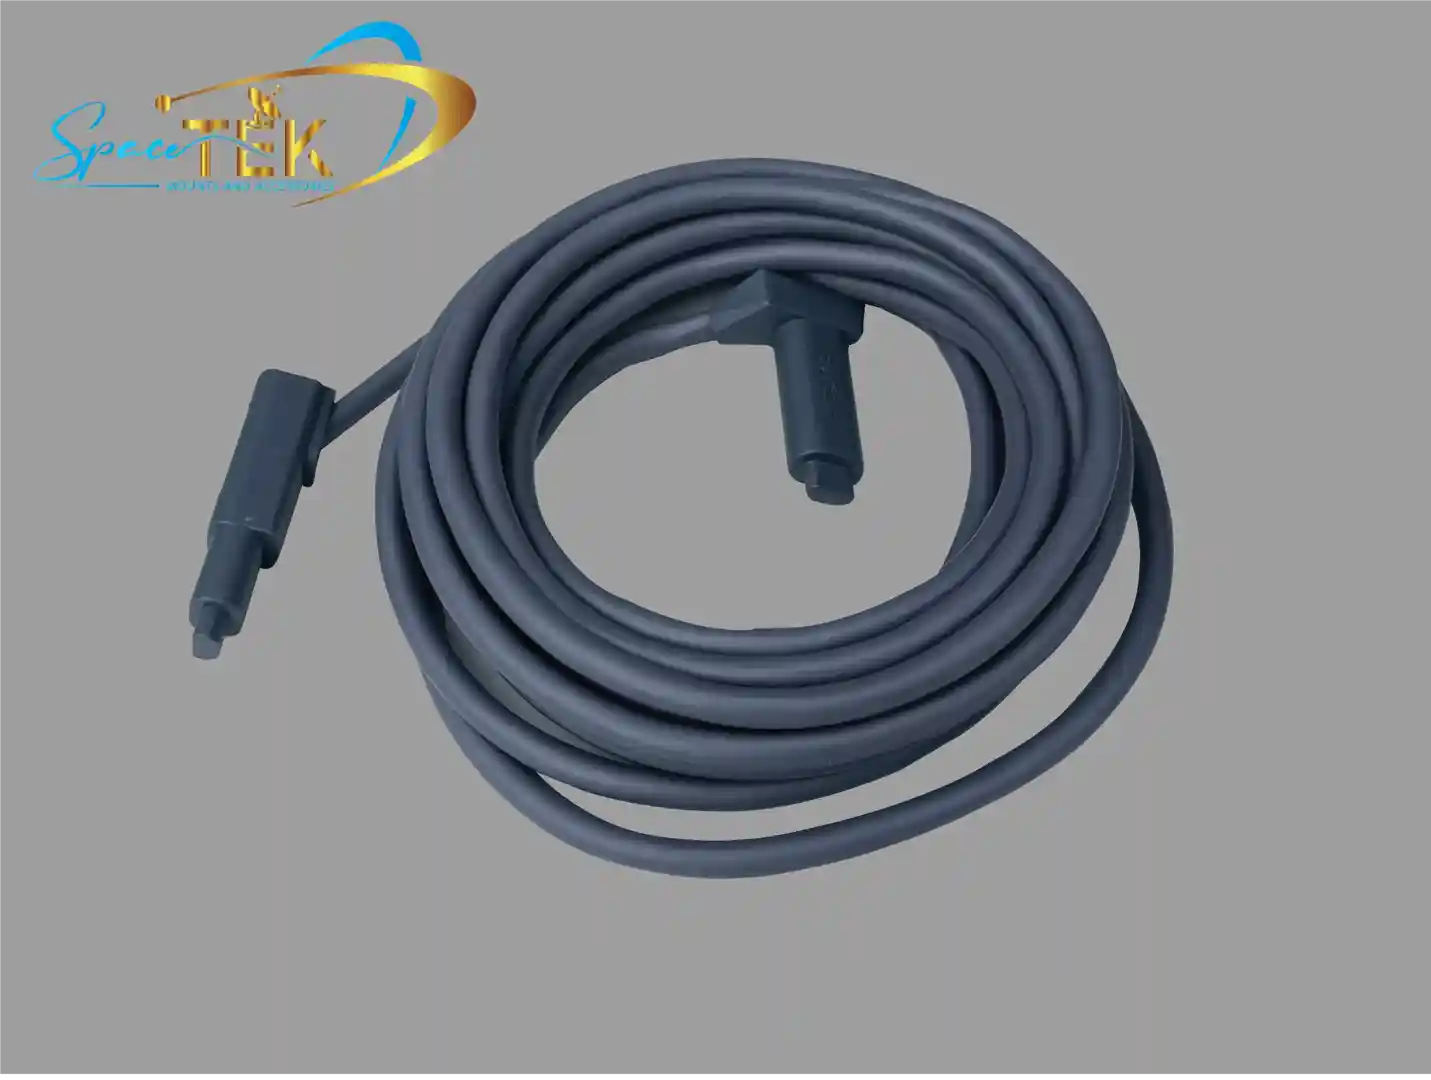
What type of cable does the current Starlink Standard kit use? The antenna connects through a shielded Starlink cable with weather-sealed RJ45-style plugs. The cable carries both network data and power between the Starlink router and antenna, but that does not make every ordinary Ethernet cable, coupler, switch, or Power over Ethernet (PoE) injector a compatible substitute.
Quick Answer:
- Hardware name: Starlink officially calls the current rectangular, non-actuated residential antenna Standard. Sellers and installers often call it Gen 3 or V4, while Router 3 is Starlink's official name for the router supplied with many Standard kits.
- Cable type: Shielded Starlink Standard cable designed to carry power and data.
- Connector type: RJ45-style plugs with model-specific sealing and retention features.
- Included length: Approximately 49.2 ft (15 m) with the Standard kit.
- Important limitation: Use a cable or replacement assembly specifically documented as compatible with your exact Starlink hardware. Do not assume a generic patch cable or conventional PoE device is suitable.
This is a notable change from the Gen 2 Standard Actuated system, which used distinctly proprietary cable ends. The newer connector format can make inspection and replacement more straightforward, but power delivery, conductor quality, shielding, weather sealing, and connector fit still matter.
Outdoor cable runs need protection from sharp edges, abrasion, repeated movement, animals, standing water, and excessive tension. Correct routing and intact seals are especially important at the antenna connection.
I'm Aaron Wroblewski, founder of SpaceTek Australia, and I've spent over 25 years working with satellite systems and remote communications. That experience informs SpaceTek's focus on secure mounting, cable protection, and practical installation hardware for exposed locations.
For more information on related topics, see our guides:
An Introduction to the Starlink Standard System
The hardware commonly described as Starlink Gen 3 or V4 is Starlink's current Standard antenna: a rectangular, non-actuated dish that the installer manually aligns by following instructions in the Starlink app. Hardware names can vary across retailers and regions, so confirm the model shown in your account or app before buying a cable, mount, adapter, or power accessory.
The antenna cable is the link between the outdoor Starlink and the router. It carries the antenna's network traffic and operating power in a single cable assembly. A damaged conductor, loose plug, contaminated contact, failed seal, or excessive voltage drop can therefore affect both power and connectivity.
The use of an RJ45-style connector is more familiar than the Gen 2 connector, but it should not be interpreted as permission to connect the antenna to any Ethernet or PoE equipment. Starlink's powered antenna connection is not the same thing as a conventional Ethernet LAN connection.
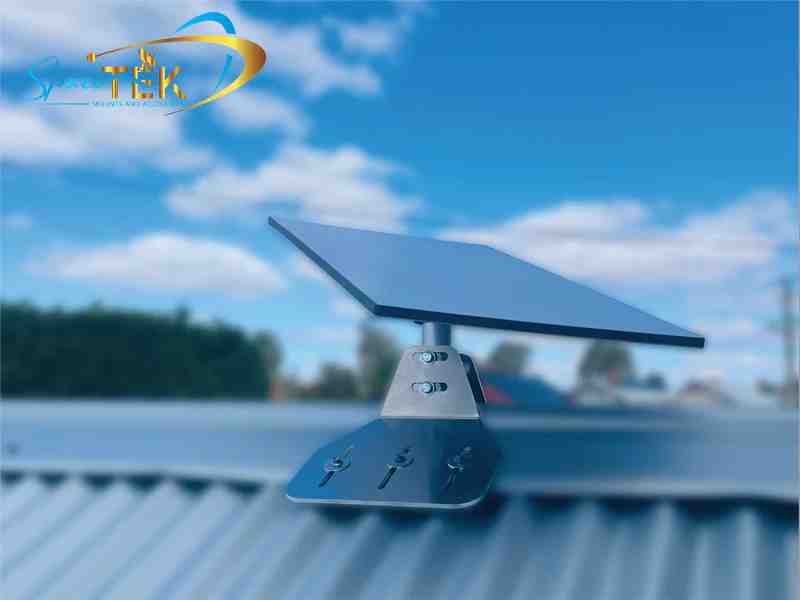
SpaceTek offers high-strength, corrosion-resistant mounting options and cable-management accessories designed to help position the hardware securely and protect its cable route.
All About the Cable: What Type Does Starlink Standard Use?
Q1: What are the cable and connector types?
The Starlink Standard antenna cable uses shielded twisted-pair construction and RJ45-style plugs. The supplied assembly includes the fit, shielding, strain relief, and sealing needed for its Starlink application. Although the plug resembles a familiar Ethernet connector, compatibility depends on more than plug shape.
The cable carries both data and power to the antenna. This is often described broadly as PoE, but Starlink's implementation and power requirements should not be assumed to match a conventional IEEE PoE switch or injector. Connect the supplied equipment as shown in the official setup guide unless a replacement or third-party product explicitly documents compatibility with your exact Starlink model.
Router 3 also has two covered RJ45 Ethernet LAN ports for wired network devices. Those LAN ports are separate from the powered Starlink antenna connection. The removable covers help protect unused ports, but a normal indoor Ethernet connection is not automatically weatherproof.
Q2: What specifications matter when selecting a replacement?
For a replacement cable, prioritize explicit Starlink Standard compatibility rather than relying only on a Cat5e or Cat6 label. Important characteristics include:
- All-copper conductors of suitable size for the powered run
- Shielded cable and shielded connectors
- Correct wiring and connector fit
- Outdoor-rated jacket where the cable will be exposed
- Proper strain relief and sealing at the antenna connection
- A length that the cable manufacturer supports for Starlink Standard power and data
A cable's Ethernet category alone does not confirm that it can safely and reliably power a Starlink antenna. Avoid copper-clad aluminum conductors and products that provide no clear model compatibility, conductor, or outdoor-use information.
The Starlink antenna, router, power supply, and cable can have different environmental ratings and installation requirements. Do not treat the complete system as waterproof. Keep indoor-rated equipment and connections in the protected locations specified by Starlink, and make sure the antenna cable is fully seated with its seal undamaged.
Q3: How does the Standard cable compare with older versions?
The Gen 2 Standard Actuated kit used uniquely shaped Starlink connectors. Its cable is not directly interchangeable with the cable used by the current Standard kit.
The current Standard cable's RJ45-style format is easier to recognize and inspect, but the cable remains part of a powered outdoor system. An ordinary Ethernet lead may lack the conductor size, shielding, jacket, strain relief, or weather seal required for the installation.
Do not buy by generation nickname alone. Listings may use Gen 3, V3, V4, Standard, Standard 4, or other informal terms inconsistently. Compare the supported Starlink model, antenna shape, router, plug design, and product documentation before ordering.
For legacy hardware and installation components, see our Starlink Gen 2 accessories.
Q4: What cable length comes with the kit?
The Starlink Standard kit is documented with an approximately 49.2 ft (15 m) antenna cable. Starlink's available replacement and longer-cable options can vary by hardware revision, region, and account, so check the Starlink Shop while signed in to the account associated with your kit.
Longer powered cable runs create more voltage drop than short runs. For that reason, the 328 ft (100 m) channel limit associated with ordinary Ethernet networking should not be used as a Starlink cable-length specification.
Use a single compatible cable in a supported length whenever possible. Before routing it permanently, verify that the antenna powers up and operates correctly. If the official options do not reach, reconsider the router, power, or antenna location or obtain advice from a qualified installer rather than splicing the supplied cable.
Our Starlink installation accessories can help protect and organize an approved cable route.
Q5: Where can I buy a replacement cable?
The safest starting point is the Starlink Shop for a replacement cable listed for your exact kit. A third-party cable may also work if its manufacturer explicitly identifies the supported Starlink Standard model and provides credible details about conductor material, shielding, outdoor rating, connector sealing, and supported length.
Do not select a cable solely because it has RJ45 plugs or is advertised as Cat6. Generic indoor patch leads commonly lack the weather sealing and powered-run characteristics required between the router and outdoor antenna.
Before replacing the cable, inspect the complete route for crushed sections, tight bends, damaged jackets, debris in the ports, pulled connectors, and strain at the antenna or router. Power down the Starlink system before disconnecting or reconnecting its antenna cable, and follow the instructions for your hardware.
Q6: What are common replacement or extension problems?
Replacing the complete cable can be straightforward, but extending or modifying a powered outdoor run adds failure points.

- Incorrect compatibility: A plug that physically fits may still have unsuitable conductors, shielding, sealing, or power capability. Confirm exact Starlink Standard compatibility.
- Moisture entry: An exposed RJ45 connection or coupler is not waterproof merely because the cable is outdoor-rated. Preserve the supplied antenna seal and avoid exposed joins.
- Voltage drop: Excessive length, small conductors, poor contacts, or copper-clad aluminum cable can reduce the voltage available to the antenna.
- Damaged contacts: Bent, wet, dirty, or corroded contacts can interrupt power or data. Disconnect power before inspection and never force a plug into a port.
- Strain and movement: Support the cable independently so its weight and wind movement do not pull on the antenna or router port.
- Poor routing: Avoid crushing the cable, overtightening fasteners, creating sharp bends, leaving coils where water can collect, or running it where it can be cut or chewed.
- Unsupported modifications: Cutting, re-terminating, splicing, or joining the cable can compromise shielding, sealing, power delivery, safety, reliability, and warranty coverage.
- Conventional PoE equipment: Do not insert a normal PoE switch, injector, surge device, or Ethernet extender into the antenna cable unless the manufacturer explicitly documents compatibility with the exact Starlink system and installation.
If a longer route is unavoidable, use an official longer cable where available or a complete, purpose-built replacement whose manufacturer supports the required length. Do not conceal an untested join inside a wall, roof cavity, or inaccessible conduit.
Optimizing Your Starlink Setup
The Starlink Standard cable's RJ45-style format is more familiar than the connector used on the Gen 2 Standard Actuated kit, but it is still a purpose-specific part of a powered satellite-internet system. Reliable installation depends on using compatible hardware, keeping seals intact, and protecting the route from physical and environmental damage.
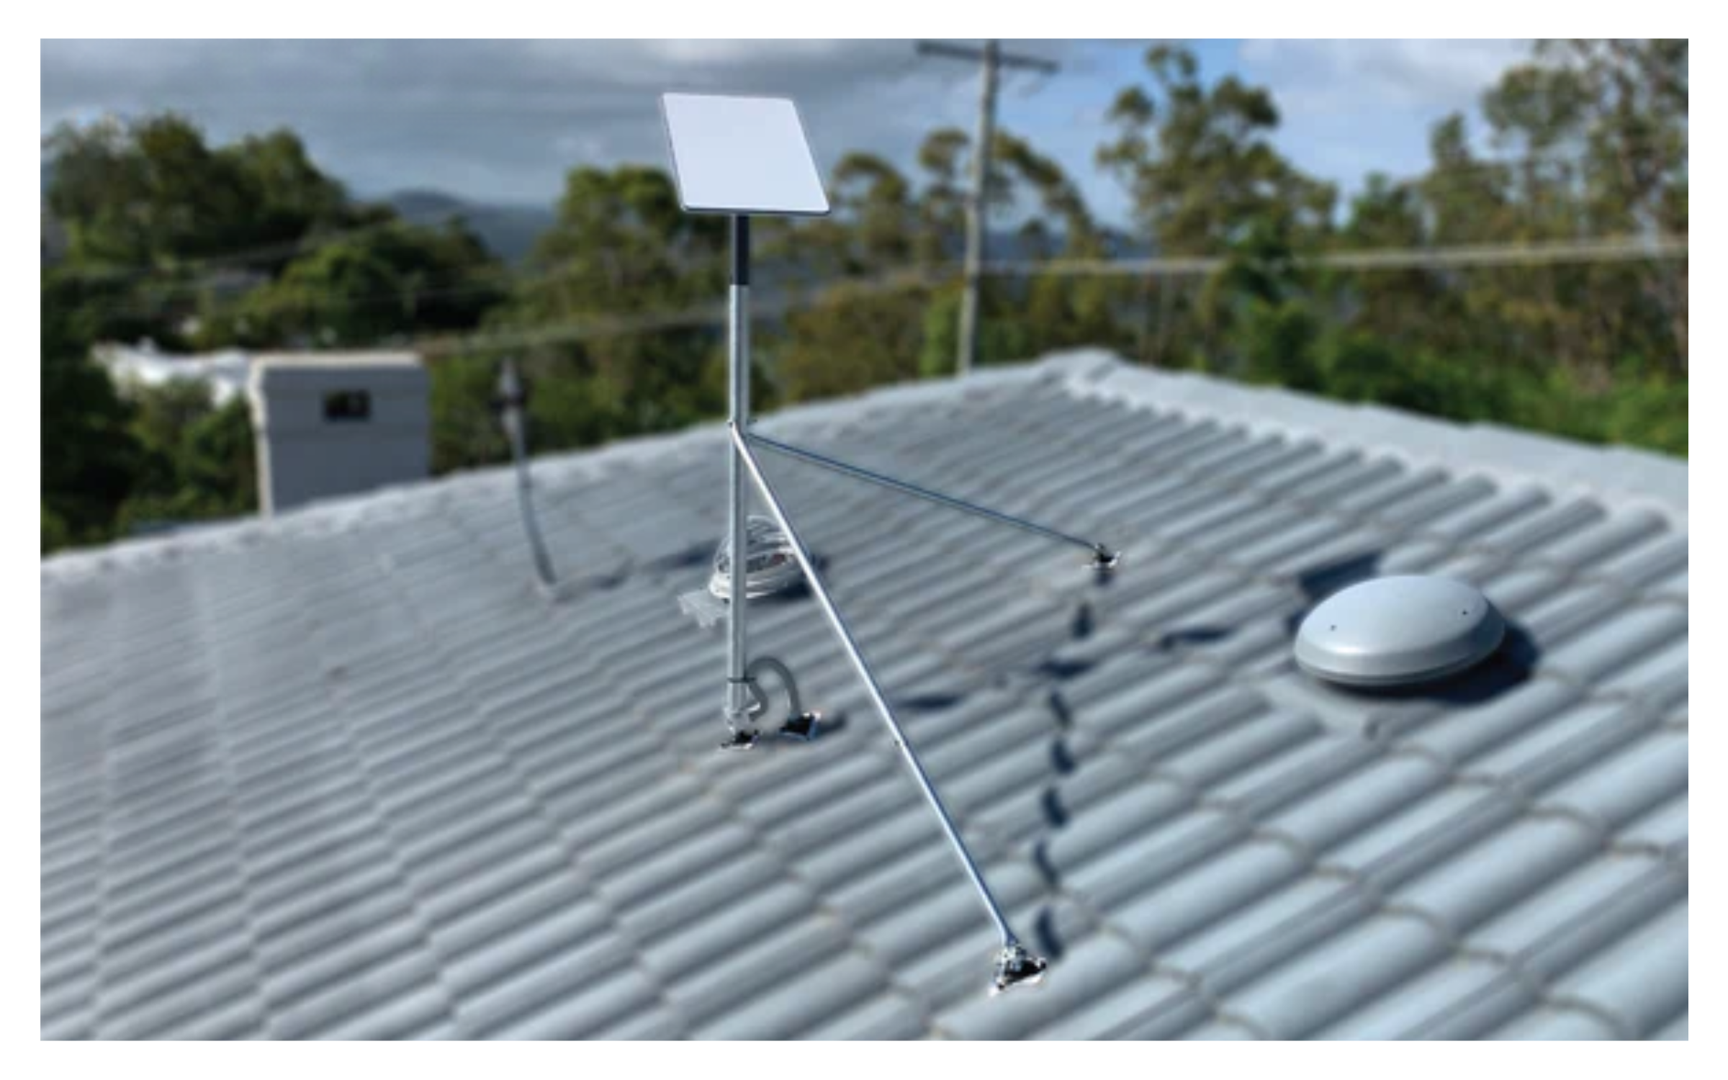
Plan the antenna position with the Starlink app before drilling holes or routing cable. Provide a drip loop where appropriate, use suitable cable clips without crushing the jacket, protect penetrations with correctly installed weatherproof hardware, and leave enough service slack to connect the equipment without placing tension on the ports.
SpaceTek Australia designs and manufactures durable, corrosion-resistant Starlink mounts and installation accessories. Although the company was founded in Australia, these mounting and cable-management principles apply to exposed installations in the United States and elsewhere: use a structurally suitable mounting location, follow applicable electrical and building requirements, and seek a qualified installer when roof access, grounding, lightning protection, or cable entry is outside your experience.
Explore Starlink mounts, Standard / Gen 3 mounting options, and Starlink parts and accessories.
Before purchasing, confirm compatibility with the exact hardware shown in your Starlink app or account. Starlink can revise kits, cables, and accessory availability without changing the informal generation names used by third-party sellers.
If you would like help choosing mounting hardware or planning a protected cable route, contact the SpaceTek team.

Leave a comment
This site is protected by hCaptcha and the hCaptcha Privacy Policy and Terms of Service apply.