

How Can You Fix Dish Satellite Problems Without the Guesswork?
Dish satellite troubleshooting is easiest when you start with the simple checks: weather, receiver power, cable connections, and a clear line of sight to the sky.
Key Takeaways
- Start with a full receiver restart before assuming the dish or cabling has failed.
- Heavy rain, storms, wind, snow, and thick cloud can interrupt satellite reception temporarily.
- If the sky is clear and the receiver is still stuck on Acquiring Signal, check for blocked line of sight, loose coaxial connections, or dish movement.
- Avoid climbing onto roofs or shifting a mounted dish unless you can do it safely.
- If you also rely on satellite internet at home or off-grid, keep your connection stable with practical Starlink troubleshooting guidance.
If the signal does not return after the weather clears and the receiver finishes rebooting, the likely cause is an obstruction, shifted dish alignment, cable fault, or failing dish hardware. This guide walks you through the practical checks that separate a short-lived outage from a problem that needs a technician.
1. Why Should You Restart the Receiver First?
A software glitch or temporary memory fault inside your satellite receiver can feel like a dish failure. Before heading outside to inspect hardware, give the receiver a clean restart so it can reconnect to the satellite feed properly.
How Do You Power Cycle the Receiver Correctly?
Modern set-top boxes and satellite receivers behave a bit like small computers. If they run continuously, minor software or power issues can interrupt communication with the LNB, which is the small device at the dish that receives the satellite signal.
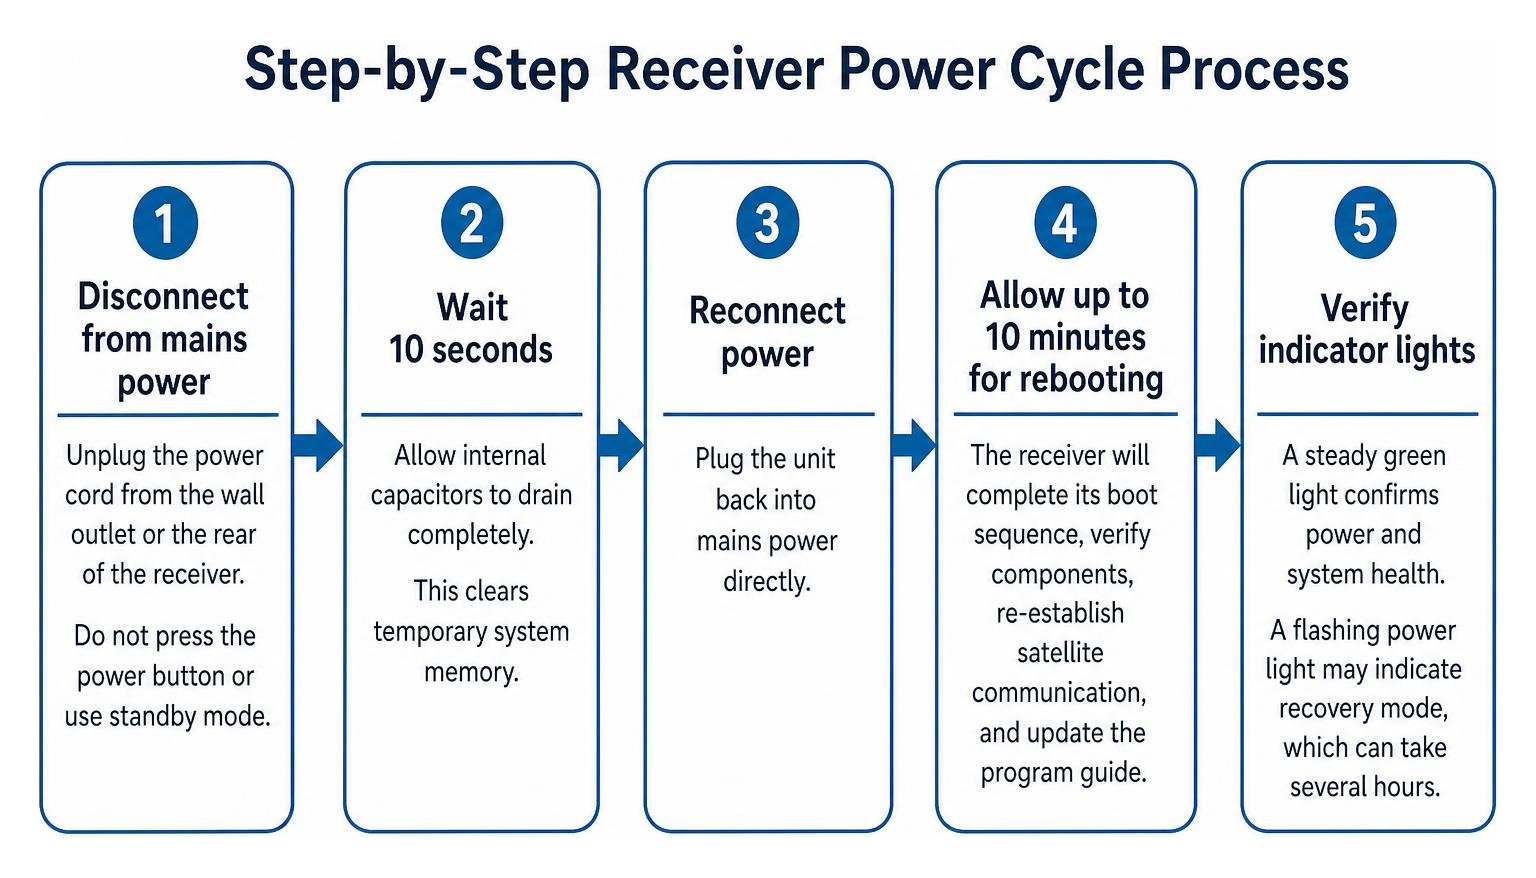
Use this standard restart sequence before moving on to outdoor checks:
- Disconnect from mains power: Unplug the power cord from the wall outlet or the rear of the receiver. Do not simply press the power button, because that usually only puts the receiver into standby.
- Wait 10 seconds: Let the receiver fully power down so temporary memory clears.
- Reconnect power: Plug the receiver back into a known good wall outlet.
- Allow the receiver to reboot: Give it enough time to complete its start-up checks, reconnect to the satellite feed, and reload the programme guide.
- Check the front light: A steady green light usually means the receiver has power and is operating normally. A flashing light can mean the unit is still recovering after a power interruption.
Could Heat or Power Issues Be Causing Dropouts?
Receivers can run hot, especially inside closed entertainment cabinets. Poor airflow or unstable power can make reception problems worse.
- Give it breathing room: Leave open space around the receiver so heat can escape.
- Let it settle: If the unit has overheated, let it cool at normal room temperature before testing again.
- Bypass suspect power boards: Plug the receiver directly into a reliable wall outlet to rule out a faulty power board or surge protector.
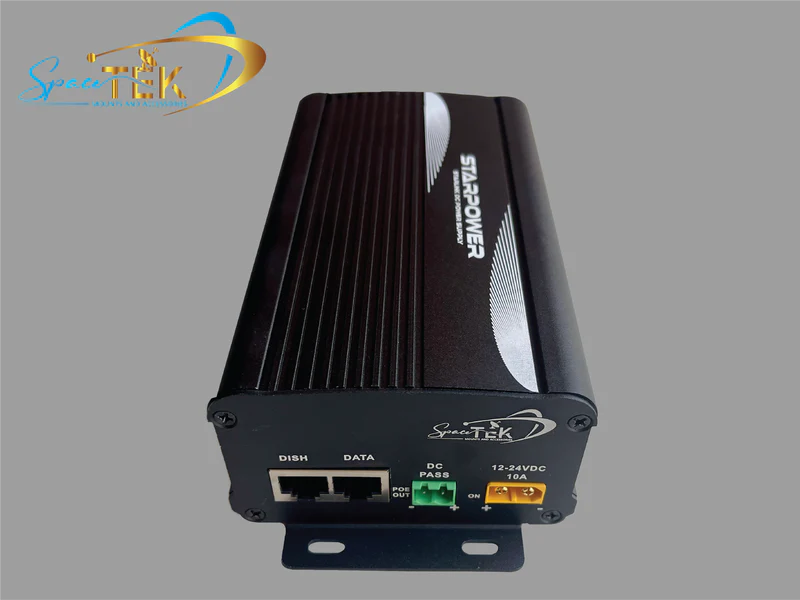
- Keep off-grid setups efficient: For Starlink-based remote setups, SpaceTek’s StarPower V2 and StarPower V3 DC power supplies are designed to be more efficient than AC inverters, reduce overall draw, and allow custom setups that bypass the standard Starlink router.
2. What Do Common Receiver Error Codes Mean?
When satellite reception drops, your receiver may show an error code that points you in the right direction. Some codes suggest temporary weather interference, while others point towards cabling, alignment, or hardware issues.
Understanding these codes helps you decide whether to wait out the weather or inspect the physical setup, as detailed in the Official Receiver Reference Guide.
Which Error Codes Should You Check First?
- Error 015 / 015a / 015n, Acquiring Satellite Signal: Usually appears when heavy cloud, rain, dish blockage, or signal searching prevents a clean lock.
- Error 022, Signal Lost or Dish Displaced: Often points to dish movement or a loose coaxial connection.
- Error 002, Complete Signal Loss: Suggests the receiver has lost the incoming signal from the dish LNB. Restart the receiver and inspect accessible cables.
- Error 026, Temporary Signal Drop: Can happen during short weather interruptions or switch timeouts. Wait a few minutes and see whether the signal returns.
- Error 535, System Communication Fault: Often relates to a switch or wiring issue. Use the receiver’s Check Switch diagnostic if available.
How Can You Tell Rain Fade from a Hardware Problem?
Rain fade is a temporary signal loss caused by heavy rain, hail, or thick moisture in storm clouds. It usually clears once the weather passes.
A clear-sky outage is different. If there is no severe weather and the receiver still cannot lock onto the satellite, look for a blocked line of sight, shifted dish, corroded coaxial connector, damaged cable, or failing LNB.
3. How Do You Check Line of Sight and Dish Alignment?
Traditional satellite television relies on a fixed dish pointed very precisely at a geostationary satellite. Even a small movement can weaken reception, so line of sight and mount stability matter.
What Can Block a Satellite Signal?
Because the dish needs a clear path to the sky, check the area around it carefully from a safe position.
- Growing vegetation: Tree branches, vines, or new leaves can move into the signal path and weaken reception.
- Debris on the dish: Dirt, bird droppings, fallen leaves, snow, or ice can scatter the signal before it reaches the LNB.
- Loose mounting hardware: A mast that is no longer firm and plumb can let the dish shift in wind.
How Do You Use the Signal Quality Screen?
Most receivers include a signal diagnostic screen, often labelled Point Dish, Signal Meter, or System Diagnostics.
- Open the Point Dish, Signal Meter, or System Diagnostics screen with your remote.
- Select the satellite and transponder recommended for your area.
- Watch the Signal Strength and Signal Quality readings.
- Look for stable readings with enough margin to handle poor weather.
- If you adjust alignment from a safe position, make very small changes and wait a few seconds after each movement so the receiver can register the signal.
4. What Should You Check in the Cabling and LNB?
The cable between your dish and receiver carries both the satellite signal and the low-voltage power needed by the LNB. If that cable run is loose, wet, kinked, or damaged, reception can become unreliable.
For a similar physical-check process on satellite internet gear, see our Starlink No Signal Fix Guide.
How Do You Inspect Cables, Switches, and the LNB Safely?
- Check cable type and condition: High-quality RG6 coaxial cable is preferred. Older RG59 cable can lose too much signal over longer runs.
- Tighten accessible connectors: Outdoor F-connectors should be snug and weather-protected. Moisture can cause corrosion and intermittent signal loss.
- Inspect switches: If your setup uses a multi-dish switch, run the receiver’s Check Switch diagnostic and look for obvious weather damage.
- Look at the LNB: Check whether the plastic feedhorn cover looks cracked, sun-damaged, or waterlogged.
When Should You Call a Technician?
Some checks are safe from the ground. Others are not worth the risk.
- Unsafe access: Do not climb onto steep, wet, or multi-storey roofs without proper safety equipment.
- Hardware replacement: If the reflector is bent, the mast is loose, or the cabling needs complex rewiring, use a professional with the right signal-testing equipment.
- Australian Starlink installs: If your issue involves a Starlink setup rather than a traditional TV dish, SpaceTek can help you Find an Installer for a safer, cleaner installation.
5. What Can You Do While Waiting for the Signal to Return?
When severe weather rolls through or repairs need to wait, you may still be able to keep entertainment running through broadband streaming. If your receiver supports internet connection, it can use your home network for supported on-demand or streaming features.
How Do You Set Up a Streaming Fallback?
- Use Ethernet where possible: Connect a Cat6 Ethernet cable from your router to the receiver’s network port for a more stable connection.
- Set up Wi-Fi if needed: In the receiver’s Network Settings, choose Wireless, select your home network, and enter your Wi-Fi password.
- Use supported streaming features: Once connected, the receiver may route eligible on-demand or streaming content through the internet while the dish signal is unavailable.
Frequently Asked Questions about Dish Satellite Troubleshooting
Why does my receiver display Acquiring Signal without ever connecting?
When a receiver stays stuck on Acquiring Signal, it usually means the tuner cannot detect a usable satellite signal. Common causes include dish movement after wind, tree branches blocking the line of sight, a disconnected or waterlogged coaxial cable, or a failing LNB.
What signal strength and quality percentages are required for a stable picture?
Many receivers show signal strength and quality readings, but the ideal target depends on the receiver model, satellite, installation, and local conditions. Instead of chasing a universal number, look for stable readings with enough margin to hold through light weather changes.
How do temperature extremes affect satellite reception?
Extreme heat and freezing conditions can affect metal mounting hardware, coaxial connectors, and LNB electronics. In winter, moisture inside unsealed connectors can freeze and damage contact points. In summer, poor ventilation around receivers can make the unit run hot and behave unpredictably.
Keep Your Satellite Setup Reliable in Australian Conditions
Restoring a dropped satellite signal comes down to a steady process: restart the receiver, check error codes, clear line-of-sight obstructions, and inspect accessible coaxial connections. If the outage is temporary, a broadband fallback can keep things moving while the weather clears or a technician is arranged.
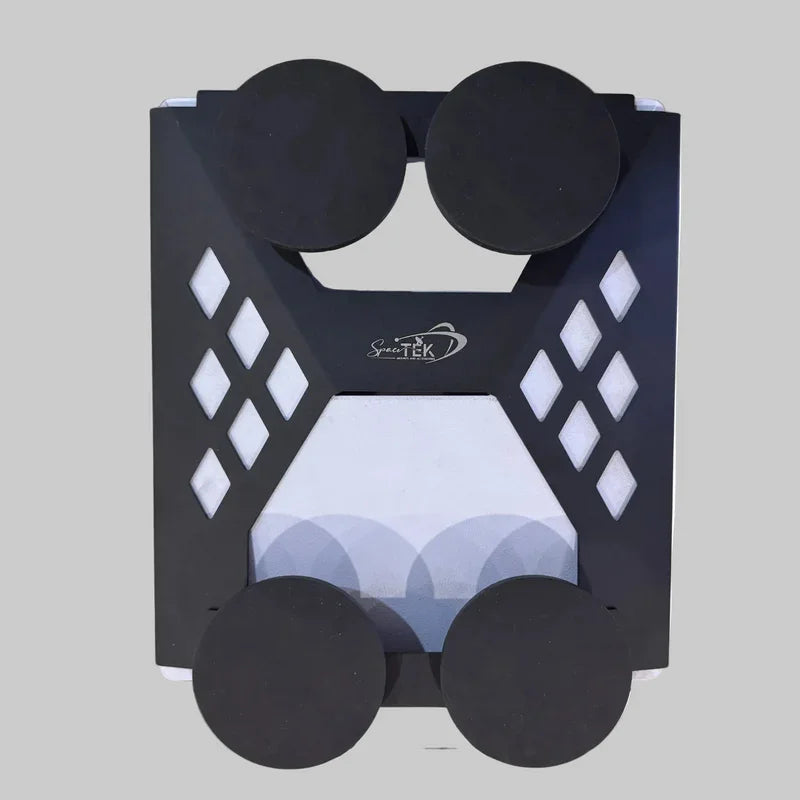
For long-term reliability, the outdoor setup needs to stay rigid, weather-ready, and suited to Australian conditions. SpaceTek Australia specialises in premium, Australian-engineered satellite installation solutions, including precision-machined folded aluminium and reinforced composite House Starlink Mounts and Accessories designed to keep your dish secure in harsh conditions.

Leave a comment
This site is protected by hCaptcha and the hCaptcha Privacy Policy and Terms of Service apply.