
Expanding Your Starlink Coverage
A Starlink WiFi extender setup can improve coverage in rooms where the main router's signal is weak. Depending on your layout and Starlink hardware, you can use a compatible Starlink mesh router, a third-party mesh system, a conventional WiFi extender, a wired access point, or a point-to-point wireless bridge.
Quick answer: Start by testing the weak area in the Starlink app or on your device. For a compatible Starlink mesh router, power it near the main router and follow the pairing prompt in the Starlink app. For third-party equipment, follow that manufacturer's setup instructions and confirm how your Starlink hardware provides Ethernet before buying adapters or cables. Place any wireless node where it still receives a strong signal—not inside the dead zone.
WiFi performance depends on far more than the internet service entering your home. Distance, floor plan, neighboring networks, metal, masonry, appliances, and even furniture can weaken the signal between your router and devices. An extender can improve local coverage, but it cannot correct an obstructed Starlink dish, an internet outage, or a damaged cable.
WiFi Extension Choices for Starlink
The right approach depends on whether you need to cover another room, another floor, or a separate building.
Why Extend?
- Persistent dead zones: Devices lose WiFi in specific rooms even though Starlink is online near the router.
- Signal-blocking construction: Metal siding, foil-backed insulation, masonry, concrete, and large appliances can reduce indoor WiFi coverage.
- Large or unusual layouts: Long homes, multiple floors, additions, garages, and outbuildings may be difficult to cover from one router.
- Connected devices: Cameras, smart-home equipment, computers, and entertainment devices need a stable local connection where they are installed.
- Room-to-room speed loss: A large drop in performance away from the router can indicate weak WiFi rather than a problem with the Starlink service itself.
Extension Toolbox
Compatible Starlink mesh routers: These are managed through the Starlink app and are usually the simplest way to expand a compatible Starlink network. Compatibility varies by hardware generation, so check the current Starlink product description for your kit before ordering.
Third-party mesh systems: A complete mesh system can provide one network name and coordinated coverage across multiple nodes. Some installations use the Starlink router in bypass mode; others can use the third-party system in access-point mode. The correct choice depends on the equipment and whether you want Starlink or the third-party router to manage the network.
WiFi extenders or repeaters: These can be economical for one weak area, but a wireless repeater uses part of its radio capacity to relay traffic and may deliver lower throughput than a wired access point or a well-designed mesh system.
Wired access points: Ethernet backhaul generally provides a more consistent link than wireless backhaul where cable installation is practical. Use cable and installation methods suitable for the location.
Point-to-point wireless bridges: For a detached garage, workshop, or other building, a matched outdoor bridge with clear line of sight is often more appropriate than trying to stretch an indoor mesh signal across the yard.
Do not assume every Starlink router needs the same Ethernet accessory. Some hardware uses a separate adapter, while other hardware provides Ethernet ports or uses a different accessory arrangement. Identify your Starlink kit and router model first, then confirm the required connection in Starlink's current documentation.
Starlink WiFi Extender Setup Step by Step
Compatible Starlink Mesh Router Setup
- Confirm compatibility. Check that the mesh router is supported by your Starlink router generation.
- Verify the base connection. Confirm Starlink works normally near the main router before adding another device.
- Start nearby. Plug the mesh router into an indoor power outlet close enough to the main router to establish a reliable wireless link.
- Open the Starlink app. Connect your phone to the existing Starlink WiFi network and follow the app's prompt to pair the new mesh device. Prompt wording and timing may vary with app and firmware versions.
- Wait for the app to confirm connection. Do not rely on a particular light color across every hardware generation; use the app's network status for your model.
- Move and test. Relocate the node toward the weak area, then check its connection in the app and test service where coverage was poor.
Keep the node in the open, away from large metal objects, enclosed cabinets, aquariums, microwave ovens, and electrical panels. In a multistory home, a landing or open hallway may provide a better path between floors than a distant corner room.
Third-Party Extender or Mesh Setup
- Read the manufacturer's instructions. Setup screens, reset procedures, default network names, and supported modes vary by brand and model.
- Choose wired or wireless backhaul. If using Ethernet, confirm the port or adapter required by your exact Starlink hardware. If connecting wirelessly, keep the extender within good range of the Starlink router.
- Decide which device will route traffic. A third-party mesh router may be used as the primary router with Starlink bypass mode, while an access point or some extenders can operate behind the Starlink router. Avoid running two routers in routing mode unless you understand and accept double NAT.
- Secure the device. Set a unique administrator password, install available firmware updates, and use modern WiFi security settings supported by all necessary devices.
- Complete setup. Use the manufacturer's app or local setup page to join or create the network.
- Position and test. For a wireless extender, begin roughly between the router and weak area, then adjust based on signal quality and real tests. The best position is the closest practical point to the weak area that still has a strong upstream connection.
WPS is not available or enabled on every router or extender, so do not make it your only setup plan. Use the device manufacturer's app or setup page when WPS is unavailable.
Quick Setup Checklist
- Your Starlink kit and router model
- A compatible mesh router, extender, access point, or bridge
- The Starlink app and the third-party manufacturer's app, if required
- Your WiFi password and a separate administrator password for third-party equipment
- The correct Ethernet port, adapter, and cable for wired connections, if used
- Indoor or outdoor-rated hardware appropriate to the installation location
Placement & Long-Distance Strategies
There is no universal range figure for a Starlink router, mesh node, or extender. Advertised open-area coverage does not predict performance through walls or between buildings. Treat placement as a test-and-adjust process.
- Use the Starlink app's WiFi tools, where available, or check signal and speed on the device you actually use.
- Test at several points between the router and weak area.
- Place a wireless node before the signal becomes poor, not at the far edge of coverage.
- Retest at different times if neighboring WiFi congestion may be a factor.
- If moving the node cannot create a reliable upstream link, use Ethernet, another properly placed node, or a dedicated building-to-building solution.
Using a Mesh Network with Starlink: Key Advantages
- Unified network: Compatible mesh systems can present one network name across multiple nodes.
- Coordinated roaming: The system can help devices move between nodes, although the client device ultimately participates in roaming decisions.
- Central management: A mesh app can show node status and simplify updates and troubleshooting.
- Flexible coverage: Nodes can be added where the selected system and layout support them.
- Backhaul options: Some third-party mesh systems support Ethernet backhaul, which can reduce dependence on a weak wireless link.
Mesh does not guarantee higher speed at every location. Each wireless hop, obstruction, and source of interference can affect throughput and latency. A wired access point may outperform a wireless mesh node when cabling is feasible.
Top Signs You May Need a Mesh Network
A mesh system may be useful when one router cannot cover several indoor areas, devices regularly disconnect as you move through the home, or you want centralized management instead of multiple independently configured extenders. A single wired access point may be simpler when only one distant room needs coverage.
Extending to Separate Buildings
Do not assume an indoor mesh node will reliably cover a detached building simply because the distance appears short. Exterior walls, metal doors, trees, terrain, and changing weather can disrupt the link.
For a detached building, consider either a properly installed data connection or a matched point-to-point wireless bridge with clear line of sight. Outdoor equipment should be rated for the actual exposure and installed according to the manufacturer. Building-to-building copper cabling and outdoor antennas can introduce grounding, surge, and lightning considerations; consult a qualified network or low-voltage installer and follow applicable local codes. Fiber can provide electrical isolation between buildings when designed and installed correctly.
For more placement guidance, see Starlink Mesh Range: Distance and Placement Guide.
Troubleshooting, FAQs & Optimization
Common Pairing Problems
- No pairing prompt: Confirm the mesh device is compatible, powered, and close enough to the main router. Verify your phone is connected to Starlink WiFi and that the Starlink app is current.
- Connected but slow: Move the wireless node closer to its upstream router, reduce obstructions, and compare results near the main router. The extender cannot provide more internet bandwidth than the Starlink connection supplies.
- Third-party system has no internet: Recheck cabling, operating mode, DHCP settings, and whether bypass mode is appropriate for the chosen design.
- Devices stay on a distant node: Toggle WiFi on the client device and review node placement. Roaming behavior varies by client and mesh system.
- Intermittent service: Separate WiFi problems from Starlink service problems by checking the Starlink app and testing near the main router.
Environmental Considerations
Use indoor networking equipment only in dry, ventilated indoor spaces. For garages, porches, yards, or outbuildings, choose hardware rated for the expected temperature, moisture, dust, and sun exposure. Do not place a consumer router in a sealed box unless the enclosure and thermal design are intended for that use.
Quick Fixes
- Check the Starlink app. Confirm the dish and main router are online before troubleshooting the extender.
- Restart carefully. Follow the device manufacturer's restart instructions; allow the Starlink system time to reconnect before judging the extender.
- Move the node closer. If the link improves, placement or an obstruction was probably part of the problem.
- Install updates. Update the Starlink app and third-party device firmware through their official interfaces.
- Inspect cables. Reseat connectors and replace visibly damaged cables with compatible parts.
- Factory reset only when needed. A reset erases settings, so record anything required to configure the device again.
Maintenance Tips
Review node status when you notice a coverage change, keep third-party firmware updated, inspect exposed cables and outdoor hardware periodically, and retest after moving furniture or adding appliances. Keep vents clear and follow each manufacturer's cleaning instructions; do not spray cleaners into networking equipment.
Connectivity Without Compromise
A successful Starlink WiFi extender setup starts with the right diagnosis. Use a compatible Starlink mesh router or third-party mesh for broader indoor coverage, a wired access point when dependable cabling is available, and a purpose-built link for a detached building. Test before and after each change rather than relying on a fixed distance claim.
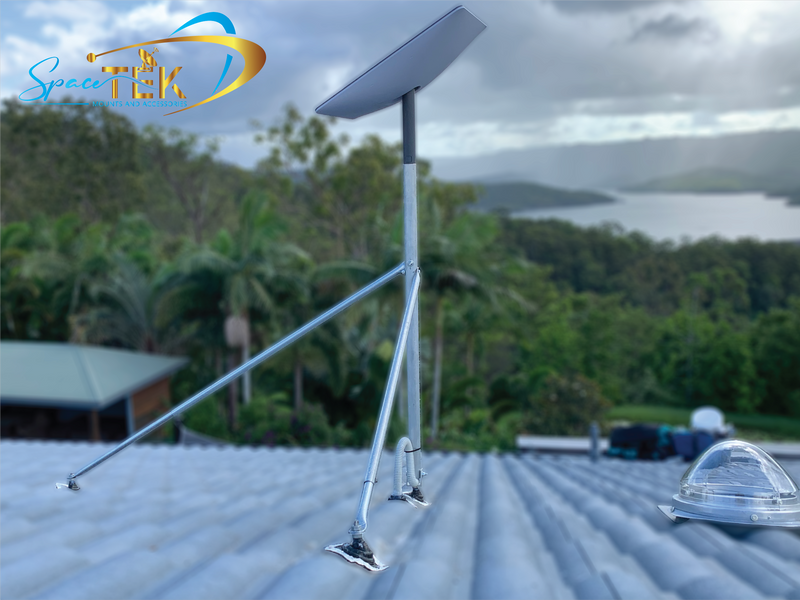
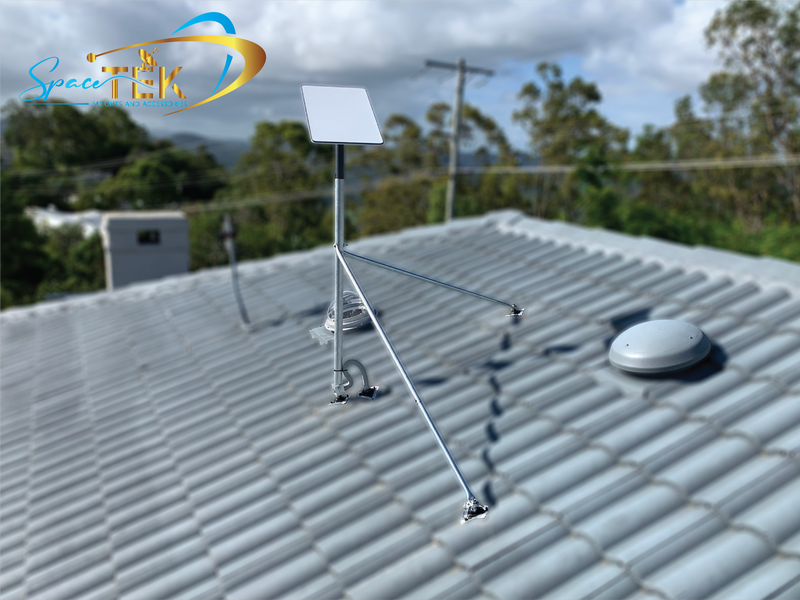
SpaceTek supplies Starlink mounting and installation accessories, but mounting hardware does not extend WiFi by itself. A secure dish installation supports the Starlink connection entering your network; the router, mesh, cabling, and access-point design determine how that connection reaches devices around the property. Browse our Starlink accessories guide or visit SpaceTek for compatible installation hardware.
Reliable internet starts with the right network design and compatible equipment.

Leave a comment
This site is protected by hCaptcha and the hCaptcha Privacy Policy and Terms of Service apply.