
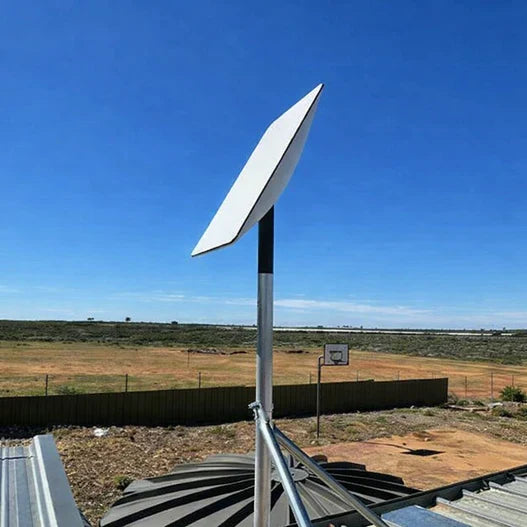
Setting up a Starlink Gen 2 kit is straightforward: choose a clear patch of sky, connect the dish and router with the supplied SPX cable, then finish the Wi-Fi setup in the Starlink app. Give the dish a few minutes to align itself before checking the connection.
Key Takeaways
- Start with the supplied rectangular dish, base stand, SPX cable, Gen 2 router and power lead.
- Use the Starlink app to check for obstructions before committing to a permanent location.
- Keep cable runs gentle, dry and protected from sharp edges.
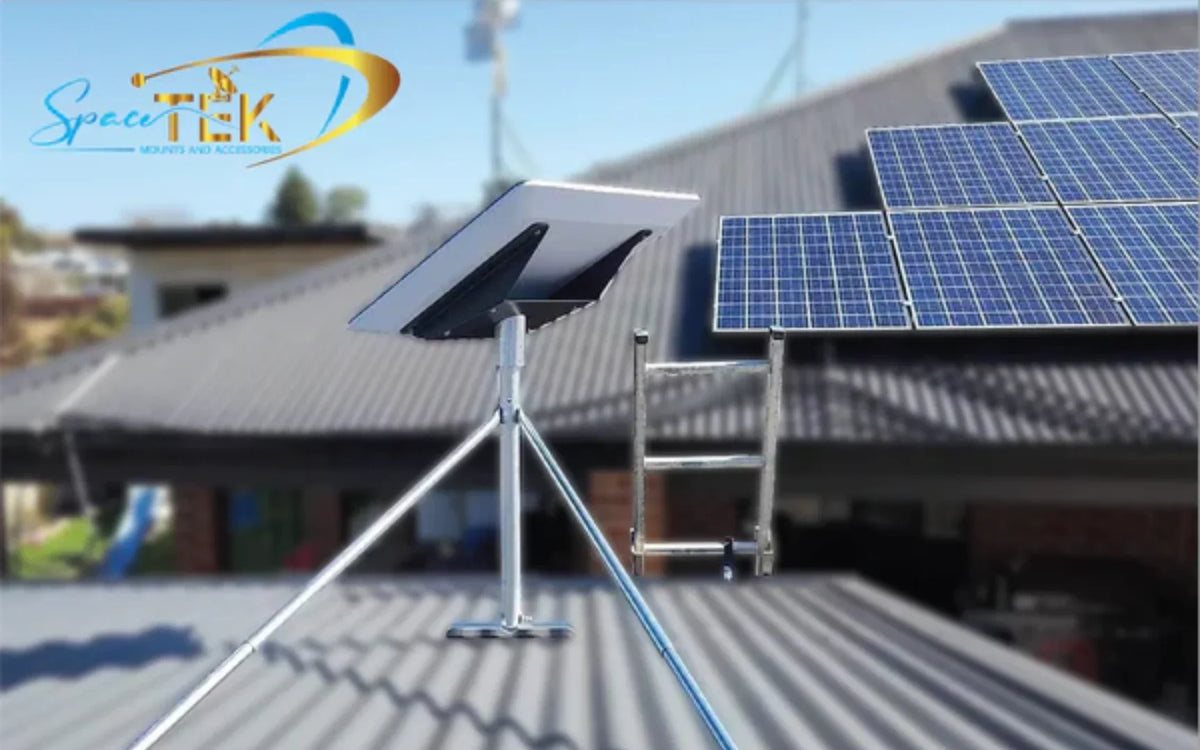
- For a permanent roof installation, use a purpose-built Starlink Gen 2 dish mount rather than the temporary base stand.
- Let the dish complete its automatic alignment before judging service quality.
SpaceTek Australia designs and supplies precision-machined and folded aluminium/reinforced composite Starlink mounts and installation accessories for Australian conditions.
How Do You Set Up Starlink Gen 2 Step by Step?
Getting the hardware connected is fairly simple once you have a clear location picked out:
- Use the obstruction tool in the Starlink app to check the sky view from your planned installation spot.
- Click the rectangular dish mast into the temporary base stand or a permanent Starlink mount until the locking tabs engage.
- Push the SPX connector into the base of the dish mast until it sits flush.
- Route the cable indoors without crushing it or forcing it around tight corners.
- Connect the other end of the SPX cable to the Gen 2 router, then connect the router to mains power.
- Allow the dish to level and align itself with the Starlink satellite network.
- Join the STARLINK Wi-Fi network on your phone or tablet, then follow the app prompts to set your network name and password.
What Tools Help With a Permanent Installation?
For a secure permanent installation on an Australian home, shed, caravan or station, it helps to have a few basics on hand:
- Cordless drill and driver bits
- Spirit level
- Socket set and spanners
- UV-stabilised outdoor cable clips
- Exterior polyurethane or silicone sealant
The supplied base stand is handy for testing, but it is not designed for a permanent residential installation. Strong coastal winds and outback gusts can move an unsecured dish, so use a properly fitted Starlink mount for a stable long-term setup.
How Should You Run the SPX Cable Indoors?
The Gen 2 cable carries power and data, so take a little care when routing it through the building:
- Keep bends gradual to protect the cable inside.
- Form a drip loop below the wall entry point so rainwater falls away from the cable.
- Remove sharp burrs from any wall opening before pulling the connector through.
- Seal the outside penetration with a UV-resistant outdoor sealant to help keep out moisture, dust and pests.
If the original cable is damaged by roof flashings or wildlife, a Starlink Gen 2 SPX replacement cable can restore a dependable connection.
What Can Improve Your Gen 2 Connection Speed and Stability?
Use a Solid Mast or Pipe Adapter
The temporary Starlink base stand sits low to the ground, which can leave the dish exposed to rooflines, nearby trees and other obstructions. Even a small branch crossing the dish's field of view can cause dropouts or patchy video calls.
A dedicated dish mount lifts the dish above common obstructions and helps it stay steady in windy conditions. See the Starlink Gen 2 pipe adapter guide to understand how precision-machined or folded aluminium and reinforced composite mounts connect the Gen 2 mast to existing poles or antenna masts.
Add an Ethernet Adapter or Mesh Node When Needed
The Gen 2 router does not include a built-in Ethernet port. If you need a wired connection for remote work, a smart-home hub or gaming, an official Starlink Ethernet Adapter gives your essential equipment a direct connection.
For larger single-storey homes or double-storey homes, an additional compatible Gen 2 router can work as a mesh node. Position nodes within a couple of rooms of each other so the wireless signal stays reliable without unnecessary structural wiring.
How Do You Set Up Bypass Mode for a Third-Party Router?
If you already use a third-party router, firewall or mesh system, you can turn off the Gen 2 router's Wi-Fi and DHCP functions:
- Attach the official Starlink Ethernet Adapter between the dish cable and the Gen 2 router.
- Connect an Ethernet cable from the adapter to the WAN port on your third-party router.
- In the Starlink app, open Settings and then Router, then switch on Bypass Mode.
- Confirm the change. The Gen 2 router stops broadcasting Wi-Fi and its status light switches off.
How Can You Troubleshoot Common Gen 2 Connection Issues?
What Do the Gen 2 Router Lights Mean?
The Gen 2 router uses one small status light on its underside:
- Solid white light: The router has mains power and is operating normally.
- No light: The router may be unpowered or running in Bypass Mode. Check that the power lead is firmly seated and that the wall socket is working before inspecting the SPX and power connections.
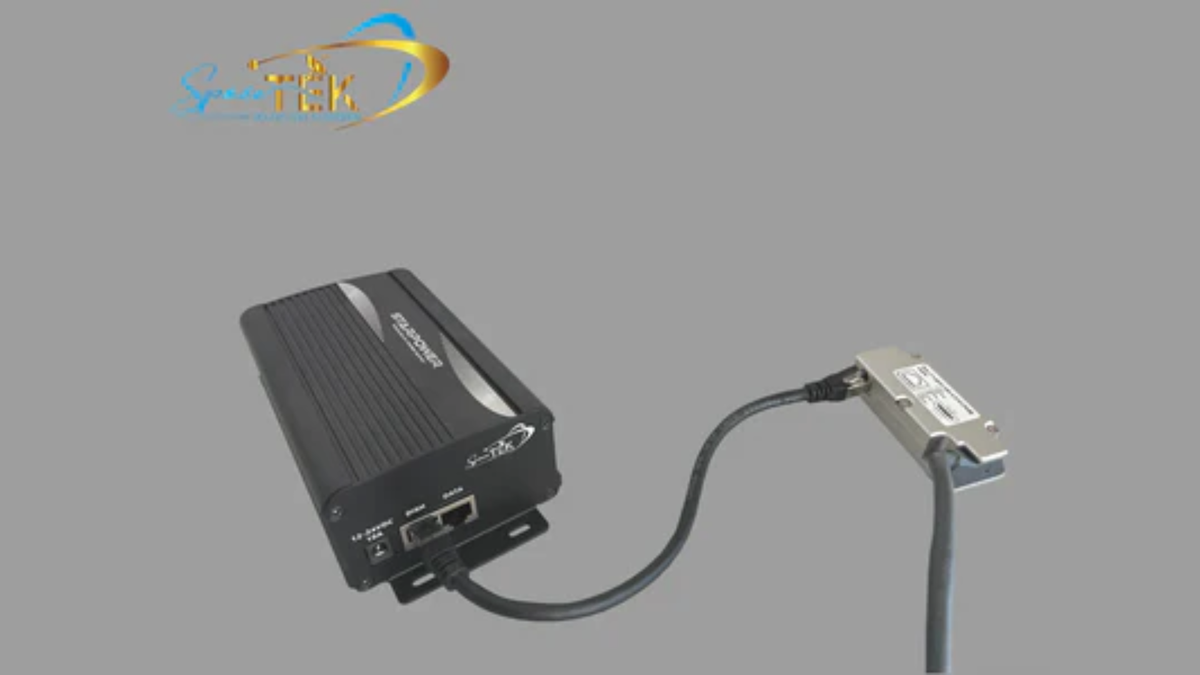
For caravans, off-grid setups and remote properties, StarPower V2 and V3 direct-current power supplies can be a practical alternative to a standard alternating-current setup. Direct DC-to-DC power is more efficient, reduces power draw and can bypass the Starlink router when you are building a custom network setup.
How Do You Factory Reset the Gen 2 Router?
To leave Bypass Mode, clear network settings or recover an unresponsive router, use a manual power-cycle reset:
- Unplug the power cable from the wall socket or router base.
- Plug it back in for a few seconds.
- Repeat the power cycle six times in quick succession.
- Leave the router connected to power after the final cycle. It will restart and broadcast the default STARLINK Wi-Fi network for setup.
Frequently Asked Questions About Setting Up Starlink Gen 2
What Should You Do if a Gen 2 Dish Cannot Get Online During Initial Setup?
Check that the SPX connectors are fully pushed into both the dish mast and the router base. Then open the Starlink app and review the status screen. If the dish keeps searching for an extended period, check for service notices, confirm that the subscription is active and use the obstruction tool again to make sure the dish has a clear view of the sky.
How Do You Pair a Mesh Node With a Gen 2 Dish?
Turn on the additional compatible router or mesh node within a couple of rooms of the primary Gen 2 router. Open the Starlink app, wait for the pairing prompt, then follow the on-screen steps until the new node appears in your network view.
How Do You Check for Obstructions Before Mounting?
Open the Starlink app and select the obstruction tool. Stand at the intended installation location, hold the phone at chest height and point it upwards as prompted. The app will show whether trees, eaves or nearby structures are likely to interfere with the dish's sky view.
Ready to Get Your Starlink Gen 2 Online?
With a clear view of the sky, careful cable routing and a secure mounting position, your Gen 2 setup can provide reliable satellite internet around your property. Take your time with the site check and initial connections, and use the Starlink app to confirm everything is working as expected.
For a secure long-term installation in Australian conditions, explore SpaceTek Australia's range of Starlink Gen 2 mounting accessories.

Leave a comment
This site is protected by hCaptcha and the hCaptcha Privacy Policy and Terms of Service apply.