
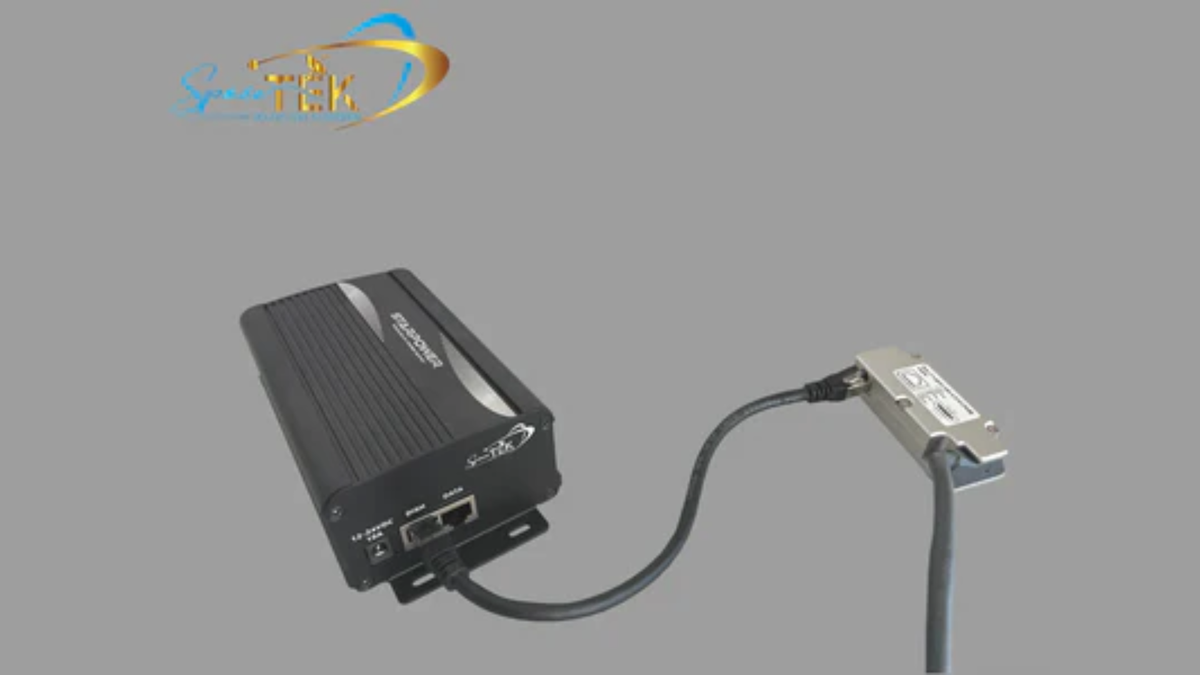
A Starlink PoE cable carries both power and data between your dish and router, but it is not interchangeable with a standard Ethernet cable. Choosing the right cable and routing it carefully helps keep your setup reliable in Australian conditions.
Key Takeaways
- Starlink uses proprietary connections rather than standard Power over Ethernet.
- The cable carries power and data between the dish and router in one run.
- Cable lengths and connector styles vary between Starlink kits, so check your model before ordering.
- Careful routing, weather sealing and gentle bends help protect the cable from damage.
- Avoid cutting or modifying the cable. For model-specific advice, see our guide to choosing Starlink cables.
How Should You Choose and Route a Starlink PoE Cable?
A Starlink PoE cable is purpose-built for your kit, so it pays to confirm compatibility before you plan the installation. Once you know what your dish and router need, you can route the cable neatly and protect it from the weather.
Which Cable Fits Your Starlink Kit?
Starlink cable designs vary by kit, mainly in cable length, connector style and whether the cable can be detached. Check your specific Starlink model before ordering a replacement or planning a wall entry point.
| Starlink kit | Typical cable length | Connection type |
|---|---|---|
| Standard Actuated | 15 m | Detachable PoE |
| Standard Gen 3 | 15 m | Detachable PoE |
| Enterprise | 50 m | Detachable PoE |
| Mini | 15 m | Detachable DC power cable |
| Performance | 25 m | Detachable PoE |
| Standard Circular Gen 1 | 30 m | Attached PoE |
The Starlink PoE cable uses proprietary connectors and is designed to carry power and data in the same cable run. If you need a wired connection for another device, use the appropriate Ethernet adapter rather than altering the main cable.
How Can You Route the Cable Safely?
Treat the cable gently from the dish to the router. Avoid sharp bends, kinks and pinch points around doors, windows or roof edges. Use cable clips that hold the cable securely without compressing it, and leave enough room for normal movement as temperatures change.
For wall entry, choose the correct drill bit for the wall material and check for electrical wiring, plumbing and structural supports before drilling. Seal the exterior opening with an outdoor-rated weatherproof sealant, then form a small drip loop before the cable enters the wall so rainwater drains away from the entry point. Our Starlink cable management guide explains the practical details.
Why Should You Avoid Modifying the Cable?
Cutting, extending or modifying a Starlink PoE cable can affect reliability, weaken weather protection and put warranty support at risk. The safest approach is to keep the main cable intact and use compatible accessories when your setup needs a standard network connection. For more detail, read our guide to Starlink cable extension adapters.
Can You Power Starlink Off Grid in Australia?
If you use Starlink in a caravan, camper, remote worksite or other off-grid setup, the right power arrangement and accessories can make day-to-day use much simpler. Start with equipment designed for your Starlink model and the conditions you travel in.
Is Direct DC Power a Better Option?
For many mobile and off-grid setups, direct DC-to-DC power can be a practical alternative to running an AC inverter. It can improve efficiency, reduce battery draw and support custom arrangements that bypass the Starlink router where appropriate.
Use a compatible, purpose-built DC power solution rather than modifying the Starlink PoE cable. SpaceTek’s StarPower DC power supplies are designed for suitable Starlink setups, while the direct DC powering guide covers the key planning considerations.
Which Accessories Help in Australian Conditions?
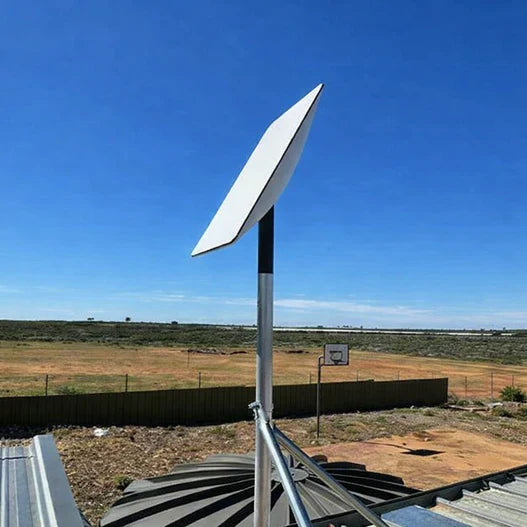
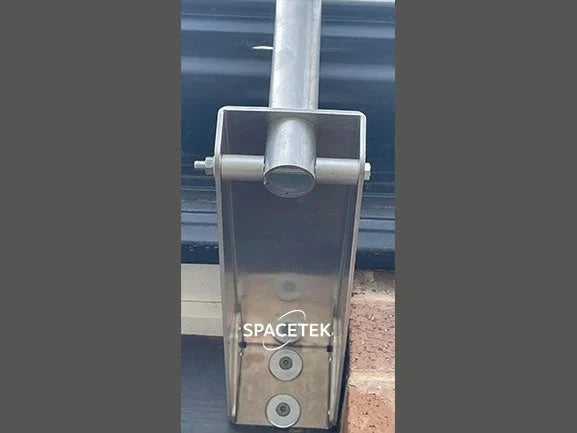
Australian weather can be hard on outdoor equipment, from intense UV exposure and coastal salt spray to dust and temperature swings. SpaceTek’s Australian-designed dish mounts and accessories use precision-machined or folded aluminium and reinforced composite components to provide a secure, durable setup for compatible Starlink kits.
- Starlink Mini: Choose portable camping accessories, including mobility mounts, suction mounts and DC-DC boosters, when you need a compact setup for travel.
- Standard Actuated and Gen 3: Use compatible Starlink mounts and cable-management accessories to keep the dish stable and the cable protected.
- Caravans and RVs: Select secure, quick-stow mounting options that suit regular setup and pack-down without leaving the dish exposed to wind or loose fittings.

Ready for a Reliable Starlink Cable Setup?
Your Starlink PoE cable does an important job, carrying power and data between the dish and router. Keeping it intact, routing it carefully and sealing wall entry points properly gives your setup the best chance of reliable performance in Australian conditions.
A tidy cable run, gentle bends and a secure weather seal can help prevent avoidable issues over time. Pair that approach with compatible SpaceTek dish mounts and accessories for a practical, durable installation.
If you would like help choosing the right mounting or cable-management solution, contact The SpaceTek Australia team for straightforward advice on your Starlink setup.

Leave a comment
This site is protected by hCaptcha and the hCaptcha Privacy Policy and Terms of Service apply.