
Taking Your High-Speed Internet With You
Relocating Starlink involves two main tasks: managing any required service changes in your Starlink account and safely installing the equipment at the new location.
Quick Answer: Relocating Your Starlink
- Moving on the same property: Power down the system, move the equipment, remount it securely, and reconnect it. Check your Starlink account or support guidance to confirm whether any service-address action is required.
- Moving to a new address: Check service availability and follow the current address-change instructions in your Starlink account.
- Moving to another service area: Review the Starlink map and the options shown for your plan and destination. Availability, capacity, and plan eligibility can change.
- Moving to another country: Review Starlink's current international transfer and activation requirements before canceling service or removing equipment from an account.
- Temporary travel: Check whether a Starlink Roam plan is available and suitable for your hardware, destination, and intended use.
The physical installation matters just as much as the account side. The dish needs a secure mount and the clear view of the sky specified by the Starlink app. Obstructions can interrupt service, while an unsuitable or poorly installed mount can expose the equipment and property to avoidable movement, corrosion, water-entry, or weather-related risks.
I'm Aaron Wroblewski, founder of SpaceTek Australia. With 25 years of experience installing satellite systems across Australia, I know that safely relocating Starlink requires careful site selection, suitable mounting hardware, and a sound installation.
Explore more about relocating Starlink:
Managing Your Starlink Service When You Move
Relocating Starlink is not only about moving the dish. Depending on your plan, destination, and current Starlink policies, you may also need to update your service details or select a different service option.
Moving Within Your Property vs. Moving to a New Address
The steps for relocating Starlink depend on where you are moving the equipment.
If you are shifting the dish to another position on the same property, first use the Starlink app to assess the proposed location for obstructions. Power down the system before disconnecting or moving equipment, then reinstall it on a secure, suitable mount. See our Starlink Installation Guide: Where Should You Set Up Your Dish? for site-selection guidance.
If you are moving to a new address, sign in to your Starlink account and review the address-change or plan-management options available to you. Starlink's plans, service areas, capacity rules, and account workflows can change, so follow the instructions displayed in your account rather than relying on a fixed approval time.
- Before the move: Check the Starlink map and confirm which services are currently offered at the new ZIP code or address.
- In your account: Follow Starlink's current process for changing the service address, transferring eligible hardware, or choosing another plan.
- If service is unavailable: Review the alternatives offered by Starlink. Availability at one address does not guarantee availability or identical performance at another.
Do not assume that equipment registered for one location will operate at another without an account or plan change. Service behavior depends on the plan, hardware, destination, network capacity, and Starlink's current terms.
Temporary Moves and Travel: Understanding Starlink Roam
Starlink offers Roam service options intended for travel, but the available plans, prices, coverage, restrictions, and supported uses can change. Before traveling, check the options shown in your Starlink account and confirm that your hardware and destination are eligible.
Roam may suit RV travelers, people visiting a second home, or customers spending time in remote locations. It should not be described as providing service everywhere: operation depends on coverage, capacity, local authorization, plan terms, and a suitable view of the sky.
Portable use also requires secure mounting and an appropriate power setup. Explore our Starlink RV and portability accessories guide and our guide to Starlink DC power supplies for portable and RV use. Confirm electrical compatibility with your exact Starlink model and power system before connecting third-party equipment.

Relocating Starlink to Another Country
International relocation can involve different service availability, equipment approvals, account rules, and local regulations. Do not cancel your existing service or remove hardware from an account until you have reviewed Starlink's current requirements for the destination country.
Depending on the equipment, account history, and destination, Starlink may require an eligible hardware transfer, a new account, different billing details, or other activation steps. Transfer waiting periods and eligibility rules can change, and service is not guaranteed in every country or region.
Record the identifiers associated with your equipment before making account changes, and follow the instructions in your Starlink account or official support documentation. For the latest guidance, see Starlink's support article about what to do if you have moved to a new country.
Safely Remounting Your Dish After the Move
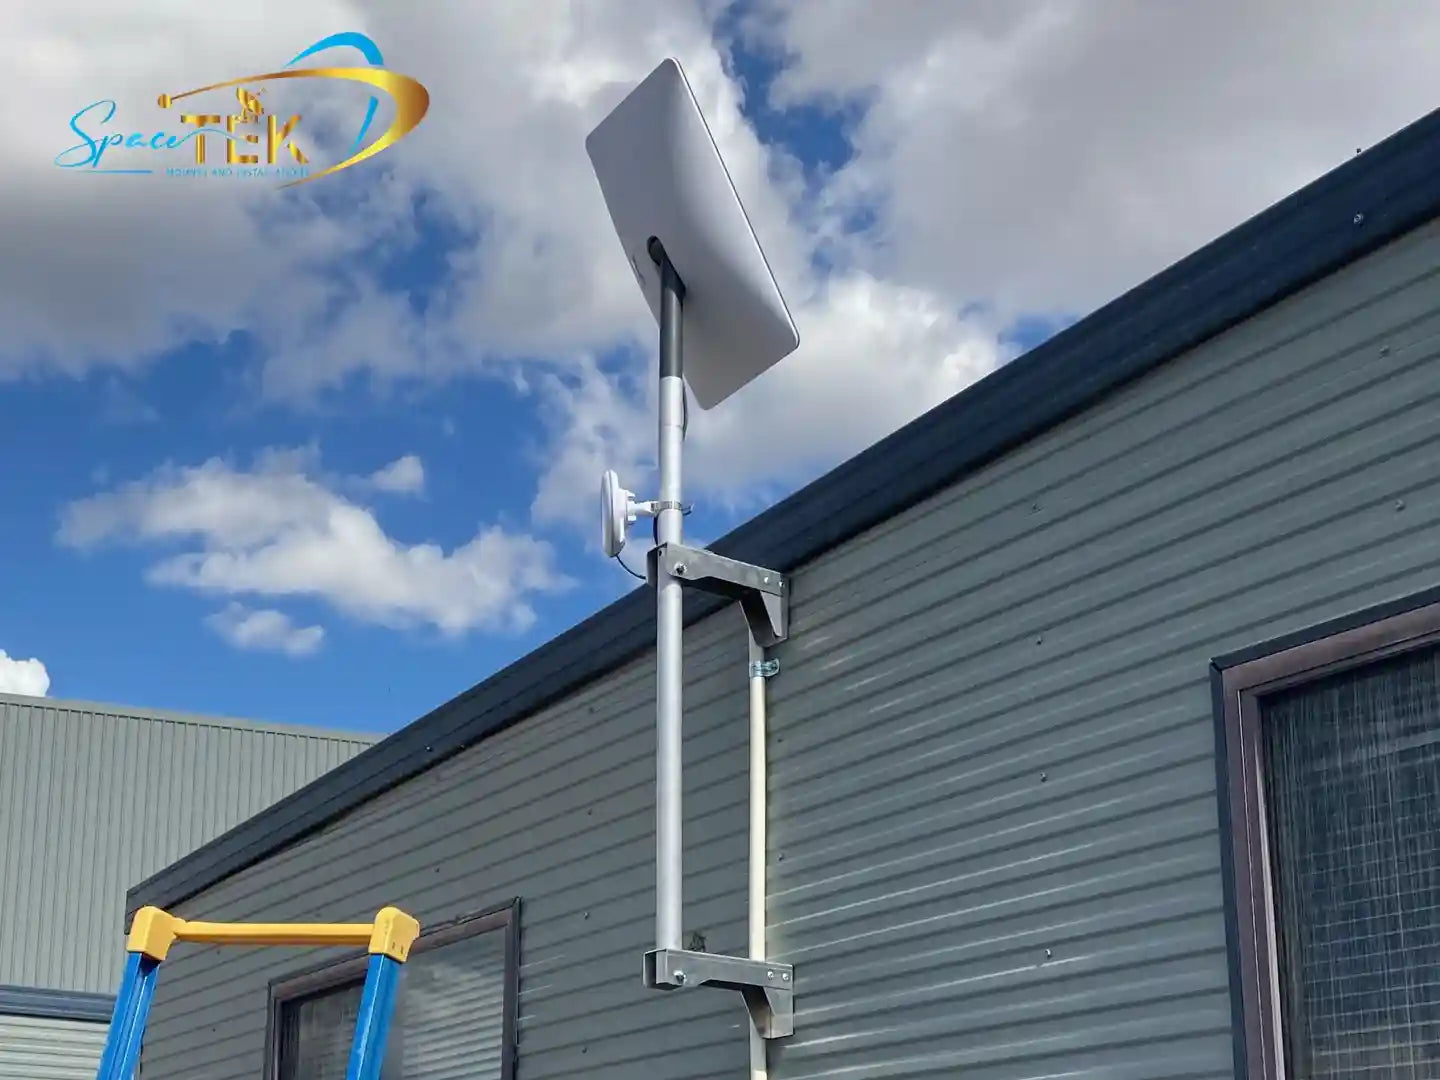
Once you have reviewed the service requirements, plan the physical installation. A suitable mount should hold the dish securely, maintain the required sky view, protect cables from strain and abrasion, and suit the building surface and local conditions.
Choosing the Right Mount for Your New Location
Your new property may require a different mounting solution. Use the obstruction-checking tool in the Starlink app at the proposed location and follow the installation instructions for your exact hardware. Consider access for maintenance, cable routing, drainage, wind exposure, and the condition of the mounting surface.
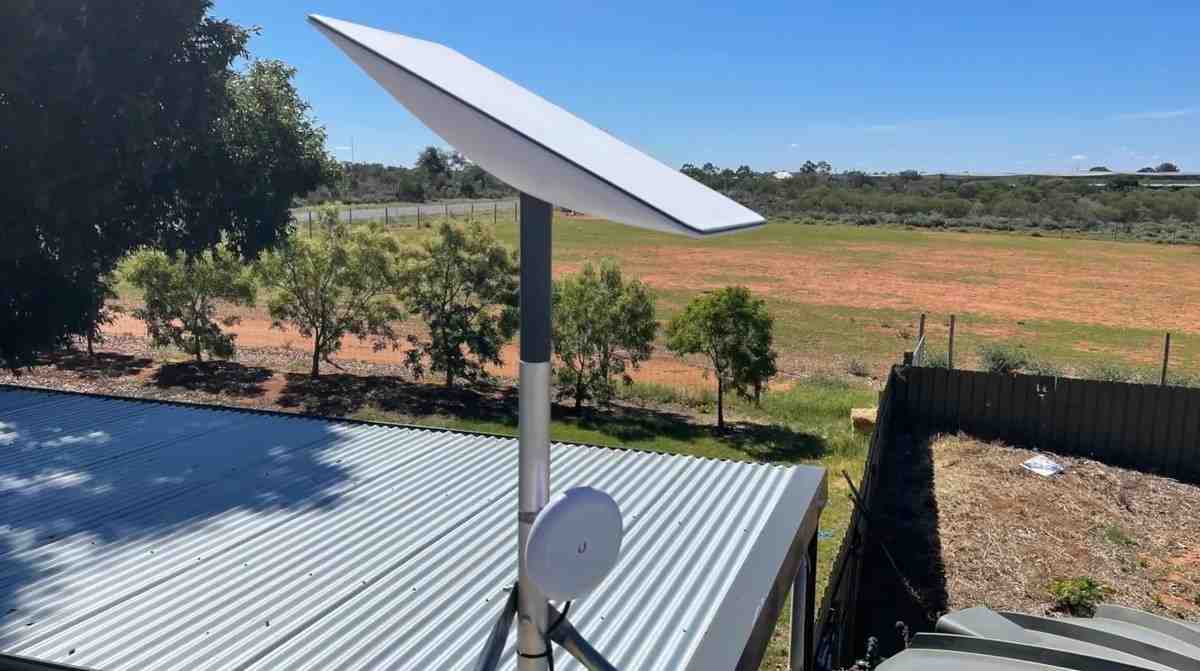
- Roof mounts can provide a useful sky view, but roof penetrations, flashing, waterproofing, structure, and fall risks should be assessed by an appropriately qualified local installer or contractor.
- Pole mounts can help position the dish away from obstructions. The pole, foundation, fasteners, grounding or bonding requirements, and wind exposure must be suitable for the site.
- Wall mounts may be practical where the wall construction, fasteners, cable route, dish clearance, and sky view are suitable.
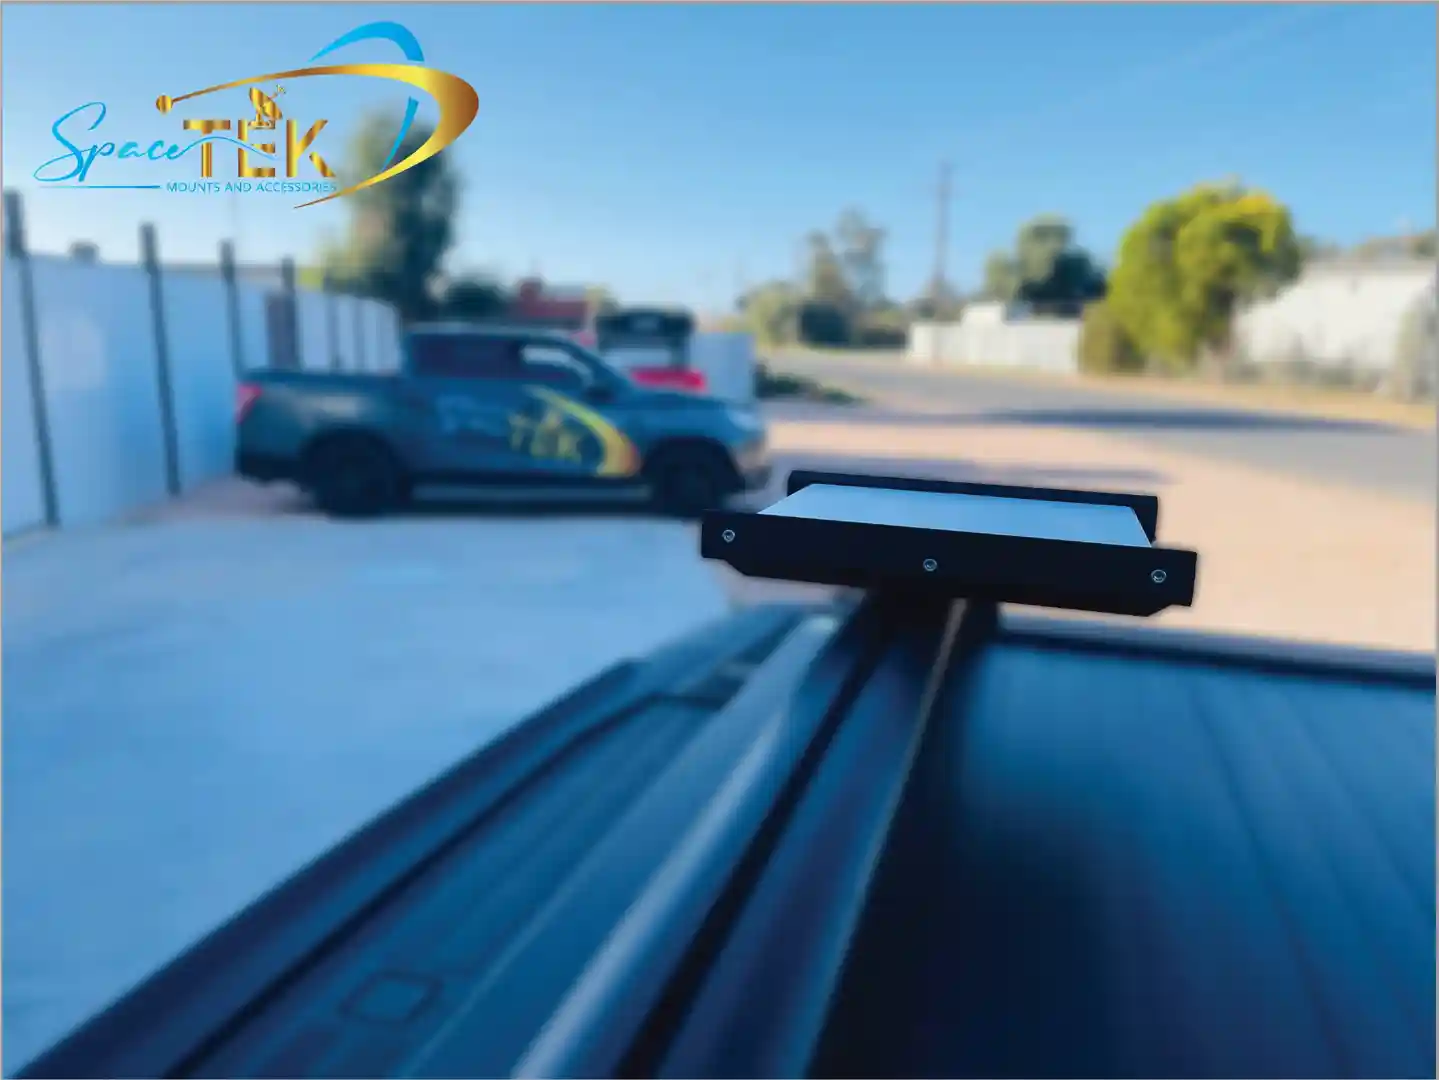
- Portable mounts are useful for temporary setups, but they should be placed on stable ground and secured against movement, vehicles, people, animals, and weather.
Do not mount the dish where it can fall, obstruct a walkway, interfere with utilities, block roof drainage, or create an unsafe maintenance task. Our guide to choosing the right mount for Starlink can help you compare common options.
Mounting Options for Different Starlink Generations
SpaceTek Australia designs and supplies mounting hardware for demanding outdoor installations. Our range includes products made with corrosion-resistant materials such as aluminum and stainless steel. Material selection alone does not guarantee suitability for every environment, so check the individual product specifications, hardware compatibility, site exposure, and installation requirements before ordering.
Starlink models use different dimensions, connection methods, cables, and power arrangements. Identify your exact hardware generation before choosing a mount or adapter; do not assume that accessories for one generation will fit another.
For Gen 2 dishes (the actuated rectangular model), explore our Gen 2 mounts and accessories and verify the product description against your hardware.
For Gen 3 Standard hardware, see our Gen 3 mounts and accessories. Confirm the model, mounting interface, and intended installation method before purchase.
For Starlink Mini, review our Starlink Mini mounting options for compatible products and stated use cases.
For RV and portable setups, browse our Starlink RV and portability mounts, adapters, and accessories. Follow the product instructions and secure the equipment appropriately whenever it is deployed.
Troubleshooting and Final Checks
After installation, power up the system and allow it to complete its normal startup process. If you encounter a problem, check the following:
Obstructions: Use the obstruction checker in the Starlink app and review the app's reported obstruction data. Trees, buildings, and other objects in the required sky view can cause interruptions. See our tips for navigating around dish obstructions.
Cable connections: With the equipment powered down, inspect accessible cables and connectors for incomplete seating, damage, sharp bends, strain, or contamination. Follow Starlink's instructions for your model and do not work on unsafe roof-mounted equipment.
Account status: Sign in to your Starlink account to check the saved service details, plan status, notices, and billing status.
Mount security: From a safe position, check the installation for movement, loose components, cable strain, and developing corrosion. Do not access a roof or elevated mount without suitable equipment and training.
If service problems continue, use the diagnostics and support options in the Starlink app or account. For personalized guidance about selecting a SpaceTek mounting product, contact the SpaceTek Australia team. For structural, roofing, electrical, grounding, waterproofing, or code-related work, consult an appropriately qualified local professional.
Conclusion
Moving to a new home or taking Starlink on the road requires attention to both the account and installation sides of the relocation. Check the current Starlink options for your plan and destination, then reinstall the equipment on a secure mount with the sky view required by the Starlink app.
A successful installation depends on the exact Starlink model, site conditions, mounting surface, cable route, weather exposure, and local requirements. Avoid unsupported assumptions about service availability or accessory compatibility, and involve a qualified local professional when the work affects roofing, structure, electrical systems, waterproofing, or work at height.
SpaceTek Australia draws on 25 years of satellite-installation experience in Australia and offers Starlink mounting products made for outdoor use. Review each product's stated compatibility and specifications to determine whether it suits your hardware and installation.
For help choosing a mounting option for Gen 2, Gen 3, Starlink Mini, or an RV setup, contact our team. Product selection assistance does not replace a site-specific assessment by a qualified local installer.

Leave a comment
This site is protected by hCaptcha and the hCaptcha Privacy Policy and Terms of Service apply.