
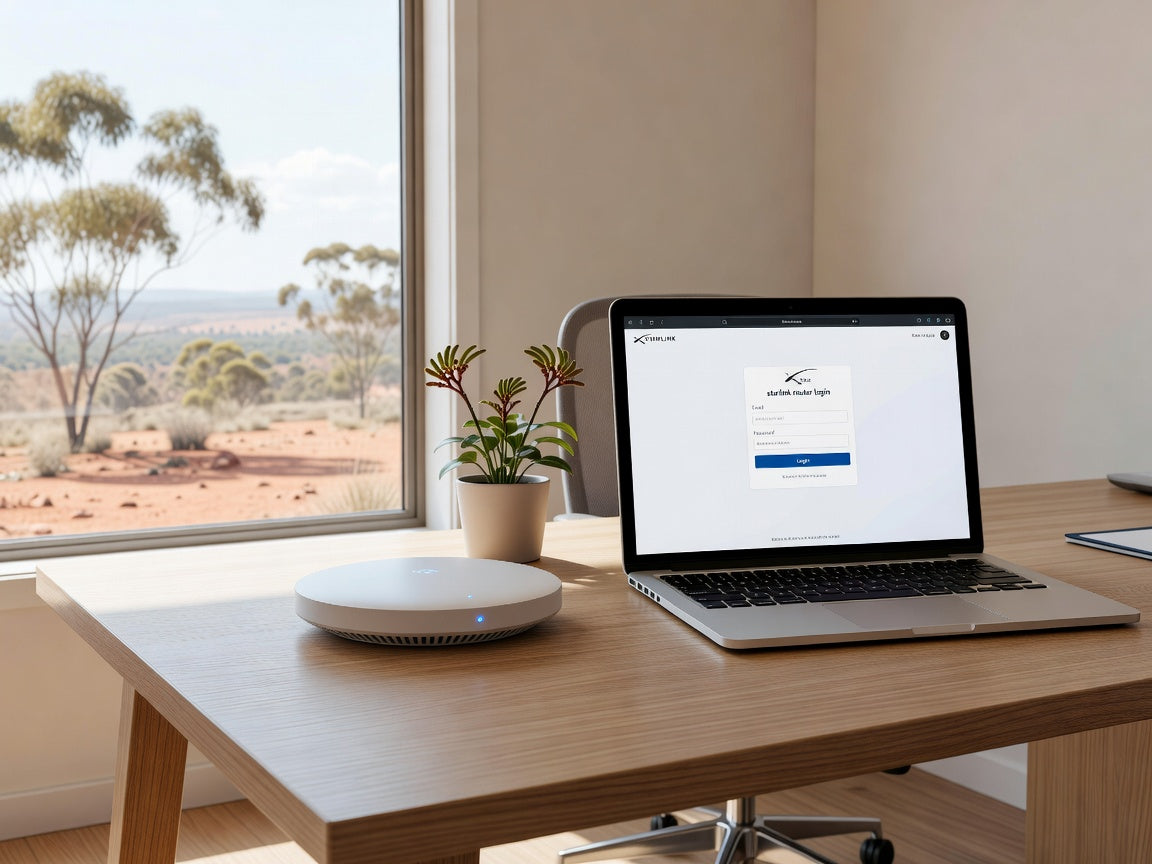
Starlink Router Login Guide: App vs. Browser Access
Need to access your Starlink router settings without chasing a nonexistent admin login page? Use the official Starlink app to manage supported settings. Local addresses such as 192.168.100.1 or dishy.starlink.com may provide limited status access on some Starlink hardware and network configurations, but they are not conventional router-admin portals.
Key Takeaways
- Starlink routers do not use a traditional browser-based admin page with default credentials such as “admin/admin.”
- The Starlink app is the primary interface for changing supported Wi-Fi and router settings.
- 192.168.100.1 and dishy.starlink.com may provide local Starlink status information, but availability and the information displayed can vary by hardware, firmware, router configuration, and whether you use a third-party router.
- Check your exact Starlink kit and router model before buying an Ethernet adapter, replacement cable, DC power supply, or other accessory.
- Factory-reset instructions vary by router generation. Follow the method shown in the Starlink app or the official instructions for your model.
Does Starlink Have a Default Router Username and Password?
If you have searched for a default Starlink router username or password, you may have seen suggestions such as “admin/admin” or “admin/password.” Those credentials apply to some conventional routers, not to the standard Starlink router-management process.
Starlink does not provide a conventional local web administrator portal for its routers. Supported Wi-Fi configuration and router controls are handled through the official Starlink app. Your Starlink account credentials and your local Wi-Fi password are separate.
Accessing Router Settings Through the Starlink App
The Starlink app is the main place to view your system and change the settings supported by your router and firmware version.
To manage your local Starlink network:
- Install or update the official Starlink app on your phone or tablet.
- Connect the device to your Starlink Wi-Fi network when making local router changes.
- Open the app and select the correct Starlink system if more than one appears on your account.
- Open Settings, then select the router or network controls shown for your hardware.
Exact menu names can change as Starlink updates the app. Depending on the router and firmware, available controls may include the Wi-Fi network name and password, separate 2.4 GHz and 5 GHz networks, custom DNS, device information, router restart or reset, and Bypass Mode. Not every option is available on every model.
If you are setting up Starlink Mini for travel or temporary use, see our Starlink Mini setup guide.
Browser Access Using 192.168.100.1 or dishy.starlink.com
While connected to the local Starlink network, you can try opening http://192.168.100.1 or http://dishy.starlink.com in a browser. These addresses are associated with the Starlink terminal’s local management interface, not a full router-admin login page.
Depending on your hardware, firmware, and network configuration, the local interface may show limited system status or may direct you to use the Starlink app. The available information can change and should not be assumed to include a particular speed test, obstruction map, cable alert, or diagnostic field.
If you use your own router, access to 192.168.100.1 may require a route from your local network to the Starlink terminal. The required configuration is router-specific. Some third-party routers create this route automatically; others require a manual static route. Follow the documentation for your router rather than copying settings intended for a different model.
Changing Wi-Fi Credentials and Identifying Your Hardware
A unique Wi-Fi password helps prevent unauthorized devices from joining your local network. Keep your Wi-Fi password separate from your Starlink account password and avoid including personal information in the network name.
Changing the Network Name and Password
To change your Wi-Fi details:
- Connect your phone or tablet to the Starlink Wi-Fi network.
- Open the Starlink app.
- Open Settings and select the router or Wi-Fi configuration shown in your version of the app.
- Enter the new network name and password.
- Save the change, then reconnect your devices using the new credentials.
The router may briefly restart or disconnect devices while applying the change. If an older smart-home device cannot join a combined Wi-Fi network, look for the app option to separate the 2.4 GHz and 5 GHz bands. The option’s name and availability vary by router and firmware.
Hardware Differences: Circular, Standard Actuated, Standard, and Mini
Terms such as “Gen 1,” “Gen 2,” and “Gen 3” are commonly used, but Starlink’s official product names and bundled components are more reliable when selecting accessories. Check the label, connector shape, app hardware details, and original kit documentation before ordering parts.
- Standard Circular kit with the first-generation router: This older system uses a separate power supply and provides an Ethernet connection without the Ethernet Adapter used by the later Standard Actuated kit. Its router can also be replaced by compatible third-party routing equipment when connected correctly to the power supply.
- Standard Actuated kit with the second-generation router: The router does not provide a standard RJ45 LAN socket. The official Starlink Ethernet Adapter is normally required to connect wired Ethernet equipment or a third-party router.
- Standard kit commonly supplied with Router 3: Router 3 supports Wi-Fi 6 and has two covered Ethernet LAN ports, so the Standard Actuated Ethernet Adapter is not used. Current kit contents can vary, so confirm which router is included with your order.
- Starlink Mini: Mini combines the antenna and Wi-Fi router functions in the dish assembly and has its own Ethernet and power requirements. Do not assume that Standard or Standard Actuated adapters, cables, reset procedures, or power accessories fit Mini.
- Performance and other business hardware: These kits can use different power supplies, routers, and Ethernet arrangements. Identify the exact Performance generation and included components before following residential-kit instructions.
For more detail about Router 3 and the Standard kit, read our Starlink Router 3 guide.
Using a Third-Party Router
You may prefer a third-party router for a larger home, detached building, advanced firewall controls, or an existing mesh network. The required connection method depends on the Starlink kit.
Enabling Bypass Mode
Bypass Mode disables the Starlink router’s Wi-Fi and routing functions so a connected third-party router can manage the local network. It can help avoid a double-NAT arrangement, but it also removes access to the Starlink router’s Wi-Fi until Bypass Mode is disabled or the applicable hardware is reset.
- Connect the third-party router using the Ethernet arrangement specified for your Starlink kit. The Standard Actuated kit generally requires the Starlink Ethernet Adapter; Router 3 has built-in LAN ports; Mini and Performance hardware use model-specific arrangements.
- Before enabling Bypass Mode, make sure the third-party router is configured to obtain its internet connection automatically by DHCP unless its manufacturer specifies otherwise.
- While connected to Starlink Wi-Fi, open the Starlink app and go to Settings.
- Select Bypass Mode if it is available for your hardware, then enable and confirm it.
- Connect to the Wi-Fi network broadcast by your third-party router and verify internet access.
The exact app path may differ from older instructions that place Bypass Mode under an Advanced menu. If the control is not visible, update the app, confirm that you selected the correct Starlink system, and consult Starlink Support for your hardware model.
Off-grid users sometimes replace the normal AC power path with a third-party DC power system. This is not a universal plug-in conversion: the required voltage, cable pinout, connectors, grounding, fuse protection, and power capacity vary by Starlink model. Use only a power product explicitly designed for your exact hardware and battery voltage, follow its installation instructions, and have permanent vehicle or marine wiring completed or checked by a suitably qualified installer. A direct DC system can avoid inverter conversion, but actual energy savings depend on the design and operating conditions.
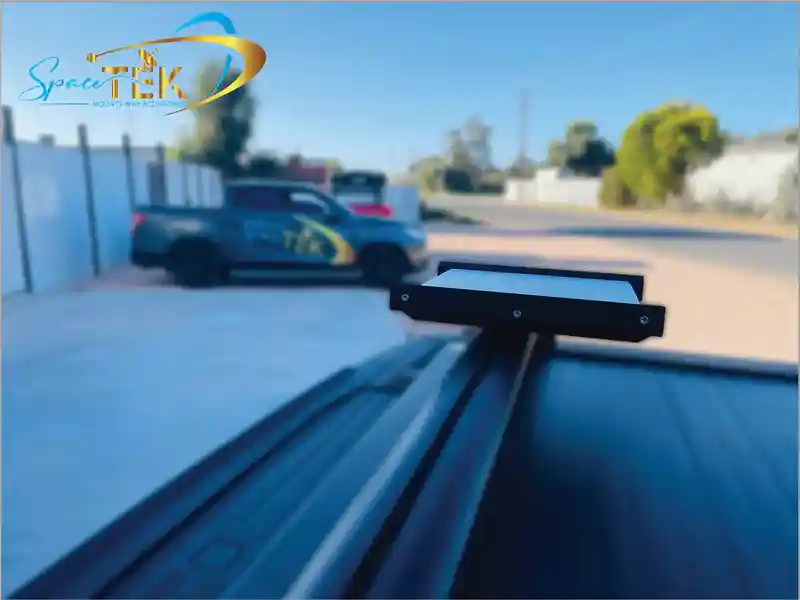
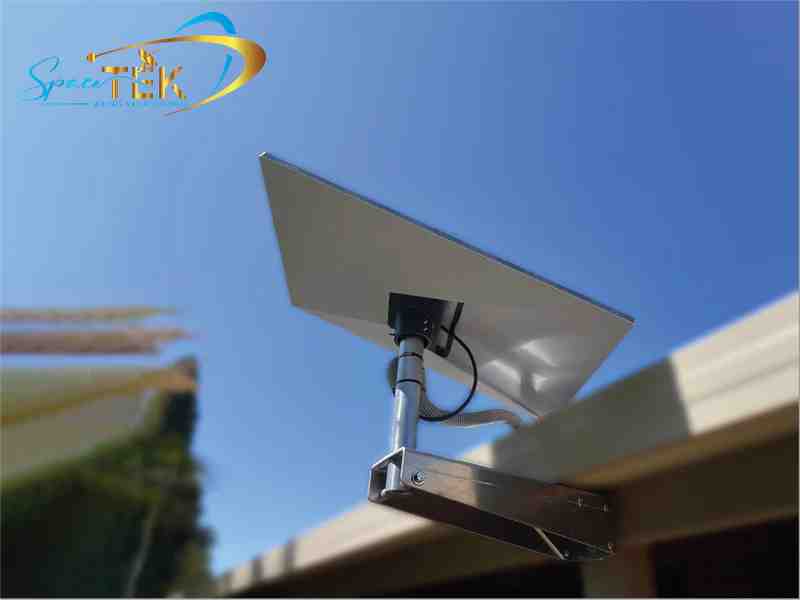
SpaceTek Australia develops model-specific StarPower DC solutions and Starlink-compatible hardware. Compatibility should be confirmed against the product page for your exact Starlink kit; these third-party products should not be treated as Starlink-manufactured or Starlink-approved unless expressly documented.
To compare networking approaches, read our Starlink mesh vs. third-party router guide.
Troubleshooting Router Access and Connection Issues
If the Starlink app does not show local router settings, or a local address does not load, try these checks:
- Confirm that your phone or computer is connected to the correct local Starlink Wi-Fi network. Temporarily disabling cellular data or a VPN can help rule out an alternate network path.
- Update the Starlink app and confirm that you are signed in to the account associated with the system when account access is required.
- Try both http://192.168.100.1 and http://dishy.starlink.com. If neither works, use the app; browser access is not guaranteed for every configuration.
- If a third-party router is installed, check whether it needs a static route to the Starlink terminal.
- Restart the affected equipment using the app when possible, or disconnect power according to the equipment instructions, wait briefly, reconnect it, and allow several minutes for startup.
If you forget the Wi-Fi password or need to exit Bypass Mode, use the factory-reset procedure for your exact router:
- First check whether the Starlink app offers Settings > Router > Factory Reset. Menu wording may vary.
- If the app cannot perform the reset, follow the manual instructions shown for your hardware. Some older routers use repeated power cycles, while newer routers have a physical reset button. Do not apply a six-power-cycle instruction to every Starlink model.
- After the reset, connect to the setup network displayed by the router and use the Starlink app to create a new Wi-Fi name and password.
- If Starlink mesh nodes were paired with the router, they may also need to be reset and paired again.
Default setup-network names and browser setup pages have changed between hardware and firmware versions. Follow the network name and prompts your equipment actually displays rather than relying on “STARLINK,” “STINKY,” or 192.168.1.1/setup as universal instructions.
For more help with faults, cables, obstructions, and setup issues, visit our Starlink troubleshooting guide.
Frequently Asked Questions About Starlink Router Access
How do I log in to my Starlink router using a web browser?
Starlink does not provide a conventional browser-based router administrator login. While connected to your local Starlink network, you can try http://192.168.100.1 or http://dishy.starlink.com for limited local status access. Use the Starlink app to change supported router settings.
What is the default IP address for Starlink router settings?
192.168.100.1 is associated with the Starlink terminal’s local interface, not a traditional router-admin page. Access can vary, particularly behind a third-party router. Addresses such as 192.168.1.1 may be used during setup by certain router versions, but they should not be treated as universal Starlink login addresses.
How do I factory reset my Starlink router if I forget my Wi-Fi password?
Use the reset option in the Starlink app when it is available. Otherwise, follow the manual procedure for the exact router: older models may use repeated power cycles, while newer models may use a physical reset button. Afterward, reconnect to the setup network and create new Wi-Fi credentials in the app.
Do I need a Starlink Ethernet Adapter?
The Standard Actuated kit with the second-generation router generally requires the official Ethernet Adapter for a wired RJ45 connection. Router 3 already has two Ethernet LAN ports, while Mini, Circular, Performance, and other kits have different arrangements. Match the adapter to the official product name and connectors, not only an informal generation number.
Choose Hardware That Matches Your Starlink Kit
Understanding Starlink router access makes network management easier: use the app for supported changes and treat local browser addresses as optional status tools rather than full administrator portals.
SpaceTek Australia is an Australian company that designs and supplies Starlink-compatible mounting, power, and installation hardware. Customers outside Australia should check product availability, shipping eligibility, local installation requirements, and exact hardware compatibility before ordering. This article does not imply a US office, local installation service, Starlink affiliation, or additional warranty coverage.
Whether your installation is at home, in an RV, on a boat, or at an off-grid site, select mounts, Ethernet equipment, cables, and DC power products for the exact Starlink model you own. Explore our Starlink Mini accessories or contact the SpaceTek Australia team if you need help checking product compatibility.

Leave a comment
This site is protected by hCaptcha and the hCaptcha Privacy Policy and Terms of Service apply.